Propagating My Bromeliad: Step-by-Step Guide
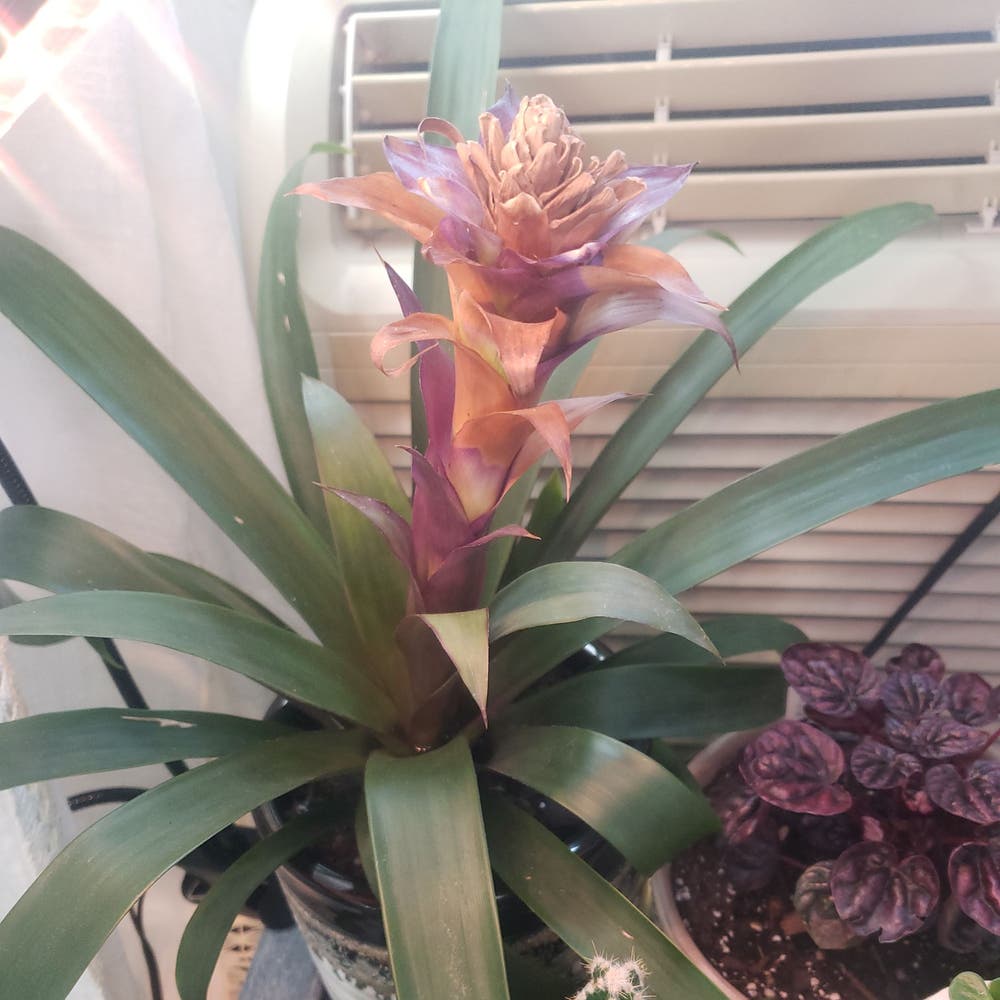
Neoregelia 'Shenba'
By the Greg Editorial Team
Jun 18, 2024•3 min read
This article was created with the help of AI so we can cover more plants for you. May contain errors. See one? Report it here.
- 🌱 Propagate in spring/autumn for the best growing conditions.
- Use sharp tools, clean cuts to safely separate healthy pups.
- Bright light, right moisture ensures thriving Bromeliad offsets.
Best Time to Propagate Your Bromeliad
In the propagation game, timing isn't just a suggestion—it's the rule. Start your Bromeliad propagation journey when the pups—those little offsets—look ready to fend for themselves.
⏰ Timing is Everything: When to Start the Propagation Adventure
Spring or autumn are your best bets for Bromeliad propagation. These seasons offer the gentle temperatures and light conditions that help pups transition smoothly from their mother's side to standing solo.
🎯 Picking the Perfect Pups: How to Spot Offsets Ready for Independence
Look for pups that have reached about one-third the size of the parent plant. That's the sweet spot where they're big enough to survive on their own but still young enough to adapt to new surroundings. Ensure they have a few roots or at least a chunky base to help them anchor into their new home. If roots are scarce, don't panic; these tough little troopers can still make it with some extra care.

The Propagation Playbook
🌱 Getting Your Hands Dirty: Separating Offsets
Before you dive in, assemble your tools: a sharp knife or scissors, gloves, and a heart full of patience. You're about to perform some plant surgery.
Gently detach the pups from the mother plant. Wait for the offsets to reach a third of the parent's size for a better shot at survival. Slice close to the mother, aiming for a clean cut to avoid unnecessary trauma.
🏡 Home Sweet Home: Preparing the New Abode
Choosing the right mix is like picking a mattress; it needs to be just right. Go for a light, well-draining medium—think orchid bark or a mix with perlite.
Planting the pups is a delicate affair. Nestle them into their new homes without burying them too deep. They're not ostriches; they don't need to hide.
🌿 The Care They Crave: Ensuring Offset Success
The trifecta for thriving Bromeliad babies: light, temperature, and humidity. Aim for bright, indirect sunlight, cozy temps, and a humidifier or misting routine to mimic their tropical origins.
Watering wisdom is knowing when to hold back. Keep the soil moist but not soggy, like a well-wrung sponge, to prevent root rot. It's a balancing act worthy of a circus performer.

Overcoming Propagation Pitfalls
🚨 Common Hiccups: Identifying Issues Before They Become Problems
Bromeliad propagation can hit some snags. Yellowing leaves or a growth plateau can signal distress. These are your plant's SOS; don't ignore them. Pests and diseases are stealthy intruders, so keep a vigilant eye. A routine check can save you from a full-scale invasion.
🛠 Quick Fixes: Solutions to Keep Your Propagation on Track
When trouble strikes, act fast. Overwatering invites root rot, so let the soil dry between drinks. If your offsets are more limp than a forgotten salad, they might be cold. Move them to a warmer spot, pronto. For fungal foes like gray mold, improve airflow and consider a fungicide—think of it as plant medicine. And remember, clean tools are non-negotiable; they're the difference between a successful operation and a botched job.

⚠️ Safety First
This content is for general information and may contain errors, omissions, or outdated details. It is not medical, veterinary advice, or an endorsement of therapeutic claims.
Always consult a qualified healthcare professional before using any plant as food, medicine, or supplement.
Never eat any plant (or feed one to pets) without confirming its identity with at least two trusted sources.
If you suspect poisoning, call Poison Control (800) 222-1222, the Pet Poison Helpline (800) 213-6680, or your local emergency service immediately.
Spotted an error? Please report it here.
Turn your Bromeliad pups into thriving plants with Greg's custom care reminders 🌱, ensuring they're watered just right and pampered with the perfect conditions from this guide!