8 Secrets to Successfully Grow Bromeliad
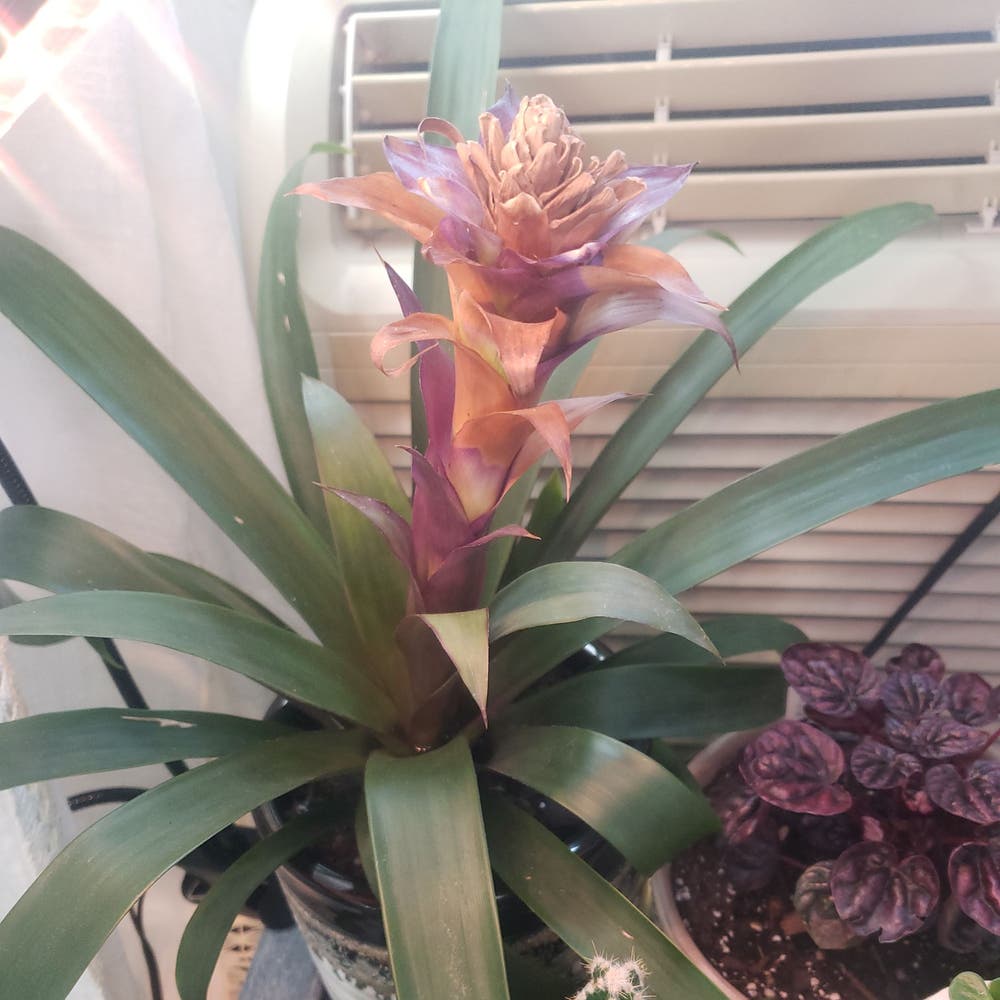
Neoregelia 'Shenba'
By the Greg Editorial Team
Jul 26, 2024•7 min read
This article was created with the help of AI so we can cover more plants for you. May contain errors. See one? Report it here.
- 🌡️🌤️ Bright, indirect light and warmth (60°F-80°F) are key for Bromeliad health.
- 💧🌱 Maintain 50-80% humidity and use well-draining soil for robust growth.
- ✂️🌿 Prune and feed seasonally to promote vitality and tackle common challenges.
Ideal Growing Conditions
Bromeliads are not just plants; they're a tropical ticket to a lush, vibrant indoor landscape. Let's talk about their sweet spots for light and temperature.
🌞 Light and Temperature: The Sweet Spot for Bromeliads
- Bright, Indirect Light: Position your Bromeliads where they can bask in bright, but not direct, sunlight. A spot near a window with a sheer curtain is ideal.
- Consistent Warmth: These tropical treasures prefer a steady temperature range between 60°F (15°C) and 80°F (27°C). Keep them cozy and away from cold drafts or sudden temperature changes.
Creating the right environment for your Bromeliads is like setting the stage for a star performer. Now, let's ensure the air around them is just as perfect.
💧 Humidity and Airflow: Creating a Tropical Microclimate
- Humidity Levels: Aim for a humidity level between 50-80%, to mimic their rainforest origins. If your air is drier, consider using a humidifier or clustering plants together to raise the moisture in the air.
- Air Circulation: Gentle air movement is key. A soft fan can prevent stagnation and keep your Bromeliads happy without turning your space into a wind tunnel.
By hitting these growth requirements, you'll have a thriving Bromeliad that's as happy as it is stunning.
Soil and Planting
Bromeliads thrive in a unique soil mix that caters to their specific needs.
🌿 The Perfect Mix: Soil composition for Bromeliads
- Combine 2 parts soil with 1 part bark and 1 part perlite for the ideal balance of drainage and moisture retention.
- Ensure the mix is coarse and porous, with a pH between 5 and 6, to support healthy root systems.
- For epiphytic Bromeliads, consider a soilless mix or mounting them to bark or wood to mimic their natural habitat.
🌱 Planting Protocol: Steps for potting and garden placement
- Select a pot that's slightly larger than the current one, with a diameter 1-2 inches wider.
- Choose a pot material that promotes good drainage, such as terra cotta or ceramic, with drainage holes at the bottom.
- Place the Bromeliad in the center of the new pot, with the base of the plant slightly above the soil level.
- Add the soil mix around the sides, gently patting it down to secure the plant without compacting the soil.
- In the garden, ensure the planting area mimics the Bromeliad's natural conditions, with well-draining soil and partial shade.
Watering Bromeliads
Watering Bromeliads is more of an art than a strict schedule. These tropical beauties prefer their central vase kept moist but not waterlogged. Here’s how to strike the right balance:
Watering Wisdom: How much and how often
- In warm climates, check the central cup weekly, ensuring it's never dry.
- During cooler months, prevent water stagnation by flushing the cup regularly.
- Use distilled or rainwater to avoid mineral buildup.
- The soil should be damp, not soggy—aim for a moisture probe reading of 2-4.
Central Cup Care: Managing moisture where it matters
- Fill the central tank until it overflows slightly, moistening the soil.
- Empty and refill the central vase monthly to keep the water fresh.
- If you're in a dry environment, misting can boost humidity around your Bromeliad.
- For indoor Bromeliads, adjust your watering frequency to the humidity and temperature of your home.
Feeding Your Bromeliad
Bromeliads are not all that demanding when it comes to their diet, but they do appreciate a thoughtful feeding routine. Here's how to get it right.
🌿 Nutrient Know-How: Understanding Bromeliad Feeding Needs
- Research your Bromeliad species to tailor its nutrient intake.
- Look for signs of nutrient deficiency, such as dull or pale leaves.
- Choose a balanced, water-soluble fertilizer, ideally one formulated for Bromeliads.
- Include a mix of nitrogen (N), phosphorus (P), and potassium (K) for overall plant health.
🌱 Fertilizer Frequency: Timing and Types for Optimal Growth
- Fertilize monthly or bimonthly during the active growing season (spring and summer).
- Avoid fertilizing in the cooler, dormant months to prevent harm.
- Apply fertilizer when soil is moist and distribute evenly to avoid root burn.
- Start with a smaller amount of fertilizer and adjust based on the plant's response.
- Flush excess fertilizer by watering thoroughly with filtered, room-temperature water.
Remember, less is often more with Bromeliads. Overfeeding can lead to salt buildup and damage, so it's better to err on the side of caution.
Pruning and Lifecycle Care
Pruning is essential to maintain your Bromeliad's appearance and encourage healthy growth. Here's how to keep your plant in top shape:
- Inspect for dead or damaged leaves and spent flower stalks.
- Use clean, sharp shears and cut at the base, leaving a margin to protect healthy tissue.
- Clean up all debris post-pruning to prevent disease.
✂️ Trimming Techniques
Bromeliads require a gentle touch and an eye for aesthetics when pruning:
- Aim for symmetry and balance by stepping back and checking your work after each snip.
- Rotate the plant to ensure it looks good from all angles.
🔄 Lifecycle Changes
As Bromeliads progress through their lifecycle, your care approach should adapt:
- After the central flower fades, it's time to prune and focus on new growth.
- Watch for the emergence of pups, which signal the next generation.
- Separate pups from the mother plant when they're about a third to half her size.
Remember, pruning isn't just about looks; it's about directing the plant's energy to where it's needed most.
Overcoming Bromeliad Challenges
Bromeliads are generally hardy, but they're not invincible. Let's tackle how to keep them thriving.
🛠 Troubleshooting Tips: Identifying and Addressing Common Issues
- Overwatering: Keep the soil moist but not soggy to prevent root rot. If the leaves brown, reassess your watering schedule.
- Pests: Spider mites, mealybugs, and scale can be evicted with a cotton swab dipped in alcohol or by hand removal.
- Environmental Stress: Browning tips might signal low humidity or excess fertilizer. Increase humidity and flush the soil to remove salt build-up.
🦠 Pest and Disease Prevention: Keeping your Bromeliad Healthy
- Regular Inspections: Catch pests early by checking your plants often. Quarantine new additions to prevent spread.
- Cleanliness: Remove debris and prune to promote airflow, which helps prevent disease.
- Healthy Growing Conditions: Ensure adequate light and avoid overwatering to make your Bromeliad less appealing to pests.
- Natural Predators: Encourage beneficial insects that can help control pest populations.
- Chemical Treatments: Use them sparingly and as a last resort. Test on a small area first to avoid harming the plant.
Cultivation Techniques
Outdoor Versus Indoor: Adapting care for different environments
Bromeliads are versatile, thriving both outdoors and indoors with the right care. Outdoor Bromeliads bask in the natural light and fresh air, but they require protection from frost and intense direct sunlight. Indoors, they adapt well to less favorable conditions, although they still need bright light and good air circulation. Here's how to optimize their environment:
For outdoor Bromeliads:
- Choose a spot with bright, indirect sunlight.
- Protect from frost by moving them indoors during cold snaps.
- Stake taller varieties in windy areas.
- Monitor soil moisture in rainy seasons to prevent overwatering.
For indoor Bromeliads:
- Place in a location with ample bright, indirect light.
- Ensure the room has good airflow.
- Water thoroughly, allowing excess to drain—avoid soggy conditions.
- Use rich, organic soil with excellent drainage.
Container Considerations: Ensuring Bromeliad bliss in pots
The right container is crucial for Bromeliad health. These plants don't have extensive root systems, so they don't need large pots, but they do require good drainage to prevent root rot. Here are some tips for container success:
- Select a pot that complements the size of your Bromeliad, allowing for growth.
- Use a light, porous potting mix designed for epiphytes or orchids.
- Choose containers with drainage holes to avoid water accumulation.
- Consider the material—clay pots offer better breathability than plastic.
- Repot only when necessary, as Bromeliads prefer to be slightly root-bound.
By following these guidelines, you can enjoy the lush, vibrant beauty of Bromeliads, whether they grace your garden or brighten your home.
⚠️ Safety First
This content is for general information and may contain errors, omissions, or outdated details. It is not medical, veterinary advice, or an endorsement of therapeutic claims.
Always consult a qualified healthcare professional before using any plant as food, medicine, or supplement.
Never eat any plant (or feed one to pets) without confirming its identity with at least two trusted sources.
If you suspect poisoning, call Poison Control (800) 222-1222, the Pet Poison Helpline (800) 213-6680, or your local emergency service immediately.
Spotted an error? Please report it here.
Achieve bromeliad brilliance 🍍 by letting Greg tailor your plant's care to perfection, from humidity to pruning reminders.