Should I Repot My Bromeliad And If So, How?
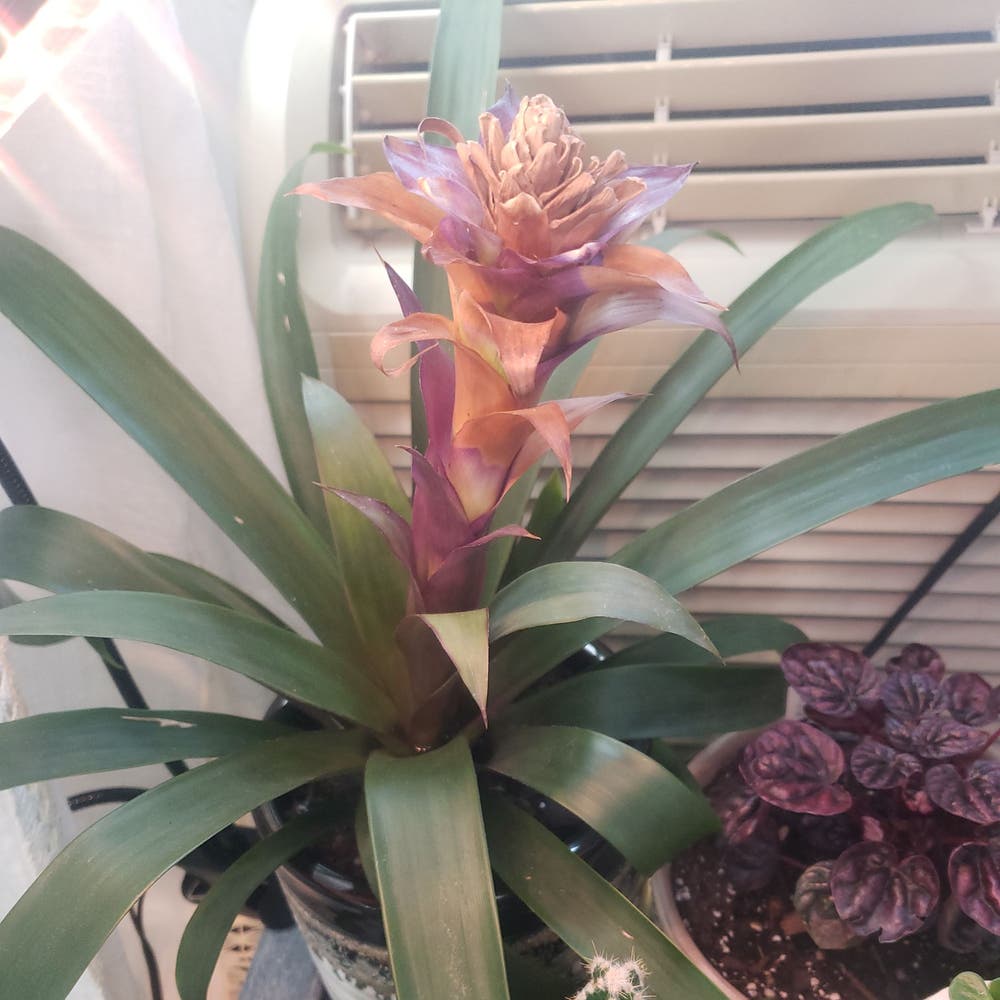
Neoregelia 'Shenba'
By the Greg Editorial Team
Jun 18, 2024•4 min read
This article was created with the help of AI so we can cover more plants for you. May contain errors. See one? Report it here.
- Roots peeking out? Time to repot your Bromeliad.
- 🌱 Spring repotting aligns with Bromeliad growth cycles.
- Choose the right pot for healthy roots and proper drainage.
Spotting the Telltale Signs for Repotting
🌱 Outgrowing the Pot: When Your Bromeliad Says It's Time to Move
Your Bromeliad's roots should be cozy, not cramped. Roots peeking out of the drainage holes? That's your plant's version of waving a white flag. It's a clear-cut sign: upgrade the living quarters.
🌿 Root Tango: Understanding Root Overcrowding
If your potting mix dries out faster than your phone on a 1% battery, take note. Slow growth is another red flag. It's not just being lazy—it's likely root-bound. Overcrowding is the enemy of happy roots.
🌸 Seasonal Timing: Best Times of Year to Repot Bromeliads
Spring is your go-to season for repotting. It's like the plant world's version of spring cleaning. This is when your Bromeliad is ready to grow and can handle change best. Avoid winter repotting; it's like throwing a pool party during a snowstorm—not ideal.

Choosing the Right Pot for Your Bromeliad
📏 Size Matters: Selecting the Right Pot Size
Size is non-negotiable when it comes to pots. Your Bromeliad's roots need room to dance but not throw a rave. A pot too large invites moisture to overstay its welcome, leading to root rot. Here's a quick cheat sheet:
- Small Bromeliad: 3″-4″ pot
- Medium Bromeliad: 5″-6″ pot
- Large Bromeliad: 8″ pot
- Very Large Bromeliad: 10″ pot
🏺 Material World: Pros and Cons of Different Pot Materials
Terracotta is the cool kid, porous and breathable, letting soil moisture and roots live their best life. Plastic is the budget-friendly option, light and versatile, but can trap water like a mini swimming pool without proper drainage. Ceramic pots can be showstoppers, but they're like that high-maintenance friend who needs just the right amount of attention to prevent waterlogging.
🚰 Drainage Drama: Ensuring Your Pot Choice Helps Prevent Waterlogging
Drainage isn't drama if you do it right. Your pot needs holes at the bottom like a good colander. Consider adding a layer of gravel or lava rock to keep the exit route clear for water. And remember, a well-draining potting mix with perlite is like giving your Bromeliad VIP access to the perfect living conditions.

The Repotting Rundown: A Step-by-Step Guide
🛠️ Prepping Your Tools and Space
Before diving into the repotting process, assemble your tools. You'll need gloves, a trowel, scissors or shears, and something to cover the drainage holes—like plastic netting. Ensure your workspace is ready to handle a bit of mess because let's face it, soil has a knack for getting everywhere.
🔄 Out with the Old: Removing Your Bromeliad Safely
Gently coax your Bromeliad out of its current pot. If it's playing hard to get, run a knife around the edge to loosen the grip. Remember, it's not a wrestling match—ease the plant out without turning it into a root massacre.
🌱 In with the New: Potting Mix and Planting
Now, let's talk dirt. Mix up a batch of Bromeliad-friendly soil—think airy and barky. An organic orchid mix does the trick, offering the right balance of nutrients and breathability. Center your plant in the new pot and introduce it to its fresh soil bed. Don't pack it down like you're stuffing a turkey; these roots need room to groove. Water thoroughly but with a gentle hand—no waterboarding your green buddy.
Remember, repotting isn't just about giving your plant a new home—it's about setting the stage for its next growth spurt. So, get your hands dirty and show your Bromeliad some love.

Bromeliad Aftercare: Post-Repotting Tips
💧 Watering Wisely: Adjusting Your Routine After Repotting
After repotting, water your Bromeliad as if it's just crossed the Sahara—thoroughly, but just once. Then, channel your inner desert, letting the soil approach dryness before the next watering. Overwatering is a no-go; it's the helicopter parenting of plant care. Your Bromeliad's roots prefer to breathe, not swim.
🏡 Settling In: Helping Your Bromeliad Acclimate
Think of your Bromeliad as the new kid on the block. It needs time to settle in and make friends with its surroundings. Keep the environment consistent—no drastic changes in lighting or location. If it starts throwing a tantrum (droopy leaves, anyone?), tweak its care routine subtly. It's less about coddling and more about gentle guidance.
🌞 Light and Humidity: Ensuring Optimal Conditions for Recovery and Growth
Your Bromeliad craves that bright, indirect light—like a sunbather who doesn't want to burn. Too much direct sunlight, and you'll have a crispy plant on your hands. Humidity is your secret weapon; it's like a spa day for your Bromeliad's leaves. But remember, balance is key—too much moisture, and you're in a fungal horror story. Keep it bright, keep it humid, but keep it smart.
⚠️ Safety First
This content is for general information and may contain errors, omissions, or outdated details. It is not medical, veterinary advice, or an endorsement of therapeutic claims.
Always consult a qualified healthcare professional before using any plant as food, medicine, or supplement.
Never eat any plant (or feed one to pets) without confirming its identity with at least two trusted sources.
If you suspect poisoning, call Poison Control (800) 222-1222, the Pet Poison Helpline (800) 213-6680, or your local emergency service immediately.
Spotted an error? Please report it here.
Embrace your Bromeliad's growth by repotting at just the right time 🌿 and let Greg's custom care plan ensure your plant thrives in its new space!