4 Tips for How to Plant Bromeliad
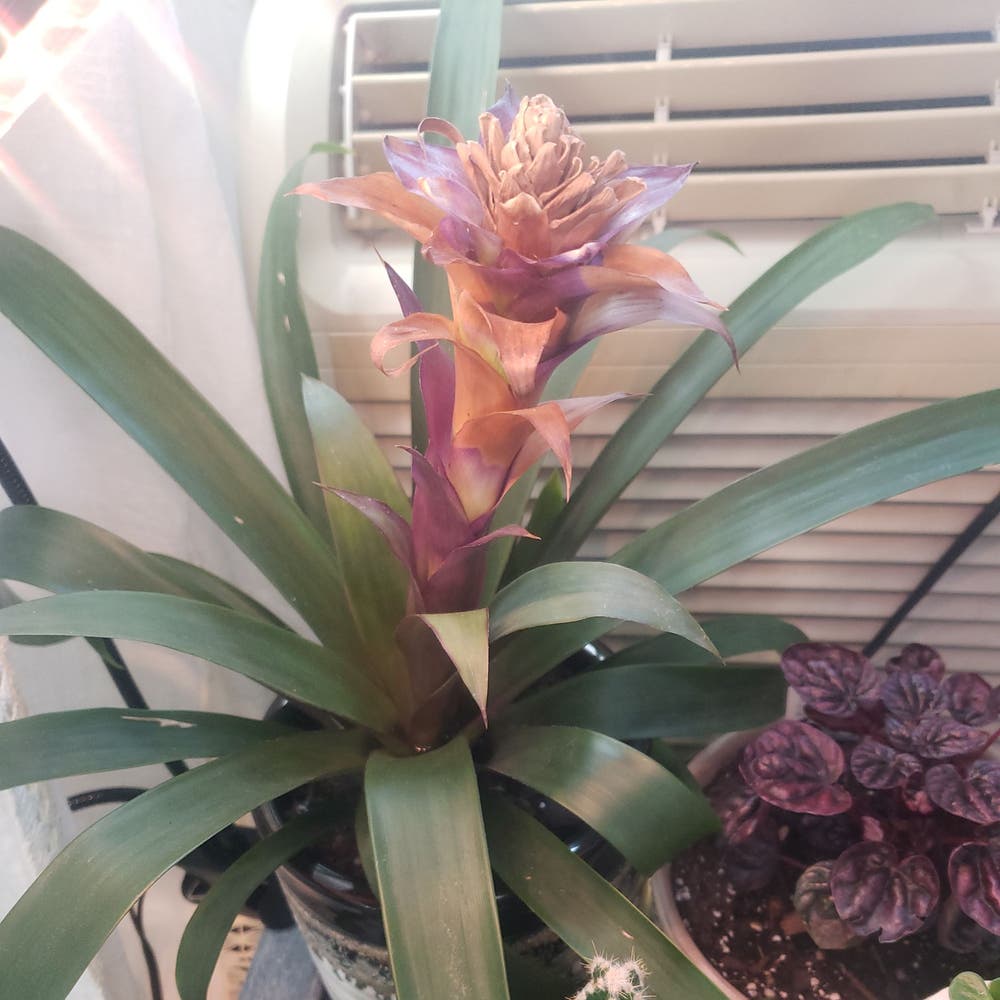
Neoregelia 'Shenba'
By the Greg Editorial Team
Jul 26, 2024•6 min read
This article was created with the help of AI so we can cover more plants for you. May contain errors. See one? Report it here.
- 🌱 Seeds vs. Transplants: Consider time, cost, and adaptability for Bromeliads.
- 🌞🌡️ Timing & Climate: Essential for seed starting and transplant success.
- 🚫🌱 Avoid Pitfalls: Learn to manage poor germination and transplant shock.
Choosing Your Planting Method
Deciding between starting Bromeliads from seeds or transplanting established plants is a pivotal step in your gardening journey. Let's dissect the pros and cons of each method to guide your green thumb.
🌱 Seed Starting vs. Transplanting
- Time Investment: Seeds take longer to mature but offer a greater sense of accomplishment. Transplants give you a head start, ideal for shorter growing seasons.
- Cost: Seeds are generally cheaper and offer more variety, while transplants can be costlier but reduce the wait for growth.
- Plant Adaptability: Seeds can adapt from the get-go to your local conditions, whereas transplants need careful acclimatization to avoid shock.
👩🌾 Novice Gardener Considerations
- Space: Seeds can start in small containers, saving space. Transplants need immediate garden real estate.
- Resources: Do you have the time to nurture seeds, or would the convenience of transplants suit your lifestyle better?
- Desired Challenge Level: Seeds may require more learning but can be incredibly rewarding. Transplants are less daunting for a first-time gardener.
Starting from Seeds/Bulbs
🌡️ Timing and Climate Considerations
Bromeliads have unique growth cycles, and knowing when to plant your seeds or bulbs is crucial. Aim for a period when temperatures consistently range between 70 and 80 degrees Fahrenheit. This warmth, coupled with high humidity, sets the stage for successful germination—usually within two weeks, though patience may be required as some varieties take longer.
🌱 Soil Mix and Container Selection
Choosing the right environment for your Bromeliad seeds or bulbs is a game-changer. Go for a sterile, soilless potting mix that retains moisture yet allows for drainage—half peat moss and half vermiculite is a solid choice. Containers should have drainage holes and be clear to let in light; think repurposed soda bottles or food containers.
🌿 Sowing Techniques
- Pre-moisten your potting mix to a damp, not soggy, consistency.
- Fill the container halfway, ensuring a level surface.
- Sprinkle seeds on top without burying them in the soil.
- Cover with a clear lid or plastic wrap to create a mini terrarium effect.
- Place in bright, indirect light and maintain consistent moisture without watering from the top.
🌱 Seedling Care Basics
Once your Bromeliad seedlings emerge, they'll need your watchful eye. Remove the cover periodically to check on them, but keep them mostly covered until they boast 2 or 3 leaves. During this stage, protect them from direct sunlight and maintain the humidity they crave.
🌞 Hardening Off Seedlings
Gradually acclimate your Bromeliad babies to their new outdoor home. Start by exposing them to more air and a bit of direct light, increasing their outdoor time daily. This process strengthens them, preparing for a life beyond the sheltered confines of their germination container.
Transplanting Bromeliads
🌱 When to Transplant
Timing is crucial for transplanting Bromeliads. Aim for spring or early summer when the plant is in its active growth phase. This period provides optimal conditions for the Bromeliad to establish itself in its new location. Avoid the dormant winter months to prevent unnecessary stress on the plant.
🌿 Transplanting Steps
Transplanting Bromeliads involves a few careful steps:
- Water the plant lightly before starting to ease the removal process.
- Gently tilt the pot and tap its sides to help the Bromeliad slide out. If needed, run a knife around the inside edge to loosen the soil.
- Inspect the roots, trimming any that are damaged or rotting.
- Place the Bromeliad in the new pot, ensuring it's not too deep.
- Backfill with well-draining soil, being careful not to bury the plant too deeply.
🌺 Post-Transplant Care
After transplanting, Bromeliads need particular attention to thrive:
- Light: Position in bright, indirect sunlight to avoid leaf scorch.
- Humidity: Maintain around 50% humidity. Mist the plant or use a pebble tray with water to increase moisture.
- Watering: Water the central cup, ensuring it doesn't overflow. Empty it regularly to prevent stagnation and root rot.
- Temperature: Keep the Bromeliad in a warm spot, ideally between 60-80°F (15-27°C), away from cold drafts.
- Fertilizing: Use a diluted, balanced liquid fertilizer sparingly every few months during the growing season.
Planting Pitfalls and Solutions
🌱 Seed/Bulb Challenges
Bromeliad enthusiasts often face hurdles when starting from seeds or bulbs. Poor germination tops the list, but don't let it discourage you. Here's how to nip these issues in the bud:
- Sterilize planting trays and tools to prevent fungal diseases.
- Use a high-quality potting mix designed for seedlings.
- Keep the soil moist, but avoid waterlogging. Bottom watering can help.
- Ensure your seedlings get plenty of light but not direct sunlight.
- Maintain good airflow around the plants to ward off mold and mildew.
- If germination is slow, verify soil temperature and adjust heating if necessary.
🌿 Transplanting Troubles
Transplanting Bromeliads can be tricky, but understanding transplant shock is key to success. Here are steps to help your plants thrive post-move:
- Before transplanting, hydrate your Bromeliad thoroughly.
- Gently loosen the root ball to encourage root expansion in the new soil.
- Plant at the same depth as in the original container to avoid stem rot.
- Water the plant well after transplanting to settle the soil around the roots.
- Mulch to retain moisture and regulate soil temperature.
- Provide shade for a few days to help the plant adjust to its new environment.
Remember, Bromeliads are resilient. With patience and proper care, they'll bounce back from most planting pitfalls.
Wrapping Up Planting Success
Planting bromeliads can be a deeply rewarding experience, blending patience with excitement as you watch your efforts come to life. Here's a quick recap of the essentials for bromeliad planting success:
- Choose the right method: Whether starting from seeds/bulbs or transplanting, select the approach that matches your time, resources, and level of gardening experience.
- Time it right: Align your planting activities with the bromeliad's growth cycle and the climate it thrives in.
- Create the ideal environment: Use the appropriate soil mix, containers, and provide the right amount of light and water.
- Nurture and support: From the delicate seedling stage to the robust transplant, give your bromeliads the care they need to flourish.
As you reflect on the planting process, remember that each step is a learning opportunity. Anticipate the lush growth of your bromeliads and the vibrant colors they'll bring to your garden or home. Your journey with these exotic plants is just beginning, and the joy they bring will only grow with time. Keep nurturing, keep learning, and most importantly, enjoy the botanical wonders you're cultivating.
⚠️ Safety First
This content is for general information and may contain errors, omissions, or outdated details. It is not medical, veterinary advice, or an endorsement of therapeutic claims.
Always consult a qualified healthcare professional before using any plant as food, medicine, or supplement.
Never eat any plant (or feed one to pets) without confirming its identity with at least two trusted sources.
If you suspect poisoning, call Poison Control (800) 222-1222, the Pet Poison Helpline (800) 213-6680, or your local emergency service immediately.
Spotted an error? Please report it here.
Embrace the joy of growing Bromeliads, from seed to showy display, with thriving tips 🌱 from Greg, tailored to your gardening journey.