Should I Repot My Jewel Alocasia And If So, How?
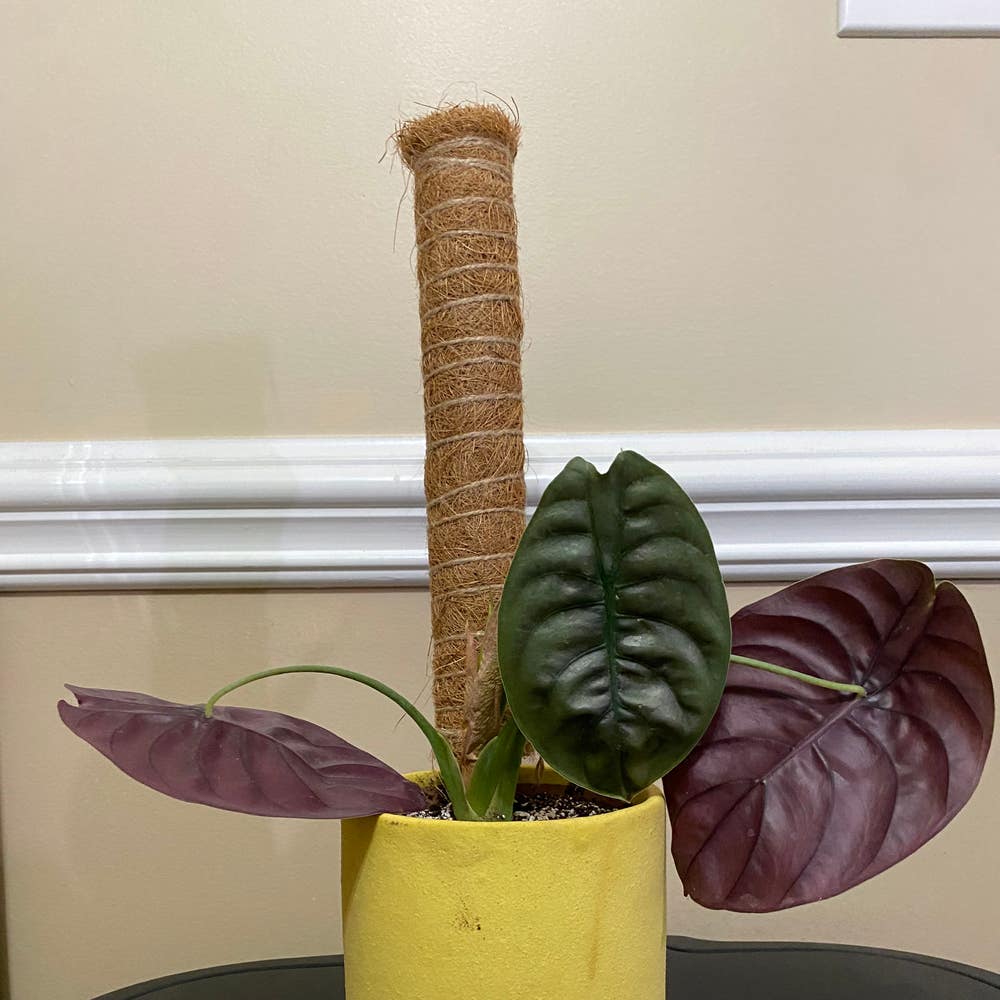
Alocasia cuprea
By the Greg Editorial Team
Jun 15, 2024•7 min read
This article was created with the help of AI so we can cover more plants for you. May contain errors. See one? Report it here.
Discover the secrets to a thriving Jewel Alocasia 🌿 by nailing the perfect repotting moment and method.
- 🌱 Repot when roots overgrow: roots peeking out or circling inside the pot.
- 📅 Spring/early summer is best for repotting Jewel Alocasia.
- 🌿 Choose the right pot and soil: only 1-1.5 sizes larger, well-draining mix.
Recognizing the Need to Repot
Jewel Alocasia, with its slow growth, rarely screams for a repot. But when it does, you better listen.
🌱 Signs of a Tight Squeeze
Roots peeking out of drainage holes are the plant's version of waving a white flag. If the roots are circling the pot's interior like a constrictor snake, that's your cue.
🏠 The Crowding Effect
Root crowding isn't just a space issue; it's a health hazard. Nutrient uptake takes a hit, leaving your plant hangry and more prone to pests.
🍯 The Pot Proportion Principle
A pot that looks like a pea under a mattress means it's time to upgrade. But remember, Jewel Alocasia isn't looking for a mansion—just a slightly roomier abode.
🕰 Timing is Everything
Spring or early summer is the repotting sweet spot. It's like the plant's New Year—time for resolutions and new beginnings in a fresh pot.
🌱 The Fresh Soil Factor
When you're seeing more roots than soil, it's a dead giveaway. Fresh soil equals fresh nutrients, and who doesn't love a good refuel?
📉 Growth Stagnation
If your Jewel Alocasia's growth has stalled like a bad date, it might be begging for a change of scenery. No growth means no bueno.
💧 The Watering Tell
Overwatering can be a false alarm. If you're following the rules but still getting soggy soil, it could be the pot size, not your watering skills, that's the culprit.
💎 The Bulb Bonus
While you're in there, keep an eye out for bulbs. These little gems can be the start of your very own Alocasia treasure trove.
🚫 The Overpotting Trap
Bigger isn't always better. A pot too large can stress your plant out like an introvert at a surprise party. Stick to a modest size increase—1.5 pot sizes max.
Remember, repotting is like a plant spa day—it's all about rejuvenation. Keep these signs in mind, and your Jewel Alocasia will thank you with luscious growth and that signature tropical vibe.

Timing Your Repotting Efforts
Spring into action when repotting your Jewel Alocasia; that's the sweet spot. The plant's gearing up for growth, making it the optimal season for a change of scenery.
⏰ Why Spring or Early Summer?
These seasons are like a green light for your Alocasia. It's waking up, stretching its leaves, and ready to expand. Repot now, and you give it a full season to thrive post-transplant.
🚦 The Exceptions to the Rule
Sure, spring's ideal, but if your plant's sending out an SOS, don't wait. Health trumps timing. If it's looking more crowded than a rush-hour subway, it's time to repot, regardless of the calendar.
⏳ The Waiting Game
Just brought home a Jewel Alocasia? Hold your horses. Give it at least six months to settle in before you even think about repotting. It's not just about being pot-bound; it's about reducing stress on your green buddy.
📏 Size Matters
When it's finally time, don't go pot-crazy. Up the size by just 1 or 1.5. Think of it like a shoe that's one size bigger—not a leap to clown shoes. Your plant's roots need a hug, not a dance hall.

Preparing for Repotting
Selecting the right soil mix and pot is crucial for the health of your Jewel Alocasia. Let's dig into the details.
💧 Soil Mix
The ideal soil for Jewel Alocasia should be moisture-retentive yet well-draining. A blend rich in organic matter, like coco coir or sphagnum moss, will keep your plant happy. Avoid soil that compacts over time, as this can suffocate the roots. For a nutrient boost, consider adding a dash of gentle organic fertilizer or compost to the mix.
🌱 Choosing a New Pot
When it comes to pots, size matters. Upgrade only 1 to 1.5 sizes larger to prevent stress. Material-wise, terra-cotta or ceramic pots are stable choices, especially for top-heavy plants. They're not just chic; they help regulate soil moisture too. And let's not forget about drainage holes—they're non-negotiable unless you fancy root rot.
Remember, your Alocasia isn't a fan of change, so keep repotting to a minimum—every 2 years should suffice. Now, with the right soil and pot in hand, you're all set to give your plant a fresh new start.

The Repotting Process
🌱 Getting Started
Prepare your workspace with all necessary tools: gloves, fresh potting mix, a new pot, and clean scissors or shears. Ensure the new pot is only 1 to 1.5 sizes larger than the current one to avoid stress.
🕵️♂️ Root Inspection
Gently remove the Jewel Alocasia from its pot, inspecting the root system. If tangled or dense, it's time. Trim any dead or rotting roots carefully to promote healthy growth.
🏞️ Pot Preparation
Layer the new pot's bottom with a mix of peat, perlite, and potting soil, ensuring good drainage. This is crucial for preventing root rot, a common post-repotting issue.
🌿 Plant Positioning
Place the plant in the center of the pot, filling around with more soil mix. The goal is to give the roots room to breathe, not to bury them in a soil avalanche.
💧 Final Touches
Water the plant thoroughly after repotting, allowing excess water to drain. This settles the soil and eliminates air pockets, which can be detrimental to root health.
🌳 Aftercare
Keep the plant in a stable environment with indirect light and avoid fertilizing for at least a month to allow it to recover from the repotting shock.
Remember, Jewel Alocasia doesn't need frequent repotting. It's a bit like a haircut; do it too often, and you'll end up with a botched job. But get it right, and it's a total glow-up for your plant.
Post-Repotting Care
🚑 Immediate Aftercare
Monitor closely for signs of stress in your Jewel Alocasia after repotting. It's like a post-surgery patient; it needs gentle care. Keep it in a stable environment, away from direct drafts or extreme temperatures. Avoid the temptation to overwater; the soil's moisture retention has changed, so check before giving it a drink.
Long-Term Maintenance
For the long haul, your Alocasia's needs are simple but specific. Light is a biggie—indirect sunlight is your best bet. Watering? It's a Goldilocks situation: not too much, not too little. Rotate the pot occasionally to prevent your plant from becoming the Leaning Tower of Pisa. And hold off on the fertilizer for at least six months; let the plant settle in first.
Remember, patience is key. Your plant might sulk before it struts its stuff again. Keep an eye out for any warning signs like yellowing leaves, and adjust care as needed. With the right attention, your Jewel Alocasia will be back to its glossy self in no time.
Troubleshooting Common Post-Repotting Issues
Identifying and resolving issues that may arise after repotting can be a bit like playing plant detective. Let's dig in.
🌱 Wilting Leaves: Transplant Shock or Something More?
Wilting leaves post-repot can scream transplant shock. But don't just nod and move on; ensure it's not a watering faux pas or a root-bound relapse.
🕵️ Root Check: The Unseen Culprit
Root health is pivotal. If your Jewel Alocasia is throwing a fit, unpot it gently and check for rot or pests. Better to catch these party crashers early.
💛 Yellowing: A Sign to Decipher
Yellow leaves can be the plant's SOS signal. Overwatering? Underwatering? It's a guessing game, but checking the soil moisture gives you a clue.
📉 Growth Stagnation: Patience or Problem?
If your Alocasia is playing statue, give it time. But if it's more stubborn than a mule, consider a nutrient boost or light adjustment.
😓 Drooping After Repotting: The Usual Suspects
Drooping leaves can be drama over new digs or a sign of deeper issues. Check for drastic changes in environment and adjust as needed.
🐜 Pests and Diseases: Unwanted Guests
Post-repotting is prime time for pests to throw a housewarming. Inspect regularly and be ready to show them the door with neem oil or insecticidal soap.
Remember, plants don't come with troubleshooting manuals, so keep your eyes peeled and your mind open. Happy gardening!
⚠️ Safety First
This content is for general information and may contain errors, omissions, or outdated details. It is not medical, veterinary advice, or an endorsement of therapeutic claims.
Always consult a qualified healthcare professional before using any plant as food, medicine, or supplement.
Never eat any plant (or feed one to pets) without confirming its identity with at least two trusted sources.
If you suspect poisoning, call Poison Control (800) 222-1222, the Pet Poison Helpline (800) 213-6680, or your local emergency service immediately.
Spotted an error? Please report it here.
Repot your Jewel Alocasia at the perfect time 🌿 with Greg's PlantVision to identify signs of crowding and get a tailored post-repotting care plan.