🌟 Step-by-Step Guide to Repotting Mirror Plant
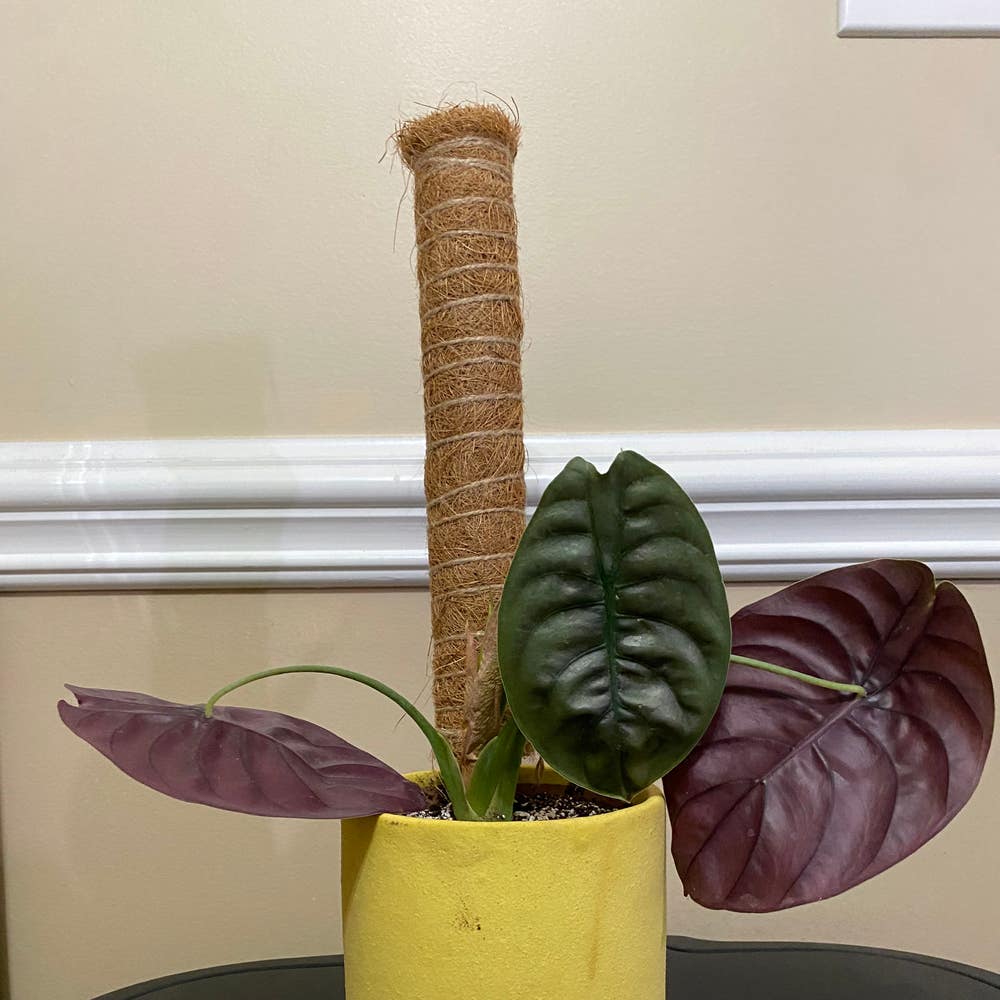
Alocasia cuprea
By the Greg Editorial Team
Oct 09, 2024•7 min read
This article was created with the help of AI so we can cover more plants for you. May contain errors. See one? Report it here.
Revitalize your mirror plant 🌱 by spotting repotting signs and following our expert care guide!
- 🌱 Signs your mirror plant needs repotting: Look for roots out of drainage holes.
- 🏺 Choose a pot 1-2 inches larger for optimal growth and drainage.
- 💧 Water lightly after repotting to help your plant adjust without stress.
Signs That Your Mirror Plant Needs Repotting
🌱 Root Bound Indicators
If you notice roots growing out of the drainage holes, it’s a clear sign your mirror plant is root-bound. Additionally, roots that are circling the pot indicate they need more space to thrive.
Stunted growth, even with proper care, is another red flag. If your plant seems to have hit a growth plateau, it might be time for a new pot.
🏺 Soil Condition
Take a closer look at the soil. If it feels compacted and hard, it’s likely not providing the necessary aeration for healthy roots.
Poor drainage is another issue to watch for. If water pools on the surface instead of soaking in, your plant is struggling with its current soil conditions.
🍃 Plant Health
Keep an eye on the leaves. Yellowing leaves or leaf drop can signal distress, often linked to inadequate space or nutrients.
A noticeable decrease in vigor or growth rate is also concerning. If your mirror plant seems lackluster, it’s a strong indication that repotting is in order.
Recognizing these signs early can make a significant difference in your plant's health. Once you identify the need for repotting, you can move on to the step-by-step process to give your mirror plant the care it deserves.
Step-by-Step Repotting Process
🪴 Preparing the New Pot
Choosing the right pot is crucial for your mirror plant's health. Select a pot that is 1-2 inches larger in diameter than the current one to give those roots some room to grow.
Ensure the pot has adequate drainage holes. This prevents water accumulation, which can lead to root rot. A quick clean with a mild bleach solution will also help keep diseases at bay.
🚪 Removing the Plant from the Old Pot
Now it’s time to get your plant out of its old home. Gently tap the sides of the pot to loosen the soil, making it easier to slide the plant out.
Carefully support the base of the plant as you pull it out. Avoid tugging on the stems to prevent any damage that could stress your plant.
🔍 Inspecting the Root System
Once out, take a moment to inspect the root system. Healthy roots should be white and firm, indicating a thriving plant.
If you spot any brown or mushy roots, trim them away. This step is vital to prevent root rot and ensure your plant can absorb nutrients effectively.
🌱 Placing the Plant in the New Pot
Start by adding a layer of fresh potting soil to the bottom of your new pot. This provides a solid base for your plant.
Position the plant in the center, ensuring it sits at the same depth as before. This consistency helps it acclimate more easily to its new environment.
💧 Filling with Soil and Watering
Next, fill around the plant with your recommended soil mix. Gently press down to eliminate any air pockets, which can hinder root growth.
Finally, water thoroughly until you see water draining from the bottom. This ensures the soil is well-saturated and ready for your plant's roots to thrive.
With these steps completed, your mirror plant is set for a fresh start in its new pot! Now, let’s explore the best pot materials to enhance your plant's growth.
Pot Material Options
Benefits of Terracotta Pots 🌱
Terracotta pots are a gardener's best friend when it comes to breathability and drainage. Their porous nature allows excess moisture to evaporate, reducing the risk of overwatering.
Advantages of Plastic Pots ♻️
Plastic pots are lightweight and easy to handle, making them a favorite for many plant enthusiasts. They also retain moisture longer, which can be a boon in dry conditions.
Disadvantages of Ceramic Pots 🚫
While ceramic pots can be aesthetically pleasing, they often retain too much moisture, increasing the risk of root rot. Additionally, their weight can make them cumbersome to move around.
Choosing the Right Size Pot 📏
Selecting the right size pot is crucial for your mirror plant's health. Aim for a pot that is 1-2 inches larger than the current one to avoid overwatering issues.
Importance of Drainage Holes 💧
Drainage holes are essential for preventing water accumulation at the bottom of the pot. Without them, your plant is at risk of root rot, which can be detrimental to its health.
Understanding the pros and cons of different pot materials helps you make an informed choice. This knowledge sets the stage for ensuring your mirror plant thrives in its new home.
Soil and Drainage
Recommended Soil Mix for Mirror Plant 🌱
For your Mirror Plant, a well-draining potting mix is essential. Consider adding perlite or sand to enhance aeration, ensuring the roots have the space they need to breathe.
Importance of Drainage for Healthy Growth 💧
Proper drainage is crucial for preventing waterlogging, which can severely impact the health of your Coprosma. Without adequate drainage, the roots can suffocate and rot, leading to a decline in plant vitality.
How to Improve Drainage in Pots 🪨
To boost drainage, start by adding gravel or small stones at the bottom of your pot. This simple step helps excess water escape, reducing the risk of root rot.
You can also mix potting soil with coarse materials like perlite or pumice. This combination not only improves drainage but also promotes a healthier root environment.
With the right soil and drainage setup, your Mirror Plant will thrive, setting the stage for successful repotting. Next, let’s explore the post-repotting care that will help your plant adjust smoothly.
Post-Repotting Care
💧 Watering After Repotting
After repotting your mirror plant, it's crucial to water lightly. This helps settle the soil without soaking it, which can lead to root rot.
Wait a few days before resuming your regular watering schedule. This allows the plant to adjust to its new environment.
☀️ Light Requirements Post-Repotting
Position your newly repotted plant in bright, indirect light. This will help it acclimate without overwhelming it.
Avoid direct sunlight for the first week to minimize stress. Too much sun can shock the plant, causing more harm than good.
👀 Monitoring for Transplant Shock
Keep an eye out for signs of transplant shock, such as drooping leaves or slowed growth. These indicators suggest your plant is adjusting to its new home.
If necessary, provide extra humidity to help it recover. A little extra care can go a long way in ensuring your mirror plant thrives after repotting.
With proper post-repotting care, your mirror plant will flourish in its new pot, setting the stage for healthy growth and vibrant foliage. Next, let’s explore common repotting challenges and how to tackle them effectively.
Common Repotting Challenges
🌱 Dealing with Root Rot
Root rot can be a serious issue for your mirror plant. Look out for signs like wilting, yellowing leaves, and mushy roots.
If you notice these symptoms, act quickly. Trim away the affected roots and repot the plant in fresh, dry soil to give it a fighting chance.
✂️ Managing Overgrown Roots
Overgrown roots can lead to a root-bound situation, which is detrimental to your plant's health. Regularly check the root system and trim any excessively long roots to promote healthy growth.
Monitoring your plant's root health is crucial. This proactive approach can prevent future complications and ensure your mirror plant thrives.
😟 Signs of Stress After Repotting
After repotting, your mirror plant may show signs of stress. Common indicators include yellowing leaves, leaf drop, or stunted growth.
To help your plant recover, adjust your care routine. Ensure it receives the right amount of light and water, and be patient as it acclimates to its new environment.
With these strategies in mind, you can tackle common repotting challenges effectively. Now, let’s explore how to provide the best post-repotting care for your mirror plant.
⚠️ Safety First
This content is for general information and may contain errors, omissions, or outdated details. It is not medical, veterinary advice, or an endorsement of therapeutic claims.
Always consult a qualified healthcare professional before using any plant as food, medicine, or supplement.
Never eat any plant (or feed one to pets) without confirming its identity with at least two trusted sources.
If you suspect poisoning, call Poison Control (800) 222-1222, the Pet Poison Helpline (800) 213-6680, or your local emergency service immediately.
Spotted an error? Please report it here.
Transform your mirror plant's home with confidence 🌿 by using Greg's tailored reminders and expert tips to ensure a smooth repotting process!