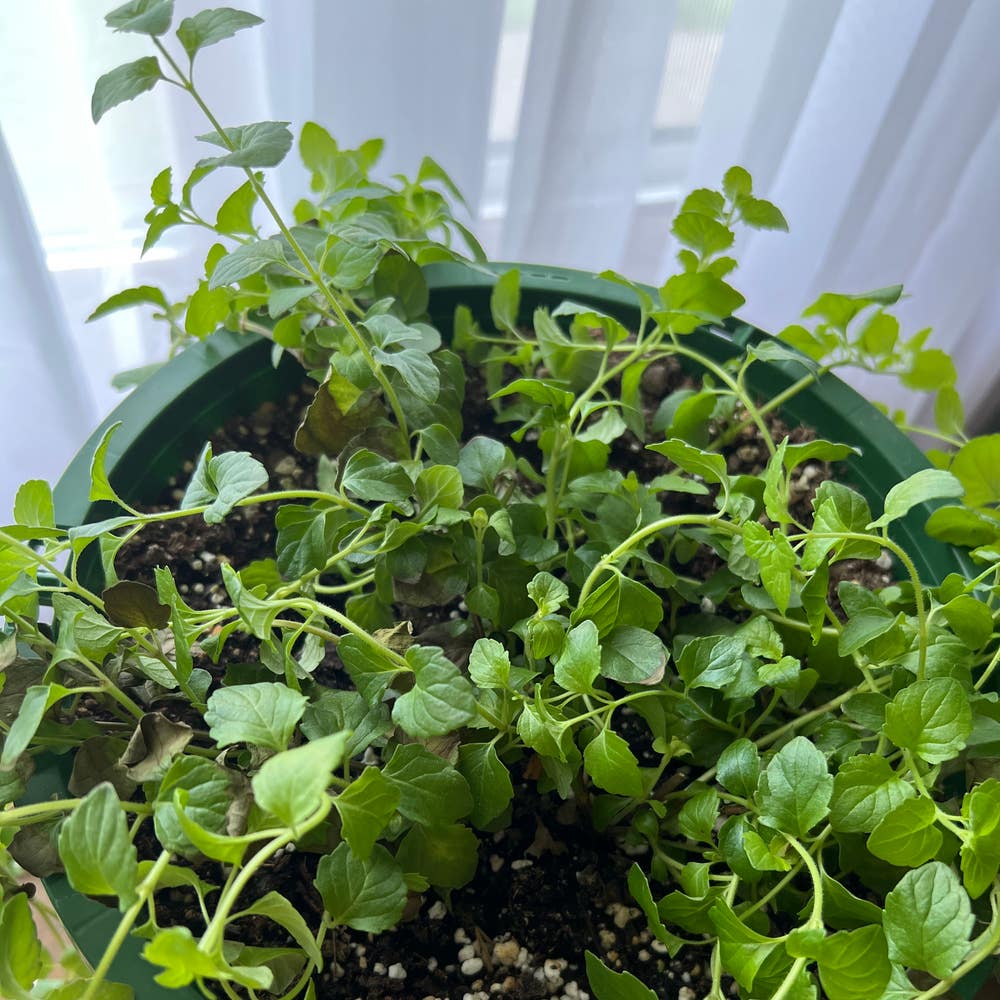
🌿 When and How to Repot Your Indian Mint
Coleus amboinicus
By the Greg Editorial Team
Nov 06, 2024•7 min read
This article was created with the help of AI so we can cover more plants for you. May contain errors. See one? Report it here.
Unlock your Indian mint's full potential 🌱 by learning the essential signs and techniques for successful repotting!
- 🌱 Repot Indian mint when roots emerge from drainage holes to prevent root-bound issues.
- 🌼 Best time to repot is early spring, just before the growing season starts.
- 💧 Use well-draining soil and monitor moisture to keep your mint thriving post-repotting.
Signs That Indian Mint Needs Repotting
👀 Visual Indicators
Recognizing when your Indian mint needs repotting is crucial for its health. One clear sign is roots emerging from the drainage holes, indicating the plant is root-bound.
Additionally, if you notice stunted growth—like a lack of new leaves or slow development despite proper care—it's time to take action. Wilting or yellowing leaves can also signal that the plant lacks sufficient space for root expansion.
🌱 Root Health Assessment
To assess root health, gently remove the plant from its pot and inspect the root mass. Checking root density can reveal if the roots are tightly packed, which is a sign of being root-bound.
Look for signs of root rot as well; dark, mushy roots indicate overwatering or poor drainage. If you encounter these issues, repotting is essential to restore your plant's vitality.
🔄 Frequency of Repotting
As a general guideline, repot your Indian mint every 1-2 years or whenever you observe signs of root-bound conditions. Keeping an eye on these indicators will help ensure your mint thrives in its environment.
With these signs in mind, you can confidently determine when it's time to give your Indian mint a new home. Next, let’s explore the ideal timing for repotting to maximize your plant's growth potential.
Ideal Timing for Repotting Indian Mint
🌱 Seasonal Considerations
The ideal time to repot your Indian mint is early spring, just before the growing season kicks off. This timing allows the plant to establish itself in its new pot while it’s gearing up for growth.
Avoid repotting during the flowering phase. This can stress the plant and hinder its overall growth, potentially leading to a less vibrant mint.
🌡️ Environmental Factors
Temperature plays a crucial role in successful repotting. Ensure that temperatures are consistently above 15°C (60°F) to minimize shock to the plant.
Soil moisture is another key factor. Aim to repot when the soil is slightly moist but not soggy, making it easier to handle the roots without causing damage.
By paying attention to these seasonal and environmental cues, you can set your Indian mint up for a thriving future. This careful timing will help ensure that your plant not only survives the transition but flourishes in its new home.
Repotting Techniques
Repotting your Indian mint can seem daunting, but with the right approach, it’s a straightforward process. Follow this step-by-step guide to ensure your plant thrives in its new home.
Step-by-Step Guide to Repotting Indian Mint 🌱
Prepare the new pot: Choose a pot that is 1-2 inches larger in diameter than the current one. This extra space allows for healthy root growth.
Select appropriate potting soil: Use a well-draining mix that’s suitable for herbs. This will keep your mint happy and healthy.
Remove the plant: Gently slide the plant out of its current pot. Be careful not to damage the roots during this process.
Inspect and trim roots: Check for any dead or rotting roots and remove them. Untangle any circling roots to promote better growth.
Place in new pot: Position the plant in the center of the new pot. Make sure the roots are spread out evenly.
Fill with soil: Add potting soil around the roots, pressing lightly to eliminate air pockets. This helps the plant settle in.
Water thoroughly: Give the plant a good drink to help settle the soil and provide moisture. This is crucial for its recovery.
Handling Roots During Repotting 🤲
Avoid excessive root disturbance: Handle the roots gently to minimize stress. This is key to a successful repotting.
Pruning roots: Trim back any overly long or damaged roots. This encourages new growth and helps the plant adapt.
Best Practices for Transplanting Indian Mint 🌿
Use clean tools: Always sterilize your scissors or pruners before use. This prevents disease transmission and keeps your plant healthy.
Water before repotting: Ensure your plant is well-hydrated before you start. This reduces transplant shock and helps it adjust to its new environment.
By following these techniques, you’ll set your Indian mint up for success in its new pot. With the right care, it will flourish and continue to provide you with fresh, aromatic leaves. Next, let’s explore the best pot material options for your mint.
Pot Material Options
Pros and Cons of Different Pot Materials 🌱
Choosing the right pot material for your Indian mint can significantly impact its growth and health.
Ceramic
- Pros: Ceramic pots are visually appealing and provide excellent insulation for roots.
- Cons: They can be heavy and may crack if exposed to freezing temperatures.
Plastic
- Pros: Lightweight and inexpensive, plastic pots come in various sizes, making them easy to handle.
- Cons: They often have poor drainage and can heat up quickly in direct sunlight, which may stress your plant.
Terracotta
- Pros: Terracotta pots are breathable, promoting healthy root growth by allowing air exchange.
- Cons: They can dry out quickly, necessitating more frequent watering to keep your mint hydrated.
Recommendations for Pot Size and Shape 📏
The size and shape of your pot are crucial for the thriving of your Indian mint.
Ideal pot size: For young plants, a pot with a diameter of 6-8 inches works best. Established plants will need larger pots to accommodate their growth.
Shape considerations: Wider pots encourage lateral root growth, which is particularly beneficial for mint, allowing it to spread and flourish.
Selecting the right pot material and size sets the stage for a healthy, vibrant Indian mint. With the right foundation, your plant will thrive, leading to a bountiful harvest. Next, let’s explore the best soil and drainage options to ensure your mint stays happy and healthy.
Soil and Drainage
🌱 Best Potting Soil for Indian Mint
To keep your Indian mint thriving, opt for a well-balanced potting mix. A blend of potting soil, perlite, and compost provides essential nutrients while ensuring proper drainage.
The ideal pH level for your soil should be slightly acidic to neutral, ranging from 6.0 to 7.0. This range promotes optimal growth and helps your mint flourish.
🚰 Importance of Drainage in Repotting
Good drainage is vital for preventing root rot, a common issue that can devastate your plant. Without proper drainage, water can accumulate, leading to waterlogged conditions that suffocate the roots.
Make sure your pots have adequate drainage holes. These holes allow excess water to escape, keeping the roots healthy and happy.
🧪 How to Create a Well-Draining Potting Mix
Creating a well-draining potting mix is straightforward. Combine equal parts potting soil and perlite or sand to enhance drainage.
Incorporating organic matter, like compost, boosts nutrient content and improves moisture retention. This combination ensures your Indian mint has the best environment for growth.
With the right soil and drainage in place, your Indian mint will be set for success. Next, let’s explore how to care for your plant after repotting to ensure it continues to thrive.
Post-Repotting Care
🌱 How to Care for Indian Mint After Repotting
After repotting your Indian mint, it's crucial to provide the right care to help it adjust. Start with light watering; just enough to moisten the soil without causing over-saturation.
Allow the soil to dry slightly between waterings to prevent root rot. Additionally, place your mint in indirect sunlight for a few days. This helps reduce stress and allows the plant to acclimate to its new environment.
🚨 Signs of Stress After Repotting
Keep an eye out for signs that your mint may be struggling. Leaf drop or yellowing can indicate potential overwatering or transplant shock, which is common after repotting.
If you notice wilting despite adequate moisture, this may suggest root damage or insufficient drainage. Address these issues promptly to ensure your plant's health.
💧 Watering and Light Requirements Post-Repotting
Monitoring soil moisture is essential in the days following repotting. Check the top inch of soil regularly; water only when it feels dry to the touch.
As your mint recovers, gradually reintroduce it to full sunlight after about a week. This will encourage healthy growth and help your plant thrive in its new pot.
By following these post-repotting care tips, you'll set your Indian mint on the path to robust health and vibrant growth. Now, let's explore the best pot material options for your mint!
⚠️ Safety First
This content is for general information and may contain errors, omissions, or outdated details. It is not medical, veterinary advice, or an endorsement of therapeutic claims.
Always consult a qualified healthcare professional before using any plant as food, medicine, or supplement.
Never eat any plant (or feed one to pets) without confirming its identity with at least two trusted sources.
If you suspect poisoning, call Poison Control (800) 222-1222, the Pet Poison Helpline (800) 213-6680, or your local emergency service immediately.
Spotted an error? Please report it here.
Repot your Indian mint for lush growth 🌱 with Greg's tailored reminders and expert tips that ensure your plant thrives in its new home!