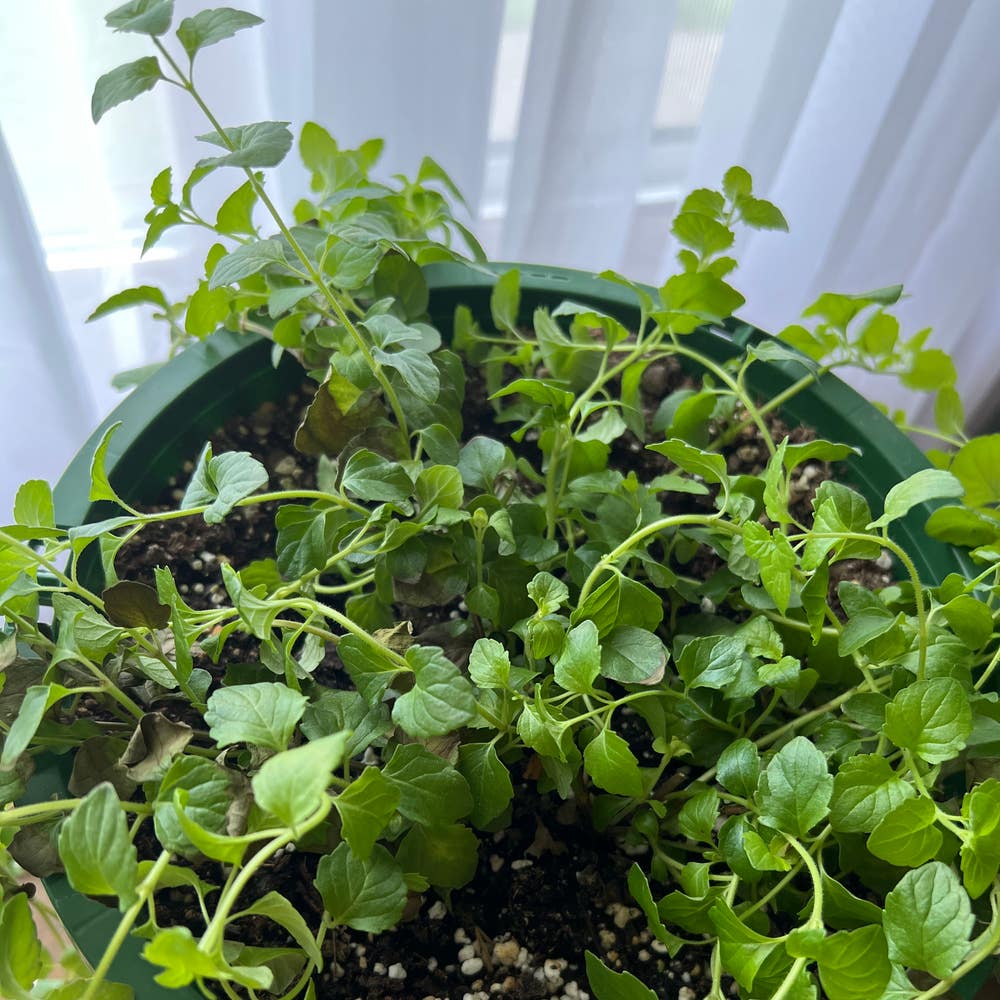
Best Practices for Repotting Indian Borage 🪴
Coleus amboinicus
By the Greg Editorial Team
Nov 26, 2024•7 min read
This article was created with the help of AI so we can cover more plants for you. May contain errors. See one? Report it here.
Keep your Indian Borage thriving 🌱 by spotting the signs it needs repotting before it's too late! 🪴
- 🌱 Signs your Indian Borage needs repotting: root bound, stunted growth, or wilting.
- 🕒 Best time to repot is early spring for optimal growth conditions.
- 🧰 Gather materials like a new pot and soil before starting the repotting process.
Signs that Indian Borage Needs Repotting
Recognizing when your Indian Borage needs repotting is crucial for its health and growth. Here are the key indicators to watch for.
🌱 Physical Indicators
Root Bound Symptoms
One of the first signs is root bound symptoms. If you notice roots growing out of the drainage holes or circling the pot, it’s time to consider repotting.
Stunted Growth
Another clear indicator is stunted growth. If your plant shows a lack of new leaves or has a noticeably slow growth rate, it may be struggling for space.
Soil Depletion
Soil depletion is also a red flag. If the soil dries out too quickly or shows signs of compaction, your plant is likely in need of a new home.
🌍 Environmental Indicators
Wilting Despite Adequate Watering
Wilting can be misleading, especially if you’re watering regularly. If your Indian Borage wilts despite adequate watering, it often indicates restricted root space.
Yellowing Leaves
Lastly, yellowing leaves can signal trouble. This may suggest a nutrient deficiency due to limited soil volume, indicating it’s time for a repot.
By keeping an eye on these signs, you can ensure your Indian Borage remains healthy and vibrant. Next, let’s explore the ideal timing for repotting to maximize your plant's growth potential.
Ideal Timing for Repotting
🌱 Seasonal Considerations
The best time to repot your Indian Borage is early spring, just before it starts to grow actively. This timing allows the plant to adjust and thrive in its new environment.
If you notice signs of distress, such as wilting or stunted growth, late summer can also be a suitable time for repotting. However, it's essential to monitor the plant closely during this period.
🌿 Growth Cycle Awareness
Repotting during the active growth phase is crucial for your Indian Borage's recovery and adaptation. When the plant is actively growing, it can quickly establish itself in the new pot, leading to healthier growth.
By aligning repotting with the plant's natural growth cycle, you enhance its chances of thriving in its new home. This proactive approach ensures your Indian Borage remains vibrant and lush throughout the growing season.
As you prepare to repot, keep these timing tips in mind to set your plant up for success. Next, let’s explore the step-by-step guide to repotting Indian Borage effectively.
Step-by-Step Guide to Repotting Indian Borage
Repotting your Indian Borage can seem daunting, but with the right approach, it becomes a straightforward task. Follow these steps to ensure your plant thrives in its new home.
1. Gather Your Materials 🧰
Start by collecting everything you need: a new pot, quality potting soil, gardening gloves, and your trusty tools. Having everything on hand makes the process smoother.
2. Prepare the New Pot 🪴
Before you begin, check that your new pot has adequate drainage holes. Choose a pot that is 1-2 inches larger in diameter than the current one to give your plant room to grow.
3. Remove the Plant from Its Current Pot 🌱
To get your Indian Borage out, gently squeeze the sides of the pot to loosen the soil. Tilt the pot and carefully slide the plant out, supporting the base to avoid damage.
4. Inspect the Roots 🔍
Once out, take a moment to inspect the roots. Trim any dead or damaged roots with clean scissors and loosen any tightly bound roots to encourage new growth.
5. Add Potting Soil to the New Pot 🌿
Fill the bottom of the new pot with a layer of well-draining potting mix. This foundation will help your plant settle in comfortably.
6. Position the Plant 📏
Place the Indian Borage in the center of the new pot. Fill around the sides with soil, ensuring the top of the root ball is level with the rim of the pot for optimal growth.
7. Water Thoroughly 💧
Finally, give your plant a good drink. Water until it drains from the bottom, ensuring the soil settles around the roots and provides a stable environment.
Repotting can be a refreshing change for your Indian Borage, allowing it to flourish. With these steps, you're well on your way to a healthy, vibrant plant ready to thrive in its new pot. Next, let’s explore the best pot material options to enhance your repotting experience.
Pot Material Options
Choosing the right pot material for your Indian Borage is crucial for its health and growth. Here’s a breakdown of the best options available.
🪴 Best Pot Materials
When it comes to potting your Indian Borage, you have several materials to consider: plastic, terracotta, ceramic, and biodegradable pots. Each has its unique characteristics that can affect your plant's well-being.
💧 Pros and Cons of Plastic Pots
Plastic pots are a popular choice for many gardeners.
- Pros: They are lightweight, affordable, and provide good drainage, making them easy to handle and maintain.
- Cons: However, they are less breathable than other materials and can retain heat, which might stress your plant in hot conditions.
🍂 Pros and Cons of Terracotta Pots
Terracotta pots offer a classic look and functionality.
- Pros: They excel in breathability, allowing air to reach the roots, and they have a natural aesthetic that many find appealing.
- Cons: On the downside, terracotta pots are heavy and can dry out quickly, requiring more frequent watering.
🎨 Pros and Cons of Ceramic Pots
Ceramic pots can add a decorative touch to your plant display.
- Pros: They come in attractive designs and provide good insulation for the roots.
- Cons: However, they can be heavy and may have limited drainage options, which can lead to water retention issues.
🌱 Considerations for Using Biodegradable Pots
Biodegradable pots are an eco-friendly option worth considering.
- Benefits: They are great for seedlings and reduce plastic waste, making them a sustainable choice.
- Limitations: Keep in mind that they may not last long-term and can lead to root binding if the plant outgrows them quickly.
Selecting the right pot material can significantly impact your Indian Borage's growth and health. With this knowledge, you can make an informed decision that supports your plant's needs and enhances your gardening experience.
As you prepare to repot, consider the next steps in ensuring a successful transition for your Indian Borage.
Troubleshooting Repotting Issues
What to Do if Indian Borage Wilts After Repotting 🌱
If your Indian Borage starts wilting after repotting, the first step is to check the soil moisture. Ensure that the soil is neither too dry nor overly saturated, as both conditions can stress the plant.
Next, assess the light conditions. Indian Borage thrives in bright, indirect light, so make sure it’s not in direct sunlight or in a too-dark corner.
Signs of Transplant Shock 🚨
Transplant shock can manifest through drooping leaves and slowed growth. These symptoms indicate that your plant is struggling to adjust to its new environment.
To help your Indian Borage recover, provide stable conditions. Avoid moving the plant around too much, as this can add to its stress.
How to Revive a Stressed Plant 💪
Reviving a stressed Indian Borage involves a few key techniques. Start by adjusting the watering schedule; ensure the plant gets enough moisture without waterlogging.
Improving light exposure is also crucial. Place your plant in a spot where it can bask in bright, indirect light, promoting healthy growth.
Lastly, minimize disturbances. Keep the plant in a quiet area away from drafts or sudden temperature changes to help it regain its strength.
By following these steps, you can help your Indian Borage bounce back and thrive in its new pot. Next, let’s explore the various pot material options that can enhance your plant's growth environment.
⚠️ Safety First
This content is for general information and may contain errors, omissions, or outdated details. It is not medical, veterinary advice, or an endorsement of therapeutic claims.
Always consult a qualified healthcare professional before using any plant as food, medicine, or supplement.
Never eat any plant (or feed one to pets) without confirming its identity with at least two trusted sources.
If you suspect poisoning, call Poison Control (800) 222-1222, the Pet Poison Helpline (800) 213-6680, or your local emergency service immediately.
Spotted an error? Please report it here.
Transform your Indian Borage's health by recognizing repotting signs like root binding and yellowing leaves, and let Greg's tailored tips 🌱 help you create the perfect environment for your plant to thrive!