Step-by-Step Guide to Repotting Cuban Oregano
Coleus amboinicus
By the Greg Editorial Team
Nov 24, 2024•7 min read
This article was created with the help of AI so we can cover more plants for you. May contain errors. See one? Report it here.
Revitalize your Cuban oregano's growth and vitality with these essential repotting tips! 🌱
- 🌱 Repot Cuban oregano when roots emerge from drainage holes or growth stalls.
- 🏺 Choose a pot 1-2 inches larger for optimal growth and drainage.
- 💧 Water thoroughly post-repotting and allow top soil to dry before next watering.
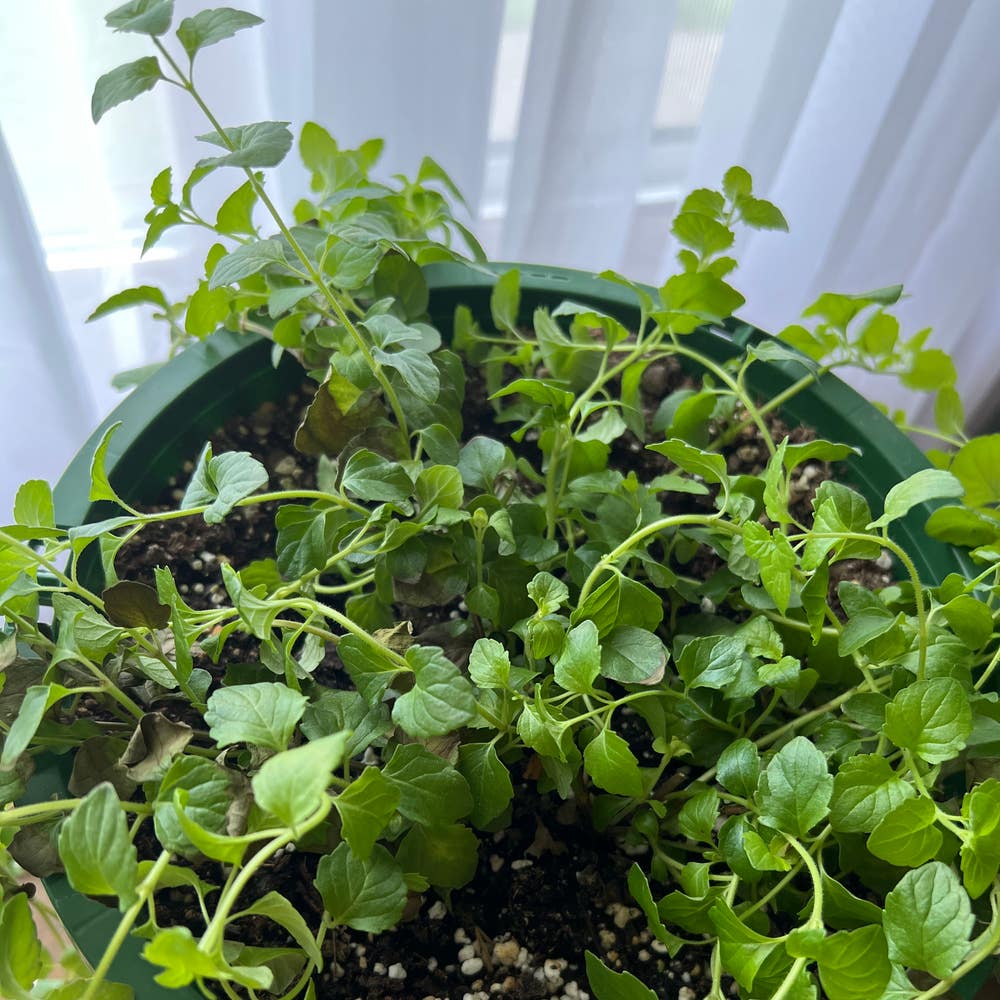
Signs that Cuban Oregano Needs Repotting
👀 Visual Indicators
Cuban oregano is a resilient herb, but it has its limits. If you notice roots growing out of the drainage holes or circling the pot, your plant is likely root-bound and in need of a new home.
Stunted growth is another clear sign. If your plant shows a lack of new growth or its leaves are smaller than usual, it’s time to consider repotting. Additionally, if the soil appears compacted or depleted of nutrients, that’s a red flag indicating your plant is struggling.
🌍 Environmental Factors
Environmental conditions can also signal that it’s time to repot. If the soil remains soggy for extended periods, it suggests poor drainage, which can harm your Cuban oregano.
Temperature fluctuations can be detrimental as well. If the pot feels excessively hot or cold, it may be affecting root health and overall growth. Keeping an eye on these factors will help ensure your plant thrives.
Recognizing these signs early can make a significant difference in the health of your Cuban oregano. Once you identify the need for repotting, you can move on to the step-by-step process to give your plant a fresh start.
Step-by-Step Repotting Process
Repotting Cuban oregano is a straightforward process that can rejuvenate your plant and promote healthy growth. Follow these steps to ensure a successful transition to a new pot.
1. Prepare the New Pot 🌱
Choose a pot that is 1-2 inches larger in diameter than the current one. Make sure it has adequate drainage holes to prevent waterlogging.
2. Select the Right Potting Soil 🌿
Opt for a well-draining potting mix that is suitable for herbs. This will provide the right balance of moisture retention and drainage.
3. Remove the Plant from Its Current Pot 🌍
Gently tap the sides of the pot to loosen the soil. Carefully slide the plant out, supporting the base to avoid damaging the roots.
4. Inspect the Roots 🔍
Check the roots for health. Trim any dead or damaged roots to encourage new growth and prevent rot.
5. Place the Plant in the New Pot 🪴
Position the plant in the center of the new pot. Fill in with fresh potting soil, ensuring the root ball is level with the top of the pot.
6. Water Thoroughly 💧
Water the plant until excess drains out of the bottom. This ensures the soil is evenly moist and helps settle the plant in its new home.
By following these steps, you can effectively repot your Cuban oregano, giving it the space and nutrients it needs to thrive. Next, let's explore the best pot material options to enhance your plant's growth environment.
Pot Material Options
Choosing the right pot material is crucial for the health of your Cuban oregano. Each type of pot offers unique benefits and drawbacks that can significantly impact your plant's growth.
🌱 Advantages of Terracotta Pots
Terracotta pots are a favorite among gardeners for good reason. Their breathability allows for better air circulation to the roots, which is essential for healthy growth.
Additionally, terracotta helps regulate moisture levels. It absorbs excess water, reducing the risk of overwatering, which can be detrimental to Cuban oregano.
🥴 Disadvantages of Plastic Pots
While plastic pots are lightweight and often less expensive, they come with their own set of challenges. One major drawback is heat retention; they can become excessively hot in direct sunlight, potentially harming the roots.
Moreover, plastic pots typically have limited breathability. This can lead to root rot if drainage is not adequate, making them less ideal for sensitive plants like Cuban oregano.
🏺 Other Pot Materials to Consider
If you're looking for alternatives, ceramic pots can be a stylish choice. They retain moisture well but ensure they have drainage holes to prevent waterlogging.
Metal pots are another option. They are lightweight and durable but can heat up quickly in the sun, so use them with caution to avoid stressing your plant.
📏 Choosing the Right Size Pot
When selecting a pot, follow the general rule of choosing one that is 1-2 inches larger in diameter than the previous pot. This gives your Cuban oregano room to grow without overwhelming it with excess soil.
Also, consider the plant's growth habits. Ensure the pot allows for adequate root expansion, which is vital for the overall health of your oregano.
Understanding these pot material options will help you create the best environment for your Cuban oregano. Next, let’s explore the ideal potting soil and drainage techniques to further support your plant's growth.
Potting Soil and Drainage
Recommended Potting Soil 🌱
Choosing the right potting soil is crucial for the health of your Cuban Oregano. A mix that includes peat moss or coconut coir helps retain moisture, while perlite or vermiculite enhances drainage.
Importance of Drainage in Pot Selection 💧
Good drainage is vital for preventing waterlogging, which Cuban Oregano is particularly sensitive to. Proper drainage promotes healthy root growth by ensuring that roots receive adequate oxygen.
How to Improve Drainage 🏗️
To enhance drainage, consider adding materials like gravel or coarse sand at the bottom of the pot. Additionally, using a well-draining potting mix specifically designed for herbs can make a significant difference in your plant's health.
With the right soil and drainage in place, your Cuban Oregano will thrive, setting the stage for successful repotting. Next, let’s explore the post-repotting care that will help your plant adjust smoothly to its new environment.
Post-Repotting Care
💧 Watering After Repotting
After repotting your Cuban oregano, give it a thorough watering. This helps settle the soil around the roots, but remember to let the top inch of soil dry out before watering again.
☀️ Light Requirements After Repotting
Place your newly repotted plant in bright, indirect sunlight. This reduces transplant shock and helps it acclimate to its new environment.
🌱 Gradual Acclimatization
Over the course of a week, gradually introduce your plant to direct sunlight. This slow transition helps prevent stress and promotes healthy growth.
🥬 Fertilizing Post-Repotting
Hold off on fertilizing for about 4-6 weeks after repotting. This waiting period allows your plant to settle into its new pot without the added stress of nutrients.
🌿 Using the Right Fertilizer
When you do fertilize, opt for a balanced, water-soluble fertilizer at half strength. This gentle approach supports growth without overwhelming your plant.
By following these post-repotting care tips, you’ll set your Cuban oregano up for success in its new home. Next, let’s explore common repotting mistakes to avoid, ensuring your plant thrives without setbacks.
Common Repotting Mistakes to Avoid
🚫 Overpotting
One of the most common mistakes when repotting Cuban Oregano is overpotting. Choosing a pot that is too large can lead to excess soil moisture, creating a breeding ground for root rot.
🐜 Not Checking for Pests
Before you repot, always inspect the roots and soil for pests. Aphids and root aphids can wreak havoc on your plant, so catching them early is crucial to prevent infestations.
🌱 Ignoring Root Health
Another critical oversight is ignoring root health during the repotting process. Failing to trim damaged roots can hinder your plant's growth and overall health, making it harder for Cuban Oregano to thrive in its new environment.
By avoiding these common pitfalls, you can ensure a smoother transition for your Cuban Oregano. With the right care, your plant will flourish in its new pot, ready to provide you with fresh, aromatic leaves.
Next, let’s explore the best practices for post-repotting care to keep your plant healthy and vibrant.
⚠️ Safety First
This content is for general information and may contain errors, omissions, or outdated details. It is not medical, veterinary advice, or an endorsement of therapeutic claims.
Always consult a qualified healthcare professional before using any plant as food, medicine, or supplement.
Never eat any plant (or feed one to pets) without confirming its identity with at least two trusted sources.
If you suspect poisoning, call Poison Control (800) 222-1222, the Pet Poison Helpline (800) 213-6680, or your local emergency service immediately.
Spotted an error? Please report it here.
Repot your Cuban oregano like a pro 🌱 with Greg's tailored reminders and expert tips to keep your plant thriving and free from common pitfalls!