Should I Repot My Cretan Brake?
Pteris cretica
By the Greg Editorial Team
Jun 14, 2024•7 min read
This article was created with the help of AI so we can cover more plants for you. May contain errors. See one? Report it here.
Boost your fern's vitality 🌿 by mastering the timely art of repotting your Cretan Brake!
- Roots peeking out? Time to repot your Cretan Brake.
- Choose a 1-2 inch larger pot with good drainage for repotting.
- Spring repotting ensures optimal Cretan Brake recovery and growth.
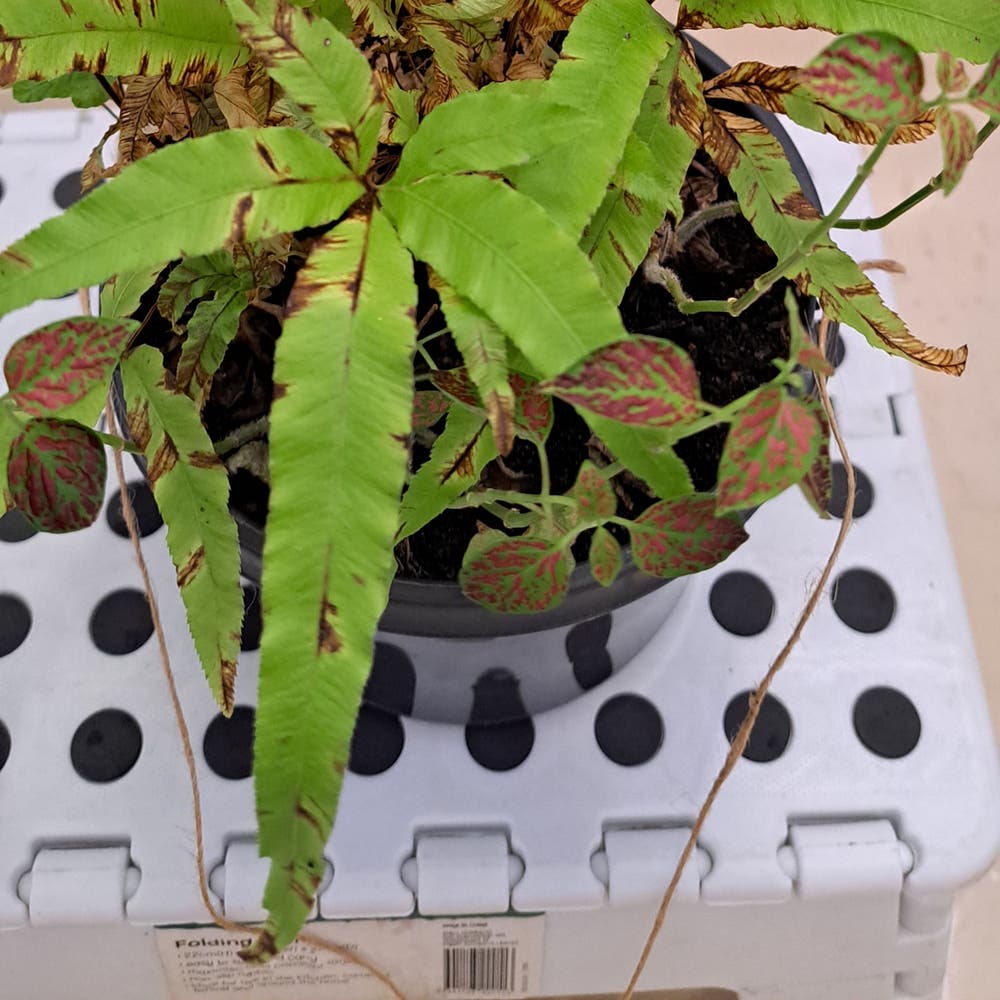
Recognizing the Need for Repotting
Identifying key signs that indicate it's time to repot your Cretan Brake.
🌱 Key Signs Your Cretan Brake Needs a New Home
Roots are the tattletales of the plant world. If they're peeking out of the pot's drainage holes or forming a dense web just beneath the soil surface, it's repotting o'clock.
Growth has slowed down? It's not just being lazy. Your Cretan Brake might be too snug in its current pot, stifling its potential.
Watering has become a high-stakes game of guesswork. If water runs straight through the pot, barely moistening the soil, it's a clear red flag.
🌿 Visual Cues and Tactile Evidence
Leaves turning yellow or dropping like flies? It's the plant's SOS signal for help.
Soil quality looking more like a barren wasteland than a nurturing bed? It's time for a soil refresh during the repotting hustle.
🌷 Seasonal Timing
Lastly, remember the golden rule: spring is the season for repotting. It's when your Cretan Brake is ready to grow, not just survive.

Preparing for Repotting
Selecting the right pot size and material for your Cretan Brake is like picking a new apartment—it's gotta be just right. Go for a pot that's 1-2 inches larger in diameter than the old one; this gives your fern room to grow without drowning in excess soil.
🏺 Pot Material
Terracotta and unglazed ceramic are the MVPs here. They're breathable, wicking away moisture to dodge soggy-root syndrome. Plastic can work too, but ensure it has drainage holes. No one likes wet feet, especially not your Cretan Brake.
🌱 Soil Mix
Your fern's not fussy, but it does like to lounge in a peat-based potting mix. Keep it moist, not marshy. You can mix in some perlite or coco coir for extra aeration—think fluffy clouds, not compacted mud.

The Repotting Process
🌿 Step-by-Step Instructions
Gather your tools – you'll need a new pot, fresh peat-based potting mix, and a clean, sharp knife. Make sure the new pot is only slightly larger than the old one; Cretan Brakes don't like too much space.
Remove the fern carefully from its current home. If it's clinging on like a stubborn barnacle, gently coax it out by tipping the pot sideways and tapping the bottom.
Inspect the roots like a hawk. Trim any that are dead or damaged. If they're doing the twist around the pot, untangle them, but be gentle – think of it as defusing a botanical bomb.
Slash the rootball lightly with your knife. This isn't a horror movie; it's encouragement for new roots to grow.
Prep the new pot by placing a piece of gauze over the drainage hole to keep the soil from escaping like a jailbreak.
Add soil to the pot's base, then position your fern like it's the star of the show – because it is.
Fill 'er up with more soil, but don't pack it down like you're stuffing a turkey. Water it well to settle the soil and eliminate air pockets, but don't drown it.
🌱 Handling the Root System
Be gentle with the roots. They're the lifeline of your Cretan Brake and deserve VIP treatment.
Avoid over-trimming. You're giving it a haircut, not a scalp.
🚫 Avoiding Common Mistakes
Don't go pot-crazy. Choosing a pot that's too large can lead to overwatering and root rot. It's like putting a goldfish in an ocean.
Don't reuse old soil. It's like giving your plant leftovers for dinner – not cool.
Don't skip the gauze. Soil escaping through the drainage hole is an annoyance you don't need.
Don't waterlog your fern. It's a plant, not a fish. Keep the soil moist, not submerged.
Don't rush the process. Repotting is like plant surgery; it requires patience and precision.

Post-Repotting Care
After repotting, your Cretan Brake enters a vulnerable state. It's like it's had a major surgery; now it's time for some intensive care.
💪 Immediate Aftercare
Shade and Shelter: Move your fern to a spot that's like a cozy recovery room—partially shaded and shielded from any harsh winds. Think of it as the plant equivalent of bed rest.
💦 Humidity and Hydration
Bag It Up: Mimic a mini greenhouse by placing your plant in a clear plastic bag. This creates a humid haven, reducing water loss. Just remember to open it occasionally—like airing out a stuffy room—to prevent mold.
🍽️ Feeding Finesse
Hold the Fertilizer: Your plant's not ready for a full meal yet. Wait about a month before you start with the nutrients. When you see new growth, it's a green light that your fern's roots are getting their groove back.
👀 Monitoring and Adjustments
Keep Watch: Stay vigilant. If your plant starts looking more wilted than a forgotten salad, it could be a sign of distress. Adjust care as needed, and remember, patience is key—your Cretan Brake didn't become a stunner overnight.
🚰 Watering Wisdom
Ease Into It: Resume watering, but don't drown your plant in enthusiasm. Let the soil be your guide—if it's dry, it's time to hydrate. If it's damp, give it a break. Overwatering is like giving a recovering patient a marathon to run—not helpful.
🌞 Temperature and Light
Avoid Extremes: Keep your fern away from the drama of temperature swings and direct sunlight. It's had enough excitement for now. A stable environment will help it find its roots again, both literally and figuratively.
Remember, your plant's not just surviving post-repotting—it's setting the stage to thrive.
Selecting the Best Pot Material
When it comes to repotting your Cretan Brake, the pot material can make or break your fern's happiness. Let's dive into the nitty-gritty of terracotta, plastic, and ceramic options.
🏺 Terracotta Pots
Terracotta is the gym shorts of the pot world—breathable and no-nonsense. Its porous nature means it wicks away excess moisture, reducing the risk of root rot and overwatering. But remember, it's like a sponge; in hot weather, it'll dry out faster than a tourist in Death Valley. You'll need to water more often, but your Cretan Brake will thank you for it.
🥤 Plastic Pots
Plastic is the raincoat—great for keeping moisture in. Lightweight and cost-effective, these pots are the go-to for gardeners who reposition their plants as often as their furniture. However, they can turn into a swampy mess if you're heavy-handed with the watering can. Drainage holes are a must to prevent your fern from drowning in soggy despair.
🍶 Ceramic Pots
Ceramic pots are the fancy dress shoes—stylish but with a practical twist. Often glazed and sporting a variety of colors, they can be the centerpiece of your plant display. They're heavier, which means they're stable and insulating. But just like those dress shoes, they can be a pain if they don't fit right—make sure they have adequate drainage or your plant's roots might throw a fit.
The Importance of Drainage
No matter the material, if there's no drainage, it's a disaster waiting to happen. Your Cretan Brake's roots need to breathe, and without a way for water to escape, you're setting up a botanical horror show. So, always opt for pots with holes, and consider a saucer to catch the excess—your floors will thank you.
In essence, choosing a pot is like picking a house for your plant. It needs to be comfortable, the right size, and with good air circulation. Whether you go for the rustic charm of terracotta, the practicality of plastic, or the elegance of ceramic, make sure it's a home where your Cretan Brake can thrive.
⚠️ Safety First
This content is for general information and may contain errors, omissions, or outdated details. It is not medical, veterinary advice, or an endorsement of therapeutic claims.
Always consult a qualified healthcare professional before using any plant as food, medicine, or supplement.
Never eat any plant (or feed one to pets) without confirming its identity with at least two trusted sources.
If you suspect poisoning, call Poison Control (800) 222-1222, the Pet Poison Helpline (800) 213-6680, or your local emergency service immediately.
Spotted an error? Please report it here.
Spring into action 🌱 with Greg's timely reminders to repot your Cretan Brake, ensuring a seamless transition and a happy, healthy fern.