5 Indoor Care Tips for Jersey Fern 🌿
Pteris cretica
By the Greg Editorial Team
Sep 29, 2024•6 min read
This article was created with the help of AI so we can cover more plants for you. May contain errors. See one? Report it here.
Unlock the secret to a thriving Jersey fern 🌿 by mastering its light, water, and humidity needs for vibrant growth!
- 🌞 Jersey ferns thrive in bright, indirect light; aim for 12-14 hours daily.
- 💧 Water every 1-2 weeks, adjusting for humidity to prevent yellowing or browning.
- 🌬️ Maintain humidity between 50-70% using humidifiers or pebble trays for optimal health.
Light Requirements
Optimal Indoor Light Levels 🌞
Jersey ferns thrive in bright, indirect sunlight. Direct sunlight can scorch their delicate leaves, so it's essential to find that sweet spot.
Aim for 12-14 hours of light daily to keep your fern happy and healthy. This duration mimics their natural habitat and promotes lush growth.
Role of Grow Lights 💡
Grow lights are a game-changer for indoor ferns, especially during the darker winter months. They supplement natural light, ensuring your fern gets the brightness it craves.
Using grow lights can make a significant difference in maintaining vibrant foliage, particularly in low-light conditions.
Choosing the Best Grow Light 🛠️
When selecting grow lights for your Jersey fern, consider these options:
- LED Grow Lights: These are energy-efficient and produce minimal heat, making them ideal for indoor settings.
- Fluorescent Lights: They provide the right light spectrum that ferns love, promoting healthy growth.
For optimal results, position your grow lights 12-24 inches above the plant. This distance ensures your fern receives adequate light without the risk of overheating.
With the right light conditions, your Jersey fern will flourish, setting the stage for the next crucial aspect of its care: watering needs.
Watering Needs
Frequency and Method of Watering 🌊
Jersey Ferns thrive with consistent watering every 1-2 weeks. The frequency depends on the humidity and temperature of your home.
To ensure your fern gets enough moisture, water it thoroughly until you see it draining from the bottom of the pot. This method helps prevent dry spots and promotes healthy root growth.
Signs of Overwatering and Underwatering 🚨
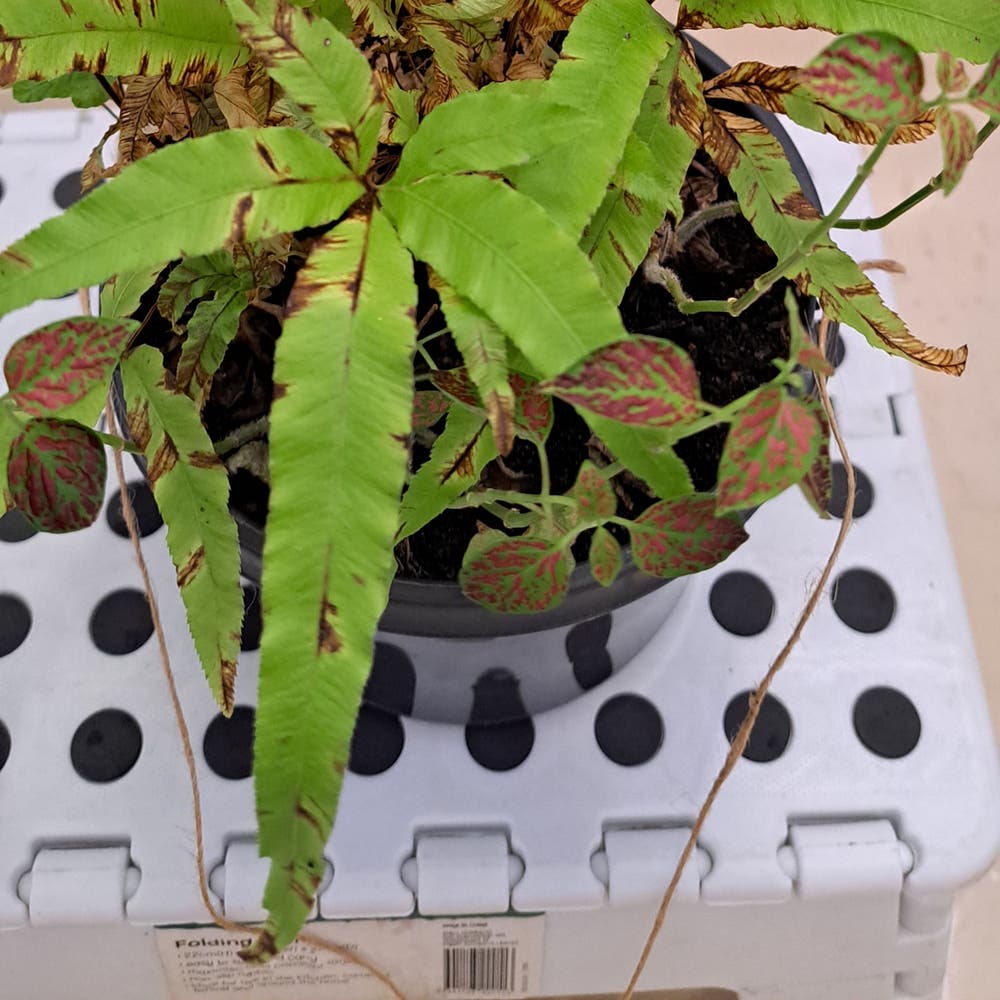
It's crucial to recognize the signs of overwatering. If you notice yellowing fronds or mushy roots, your fern might be drowning.
On the flip side, underwatering shows up as browning leaf tips or wilting fronds. Keeping an eye on these symptoms will help you maintain a healthy Jersey Fern.
By mastering the watering needs, you set the stage for a thriving indoor garden. Next, let’s explore the ideal humidity and temperature conditions for your fern.
Humidity and Temperature
🌧️ Ideal Humidity Levels
Maintaining the right humidity is crucial for your Jersey Fern. Aim for an optimal range of 50-70% to keep those fronds lush and healthy.
🌡️ Temperature Range for Optimal Growth
Your fern thrives best in temperatures between 60°F to 75°F (15°C to 24°C). Be cautious of extreme temperature fluctuations, as they can stress your plant.
💧 Humidity Control Methods
Using a Humidifier
A humidifier is a fantastic tool for maintaining consistent humidity levels. It helps create a tropical environment that your fern will love.
Pebble Trays
Consider using pebble trays for a simple humidity boost. Just place your pot on a tray filled with water and pebbles, allowing evaporation to increase moisture around the plant.
Grouping Plants
Grouping your plants together can also enhance local humidity. This natural method creates a mini-ecosystem, benefiting all your greenery.
By ensuring the right humidity and temperature, you set your Jersey Fern up for success. Next, let’s explore the best soil and fertilization practices to keep your fern thriving.
Soil and Fertilization
Best Soil Type 🌱
For your Jersey Fern, a well-draining potting mix enriched with organic matter is essential. This type of soil not only provides the necessary nutrients but also ensures proper drainage, preventing root rot.
The ideal pH level for your fern's soil should be slightly acidic to neutral, ranging from 6.0 to 7.0. This balance helps the plant absorb nutrients effectively, promoting healthy growth.
Fertilization Schedule and Types of Fertilizers 🌿
Fertilizing your Jersey Fern every 4-6 weeks during the growing season will keep it thriving. A balanced liquid fertilizer, such as a 20-20-20 mix, diluted to half strength, is highly recommended.
This approach ensures your fern receives the nutrients it needs without overwhelming it. Regular feeding will support lush fronds and vibrant growth, making your indoor space feel more alive.
By maintaining the right soil conditions and a consistent fertilization schedule, you set the stage for a flourishing Jersey Fern. Next, let’s explore common issues and solutions to keep your plant healthy and vibrant.
Common Issues and Solutions
🐛 Pests and Diseases
Common Pests Affecting Jersey Fern
Jersey ferns can fall victim to a few pesky pests. Aphids are small, green insects that can cause leaf distortion, while spider mites leave fine webbing and stippled leaves in their wake.
🛡️ Prevention and Treatment Methods
To keep your fern healthy, regular inspection is key. Early detection of pests can save your plant from serious damage.
For treatment, consider using neem oil or insecticidal soap. Introducing beneficial insects can also help manage pest populations effectively.
🌬️ Environmental Stress
Signs of Stress Due to Light or Humidity
Keep an eye on your fern for signs of stress. Leaf curling or browning often indicates insufficient humidity or light, while wilting or drooping fronds are clear signs of environmental stress.
💧 Solutions for Maintaining Ideal Conditions
To remedy these issues, start by adjusting light exposure. Moving your plant to a brighter location can make a significant difference.
Additionally, consider increasing humidity. Implementing humidity control methods, like using a humidifier or pebble trays, can help create a more favorable environment for your fern.
By addressing these common issues proactively, you can ensure your Jersey fern thrives beautifully in your home. Next, let’s explore the best soil and fertilization practices to keep your plant nourished and healthy.
Placement and Maintenance
Best Locations in the Home 🌞
Finding the right spot for your Jersey Fern is crucial for its health. Aim to place it near east or north-facing windows, where it can soak up bright, indirect sunlight.
Avoid low-light corners or areas that receive direct sunlight. Too much sun can scorch the delicate fronds, while insufficient light can stunt growth.
Avoiding Drafts and Heat Sources 🛡️
Temperature stability is key for your fern's well-being. Keep it away from heating vents and cold drafts to prevent stress.
Regularly monitor temperature fluctuations in the areas where you place your fern. A consistent environment helps maintain its lush appearance.
Maintaining Appearance 🍽️
Pruning and Grooming Tips
Regular maintenance keeps your Jersey Fern looking its best. Remove dead or yellowing fronds to promote healthier growth.
Trimming back overgrown fronds encourages new growth and maintains a tidy appearance. This simple act can rejuvenate your plant.
Seasonal Care Adjustments
As the seasons change, so should your care routine. Adjust watering and humidity levels to match the needs of your fern during different times of the year.
Keep an eye on light exposure as days lengthen or shorten. This awareness will help your fern thrive year-round.
With the right placement and maintenance, your Jersey Fern can flourish beautifully in your home. Next, let’s explore the soil and fertilization needs to ensure it gets the nutrients it craves.
⚠️ Safety First
This content is for general information and may contain errors, omissions, or outdated details. It is not medical, veterinary advice, or an endorsement of therapeutic claims.
Always consult a qualified healthcare professional before using any plant as food, medicine, or supplement.
Never eat any plant (or feed one to pets) without confirming its identity with at least two trusted sources.
If you suspect poisoning, call Poison Control (800) 222-1222, the Pet Poison Helpline (800) 213-6680, or your local emergency service immediately.
Spotted an error? Please report it here.
Keep your Jersey fern thriving indoors 🌱 with Greg's tailored care reminders and personalized tips that ensure it gets just the right light, water, and humidity!