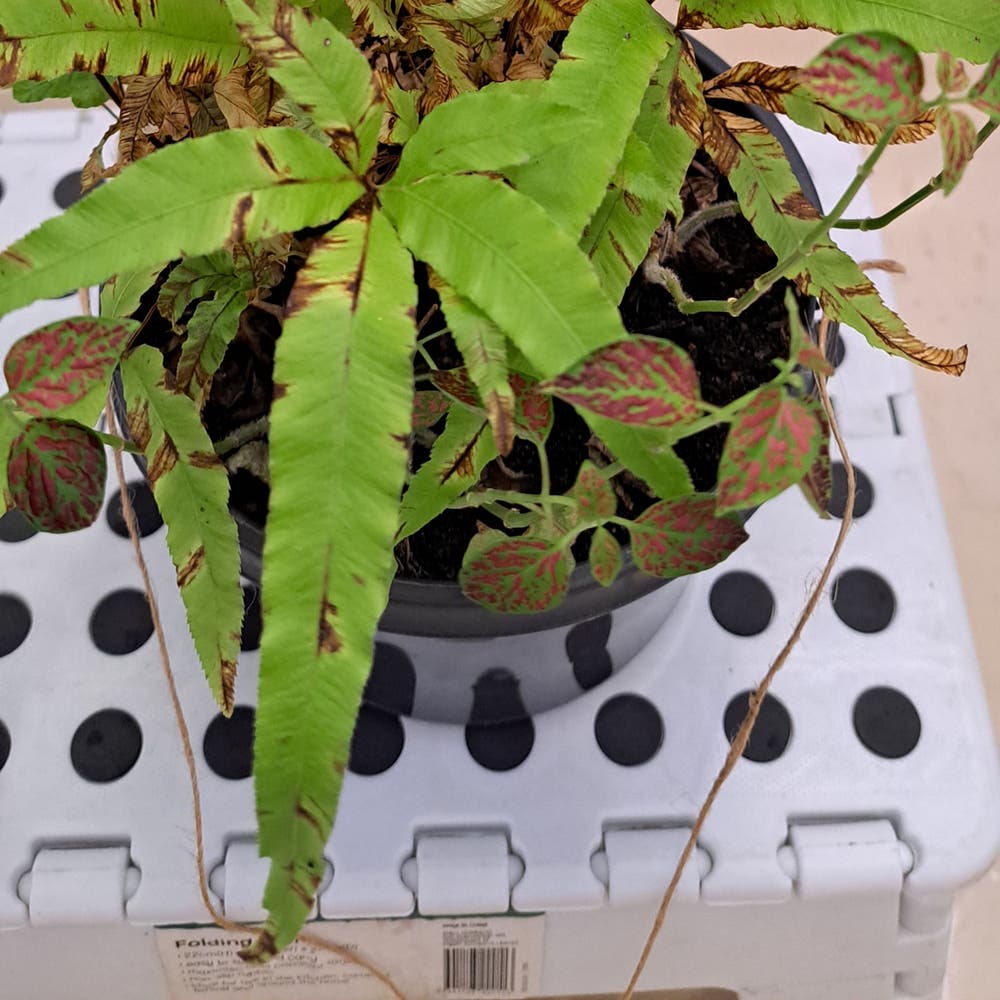
How Do I Propagate My Cretan Brake?
Pteris cretica
By the Greg Editorial Team
Jun 14, 2024•6 min read
This article was created with the help of AI so we can cover more plants for you. May contain errors. See one? Report it here.
Propagate your Cretan Brake 🌿 effortlessly and watch your green haven flourish with these expert techniques!
- 🌱 Late summer for spores, early spring for division - time your propagation.
- Create a mini greenhouse for spore germination; airy soil for rhizome rooting.
- Choose method based on experience and resources; division is most reliable.
Steps for Propagation via Spores
🌿 Collecting Cretan Brake Spores
To kick off your spore propagation adventure, wait for late summer when spores are ripe. Flip those Cretan Brake fronds over and look for brown or yellow dust—your spore goldmine. No dust? Hold your horses, they're not ready. If you've hit the jackpot, gently tap the fronds over a piece of paper to collect the spores. Think of it as shaking out the last crumbs from a bag of chips.
🌱 Creating the Germination Environment
Now, for the spore nursery. Mix equal parts peat and perlite for a germination mix that's as airy as a cloud. Spread this mix in a shallow tray and sprinkle your spore treasure on top. No burying needed—they're shy but not that shy. Cover the tray with clear plastic to create a mini greenhouse, trapping in moisture and your dreams of fern babies. Keep it at a cozy 20°C (68°F), and make sure it's as moist as a morning dew. Patience is key; you're now on fern time. In a few weeks, with a bit of luck and a lot of staring, you'll see green fuzz. That's your cue to celebrate—discreetly, so as not to startle the spores.

Division as a Propagation Method
🌱 When to Divide Cretan Brake Rhizomes
Dividing Cretan Brake should be timed with precision. Early spring, just as new growth commences, is your golden window. This timing allows the divisions to establish before the stress of summer heat or winter chill.
🔪 How to Divide Cretan Brake Rhizomes
Arm yourself with a sharp, sterile knife and a dose of courage. Gently unearth your Cretan Brake, taking care not to wage war on the root system. Seek out natural divisions in the rhizome, where new fronds are emerging. With a confident slice, separate the sections, ensuring each has a piece of the rhizome and a fan of roots.
🌿 Care Tips for Divisions
Post-op care is crucial. Plant each division in its own pot with well-draining soil. Keep the soil consistently moist, but not waterlogged, to avoid the dreaded root rot. A bright, indirect light location will be the new home's sweet spot, encouraging the divisions to root and flourish.

Rhizome Cuttings Technique
🌱 Preparing Rhizome Cuttings
Sterilize your tools before you start; this isn't a suggestion, it's plant surgery 101. Using a sharp knife or pair of scissors, cut a 3 to 4-inch section of rhizome from your Cretan Brake. Include a frond or two if possible; it's like giving your cutting a head start in the race to grow. Let the cutting callous over for a day or two to prevent rot—think of it as a plant scab.
💧 Rooting Conditions
Get your hands on some airy soil mix; your cutting's roots need to breathe, not drown. Keep the soil moist, but not soggy—overwatering is the silent killer of plant cuttings. A warm environment is your cutting's best friend, so aim for a cozy 25°C (77°F). High humidity is the name of the game until you see those first signs of root growth. Then, back off a bit to encourage stronger roots. Remember, patience is a virtue, especially in the plant world. Don't rush to pot up your new plant baby; wait until it has a robust root system.

Comparing Propagation Outcomes
🌱 Success Rates of Different Methods
Spore propagation can be likened to playing the long game. It's a test of patience with variable success rates, often depending on the meticulous creation of a microclimate for germination. On the flip side, division is akin to the reliable old friend, offering higher and more consistent success, especially for those who prefer a hands-on approach. Rhizome cuttings strike a balance, presenting a moderate challenge but with the potential for high rewards, especially when conditions are just right.
🤔 Choosing the Right Method for You
When deciding on a method, consider your experience level and the resources at your disposal. If you're a propagation rookie, division might be your safest bet. It's straightforward and less susceptible to the whims of environmental factors. For the more adventurous or those with controlled environments, spores could be your ticket to a verdant victory. Rhizome cuttings? They're the middle ground, perfect for those who like a bit of a challenge without the high stakes of spore propagation.
Remember, each method has its quirks. Spores might take you on a slow journey, while division gives you a quick payoff. Rhizome cuttings require a keen eye for the right conditions. Choose wisely, and may the odds of propagation be ever in your favor.
Addressing Propagation Challenges
🌱 Spore Germination Issues
Patience is key when germinating spores; they can be slow to show signs of life. If germination stalls, ensure humidity levels are high and the environment is stable. Sterilize the medium to prevent fungal attacks, which can be the kiss of death for these delicate beginnings.
🌿 Rhizome Division Difficulties
When dividing rhizomes, use a sterile, sharp knife to minimize damage. If the plant plays hard to get and doesn't want to separate, don't force it—look for natural divisions. Post-separation, treat the divisions like the VIPs they are, with well-draining soil and consistent moisture, but avoid overwatering like you'd avoid a spoiler for the season finale of your favorite show.
🌱 Rooting Rhizome Cuttings
For rhizome cuttings, it's all about the prep work. Ensure the cutting has at least one growth point and is planted in a moist, but not soggy, medium. If the cuttings are more sluggish than a Monday morning, check for rot and adjust watering. Remember, they need time to adjust to their new digs, so don't expect overnight success.
🦠 Preventing Disease
Fungal diseases love propagation conditions as much as plants do. To keep these party crashers at bay, consider preventative treatments and keep the air moving. If you spot trouble, act fast—diseases in propagation don't mess around, and neither should you.
Real Talk: Propagation Isn't Foolproof
Not every attempt will end in a propagation parade. Some cuttings will flop, and some spores will ghost you. It's not you, it's them. Learn, adjust, and try again. Remember, even the best gardeners face setbacks—it's part of the charm.
⚠️ Safety First
This content is for general information and may contain errors, omissions, or outdated details. It is not medical, veterinary advice, or an endorsement of therapeutic claims.
Always consult a qualified healthcare professional before using any plant as food, medicine, or supplement.
Never eat any plant (or feed one to pets) without confirming its identity with at least two trusted sources.
If you suspect poisoning, call Poison Control (800) 222-1222, the Pet Poison Helpline (800) 213-6680, or your local emergency service immediately.
Spotted an error? Please report it here.
Succeed in propagating your Cretan Brake by tapping into Greg's 🌿 tailored environment tips, ensuring your spores or rhizome cuttings flourish with your nurturing touch.