🌸 Propagating Paphiopedilum: The Ultimate Guide
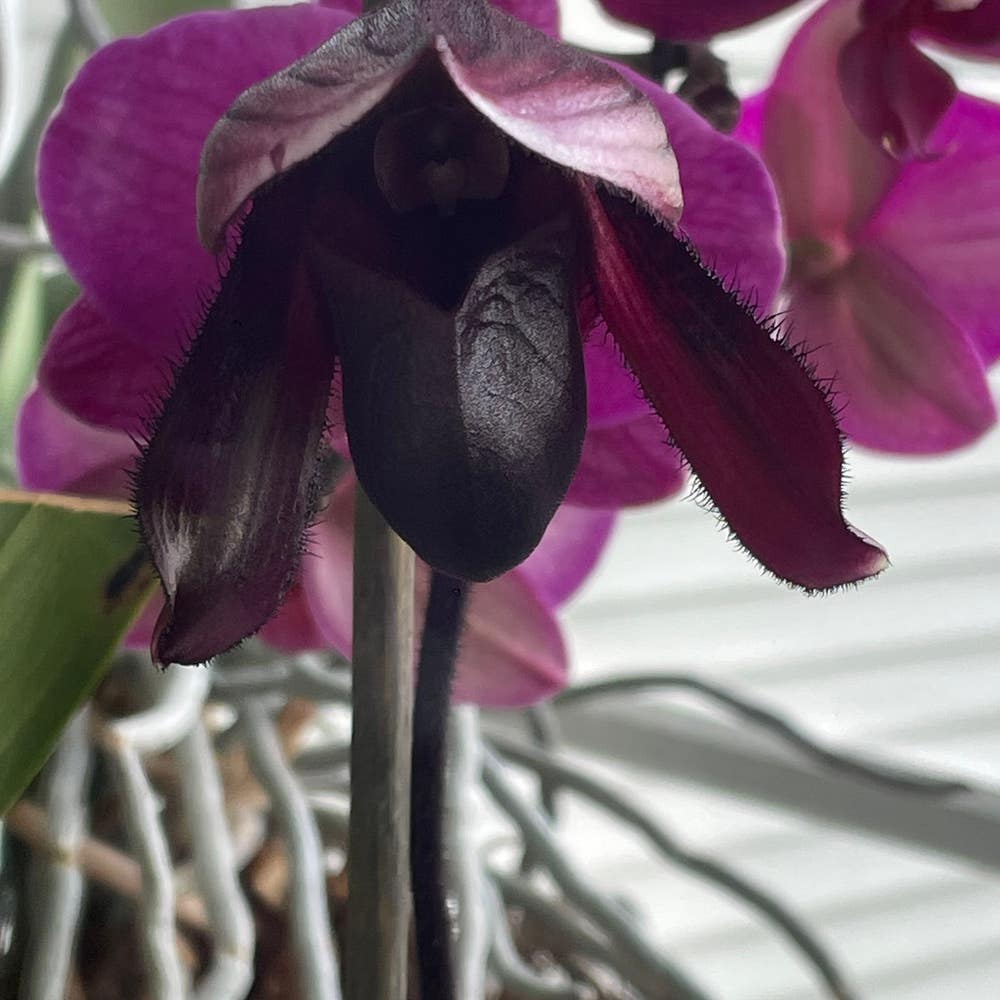
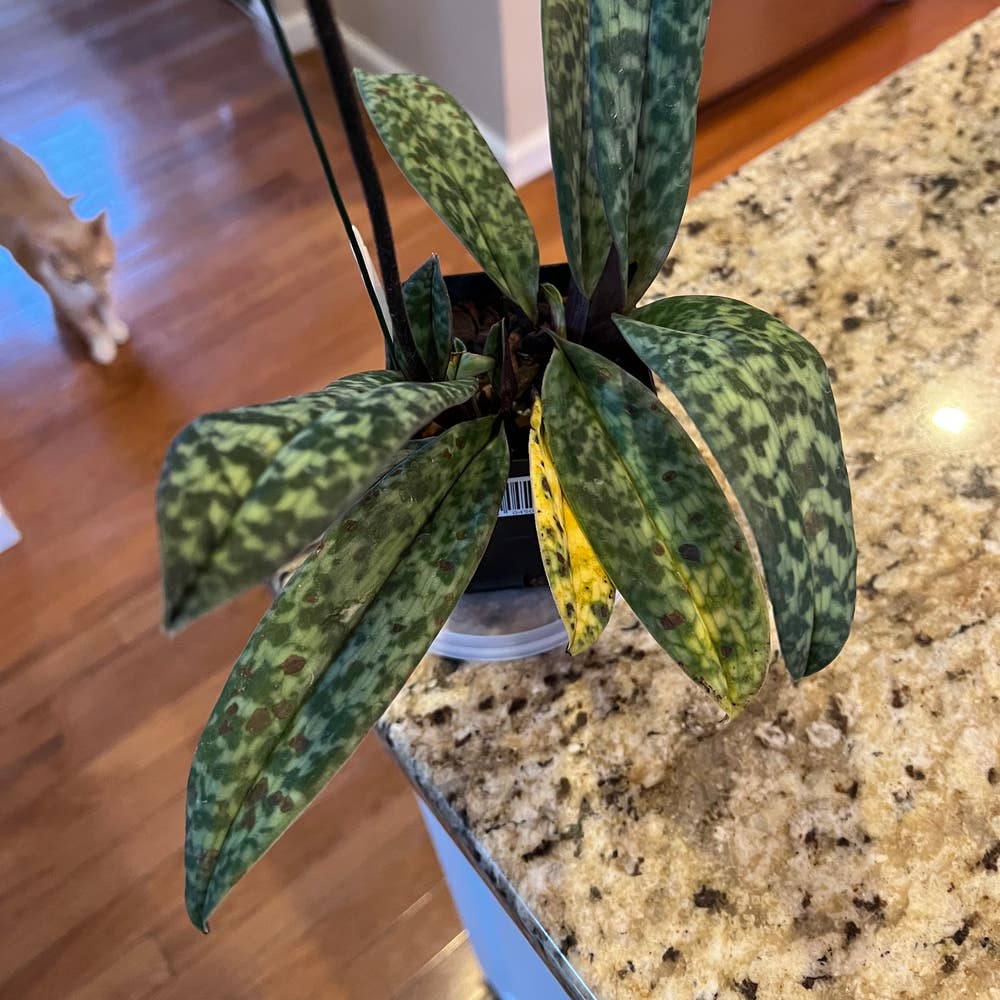
Paphiopedilum hirsutissimum
By the Greg Editorial Team
Nov 09, 2024•5 min read
This article was created with the help of AI so we can cover more plants for you. May contain errors. See one? Report it here.
Revitalize your Paphiopedilum collection 🌱 with expert division and propagation techniques for thriving orchids! 🌸
- 🌱 Dividing Paphiopedilum orchids rejuvenates growth; best done in early spring.
- 💧 Water before division to reduce stress and ensure healthy propagation.
- 🌿 Keikis need two roots and leaves for successful propagation; provide bright, indirect light.
Division Propagation
🌱 Step-by-Step Guide to Dividing
Dividing your Paphiopedilum can rejuvenate the plant and promote healthy growth. Here’s how to do it effectively.
Preparing the Plant
Start by ensuring your plant is healthy and has multiple growths. Water it a day before division to help reduce stress during the process.
Removing the Plant from Its Pot
Gently remove the plant from its pot, taking care not to damage the roots. This step is crucial; a careful approach will minimize trauma to the plant.
Dividing the Plant
Identify natural divisions in the root system. Use sterilized cutting tools to separate the sections, ensuring each division has roots and at least one growth.
Potting the Divisions
Select an appropriate orchid potting mix for your divisions. Plant each division in separate pots, ensuring the roots are well-covered and the crown is above the medium.
🕰️ Best Time of Year for Division
Timing is everything when it comes to division. The ideal time is early spring or right after flowering when the plant is actively growing.
Signs That Division is Needed
Look for signs like crowded roots, reduced flowering, or an overall decline in health. These indicators suggest it’s time to give your plant a fresh start.
🛠️ Tools Needed for Division
Having the right tools makes the division process smoother. Here’s what you’ll need:
- Sterilized cutting tools (scissors or a knife)
- Orchid potting mix
- Containers for new divisions
- Gloves for handling the plant
With these tools and steps in mind, you’re ready to propagate your Paphiopedilum through division. This method not only helps manage plant health but also allows you to expand your collection or share with fellow enthusiasts.
Next, let’s explore another exciting propagation method: keiki propagation.
Keiki Propagation
🌱 Identifying Keikis
Keikis are small plantlets that develop on the flower spike of Paphiopedilum orchids. A healthy keiki will have well-formed roots and leaves, indicating it's ready for propagation.
✂️ How to Remove and Pot Keikis
- Wait until the keiki has at least two roots and a few leaves for the best chance of survival.
- Use sterilized cutting tools to carefully cut the keiki from the mother plant, ensuring minimal damage.
- Prepare a small pot filled with orchid potting mix, which provides the right environment for growth.
- Plant the keiki, ensuring that the roots are covered and the crown sits above the medium to promote healthy development.
💧 Care for Newly Potted Keikis
After potting, it's crucial to keep the medium slightly moist but not soggy.
☀️ Light Requirements
Provide bright, indirect light to help the keiki thrive without risking leaf burn from direct sunlight.
🌬️ Humidity Levels
Maintain high humidity levels between 50-70% for optimal growth, as this environment mimics their natural habitat.
By following these steps, you can successfully propagate keikis and expand your Paphiopedilum collection. Next, let’s explore the intricacies of seed propagation for even more orchid-growing opportunities.
Seed Propagation
🌱 Requirements for Successful Seed Germination
To successfully propagate Paphiopedilum seeds, start with a sterile growth medium. Options like agar or orchid-specific seed mix are ideal for preventing contamination.
Maintaining the right temperature is crucial. Aim for a consistent range of 20-25°C (68-77°F) to encourage healthy germination.
Humidity levels also play a significant role. High humidity, around 70-80%, is essential for the seeds to thrive and develop properly.
⏳ Timeframe for Seedling Development
Germination can be a waiting game, taking anywhere from 6 to 12 months for Paphiopedilum seeds to sprout. Patience is key during this period.
Once the seedlings develop a few true leaves, it's time to transplant them into individual pots. This step is vital for their continued growth and health, allowing each seedling to establish its own root system.
With the right conditions and care, your Paphiopedilum seeds can flourish into beautiful orchids. As you embark on this propagation journey, remember that nurturing these delicate plants requires both diligence and a touch of love.
Next, we’ll explore the environmental conditions that are essential for successful propagation.
Environmental Conditions for Successful Propagation
🌡️ Ideal Temperature and Humidity Levels
For optimal growth, maintain a temperature range of 20-25°C (68-77°F) during the day. At night, slightly cooler temperatures can help mimic natural conditions.
Humidity is equally crucial; aim for levels between 50-70%. This range creates a comfortable environment for your Paphiopedilum to thrive.
💡 Light Requirements
Bright, indirect light is essential for healthy growth. Direct sunlight can scorch the leaves, so be cautious about exposure.
If natural light is lacking, consider using grow lights. They can effectively supplement light needs, ensuring your plants receive adequate illumination.
🌬️ Importance of Airflow and Ventilation
Good airflow is vital to prevent mold and fungal issues. Stagnant air can lead to problems, so ensure your propagation area is well-ventilated.
Using fans or ventilation systems can significantly improve air circulation. This simple step can make a big difference in the health of your plants.
In summary, creating the right environmental conditions is key to successful propagation. With the right temperature, humidity, light, and airflow, your Paphiopedilum will be well on its way to thriving. Next, let’s explore the post-propagation care that will help your plants flourish even further.
Post-Propagation Care
💧 Watering and Fertilization After Propagation
After propagating your Paphiopedilum, establishing a proper watering schedule is crucial. Water the plant when the top inch of the potting medium feels dry to the touch, ensuring you don’t overwater.
Fertilization is equally important for healthy growth. Use a diluted orchid fertilizer every 4-6 weeks to provide essential nutrients and support robust development.
🐛 Monitoring for Pests and Diseases
Regularly inspect your newly propagated plants for any signs of pests. Look out for common culprits like aphids and mealybugs, which can quickly become a nuisance.
Preventative measures are key to maintaining plant health. Keep your growing area clean and practice good care habits to minimize the risk of infestations and diseases.
With these post-propagation care tips, your Paphiopedilum will thrive, setting the stage for future blooms and growth. Next, let’s explore the environmental conditions that will further enhance your propagation success.
⚠️ Safety First
This content is for general information and may contain errors, omissions, or outdated details. It is not medical, veterinary advice, or an endorsement of therapeutic claims.
Always consult a qualified healthcare professional before using any plant as food, medicine, or supplement.
Never eat any plant (or feed one to pets) without confirming its identity with at least two trusted sources.
If you suspect poisoning, call Poison Control (800) 222-1222, the Pet Poison Helpline (800) 213-6680, or your local emergency service immediately.
Spotted an error? Please report it here.
Propagating your Paphiopedilum orchids is thrilling 🌱, and with Greg's tailored reminders for watering and fertilizing, you'll cultivate stunning blooms in no time!