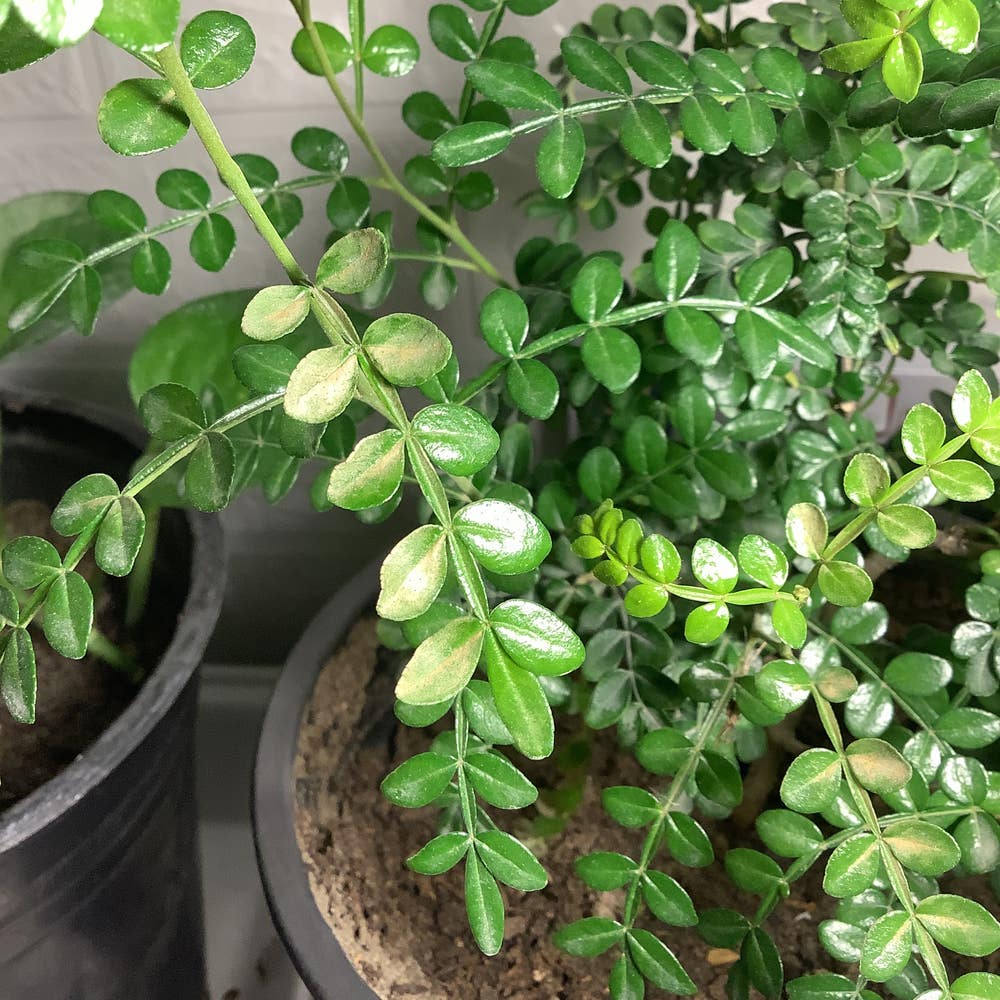
Ultimate Guide to Propagating Fagara
Zanthoxylum rhoifolium
By the Greg Editorial Team
Nov 26, 2024•6 min read
This article was created with the help of AI so we can cover more plants for you. May contain errors. See one? Report it here.
- 🌱 Healthy cuttings of 4-6 inches ensure successful Fagara propagation.
- 🌞 Best time for cuttings is early morning when moisture is highest.
- 🌿 Maintain 70-80% humidity and 70°F-80°F for optimal rooting conditions.
Propagation by Cuttings
🌱 Selecting the Right Cutting
To successfully propagate Fagara, start by selecting cuttings that are 4-6 inches (10-15 cm) long. The best time to take these cuttings is early in the morning when moisture levels are at their peak.
Look for healthy, firm, green stems that show no signs of disease. This ensures that your cuttings have the best chance of thriving.
✂️ Preparing Cuttings for Propagation
Once you have your cuttings, remove the lower leaves, leaving just 2-3 leaves at the top. This helps the cutting focus its energy on root development.
Next, dip the cut end into rooting hormone. This encourages the formation of roots and increases your chances of success.
Prepare a well-draining potting medium, such as a mix of perlite and peat moss. This combination provides the right environment for your cuttings to root effectively.
🌡️ Ideal Conditions for Rooting Cuttings
For optimal rooting, maintain a temperature range of 70°F to 80°F (21°C to 27°C). This warm environment promotes healthy growth.
Humidity is also crucial; aim for levels around 70-80%. You can achieve this by using a humidity dome or covering the cuttings with a plastic bag.
Provide indirect sunlight to prevent leaf scorch. Too much direct light can stress the cuttings and hinder their growth.
🐛 Common Issues and Troubleshooting
Watch for signs of rot, such as yellowing leaves and mushy stems, which indicate overwatering. Adjust your watering schedule and ensure proper drainage to combat this issue.
If you notice slow root development, check the humidity levels and ensure the temperature is within the ideal range.
Leaf drop can signal stress; if this occurs, reduce direct sunlight exposure to help your cuttings recover.
By following these guidelines, you'll set yourself up for successful propagation of Fagara cuttings. Next, let's explore how to propagate this plant using seeds.
Propagation by Seeds
🌱 Seed Selection and Preparation
Choosing the right seeds is crucial for successful propagation. Always opt for mature seeds harvested from ripe fruit to ensure the best germination rates.
Next, clean the seeds thoroughly by removing any pulp and rinsing them under water. This step is essential to prevent mold and promote healthy growth.
Pre-soaking seeds for 24 hours can significantly enhance germination. This simple trick helps to soften the seed coat, making it easier for the seed to sprout.
🌾 Germination Process for Seeds
When it comes to planting, the depth matters. Sow seeds at a depth of 1/4 inch (0.6 cm) to give them the best chance of thriving.
Use a sterile, well-draining seed starting mix as your germination medium. This ensures that the seeds have the right environment to grow without the risk of rot.
Typically, seeds germinate within 2-4 weeks under optimal conditions. Patience is key during this period, as the right care will yield healthy seedlings.
🌡️ Optimal Conditions for Seed Propagation
Maintaining the right temperature is vital for seed propagation. Aim for a warm environment between 75°F to 85°F (24°C to 29°C) to encourage growth.
Light is another critical factor. Provide bright, indirect light to support the seedlings without overwhelming them.
Moisture levels should be carefully monitored. Keep the soil consistently moist but avoid waterlogging, which can lead to root rot.
⏳ Timeframe for Seedling Development
After germination, expect seedlings to develop true leaves in about 4-6 weeks. This is an exciting time as you watch your plants grow!
Transplant seedlings when they reach 3-4 inches (7-10 cm) tall and have several true leaves. This is the perfect moment to give them more space to flourish.
With these steps, you’re well on your way to successfully propagating Fagara from seeds. Next, let’s explore the air layering technique, another effective method for propagation.
Air Layering Technique
Step-by-Step Guide to Air Layering 🌱
Air layering is a fantastic method to propagate Fagara, allowing you to create new plants while still attached to the parent. Follow these simple steps for success:
Select a healthy branch: Choose a branch that is at least 1/4 inch (0.6 cm) thick. This ensures the branch has enough vigor to support root development.
Make an incision: Cut a ring around the branch, removing the bark for about 1 inch (2.5 cm). This step is crucial as it encourages the plant to produce roots from the exposed area.
Apply rooting hormone: Dust the exposed area with rooting hormone. This will stimulate root growth and increase your chances of success.
Wrap with moist sphagnum moss: Cover the area with moss and secure it with plastic wrap. The moss retains moisture, which is vital for root formation.
Seal the ends: Use tape or string to secure the moss and prevent moisture loss. This keeps the environment ideal for rooting.
Best Practices for Successful Air Layering 🌿
To enhance your air layering success, consider these best practices:
Monitor moisture levels: Keep the moss consistently moist throughout the process. Dry moss can hinder root development and lead to failure.
Provide indirect light: Place the plant in a location with filtered sunlight. Too much direct light can stress the plant and impede rooting.
Check for root development: After 4-6 weeks, check for roots through the moss. If roots are visible, it’s time to separate the new plant from the parent.
By following these guidelines, you’ll be well on your way to successfully propagating Fagara through air layering. This method not only expands your plant collection but also deepens your connection to the gardening process.
Next, we’ll explore common challenges in propagation and how to overcome them.
Common Challenges in Propagation
Identifying and Solving Issues 🌱
Propagation can be a rewarding journey, but it’s not without its hurdles. One common issue is root rot, which stems from overwatering. To combat this, ensure your pots have proper drainage and adjust your watering schedule accordingly.
Another challenge is low germination rates. This can be frustrating, especially after putting in the effort. To improve your chances, always check seed viability and create optimal conditions for germination.
Tips for Improving Success Rates 🚀
To boost your propagation success, start with fresh cuttings and seeds. Fresh materials have a higher likelihood of thriving, so don’t skimp on quality.
Consistency is key. Maintain stable environmental conditions to support growth, as fluctuations can stress your plants.
Lastly, keep an eye out for pests and diseases. Regular checks can prevent small issues from becoming major setbacks, ensuring your propagation efforts flourish.
With these strategies in mind, you're well-equipped to tackle the challenges of propagating Fagara. Next, let’s explore the air layering technique, a fascinating method that can yield impressive results.
⚠️ Safety First
This content is for general information and may contain errors, omissions, or outdated details. It is not medical, veterinary advice, or an endorsement of therapeutic claims.
Always consult a qualified healthcare professional before using any plant as food, medicine, or supplement.
Never eat any plant (or feed one to pets) without confirming its identity with at least two trusted sources.
If you suspect poisoning, call Poison Control (800) 222-1222, the Pet Poison Helpline (800) 213-6680, or your local emergency service immediately.
Spotted an error? Please report it here.
Propagate your Fagara like a pro 🌱 with Greg's tailored reminders and expert tips that ensure your cuttings flourish into stunning plants!