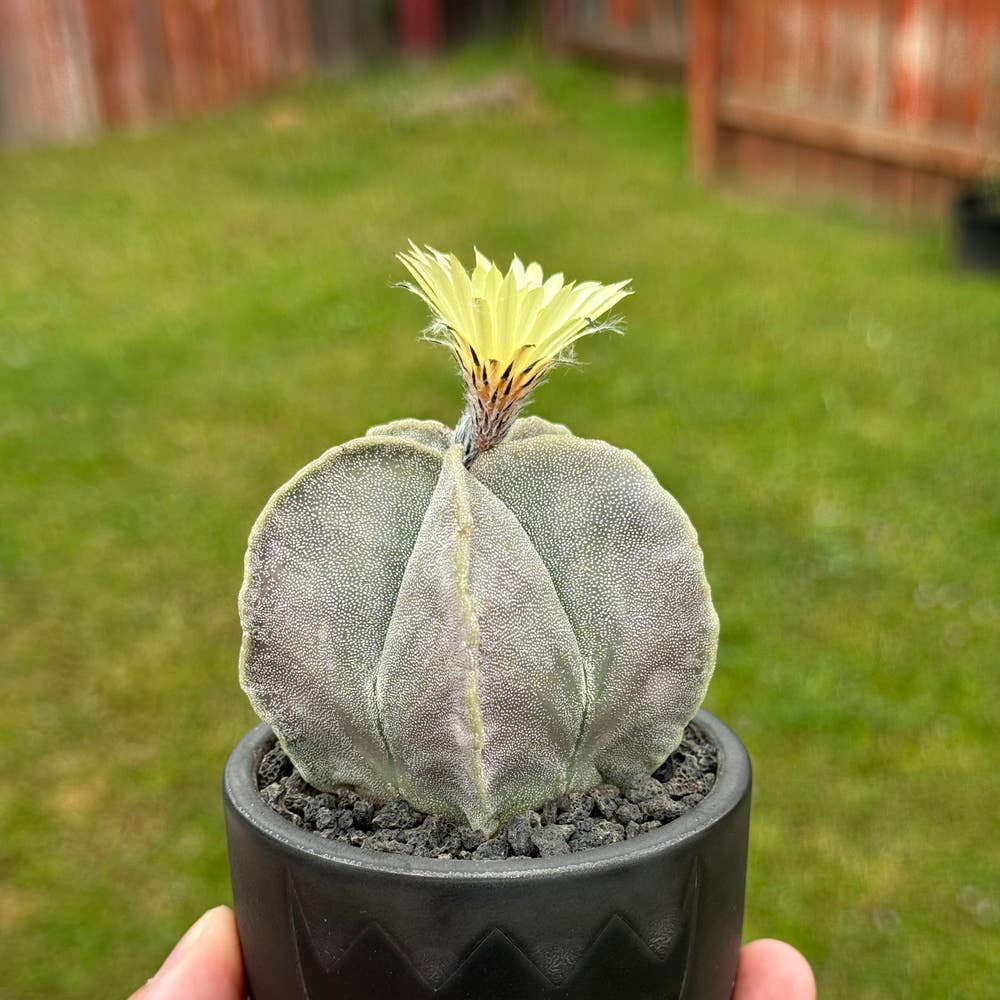
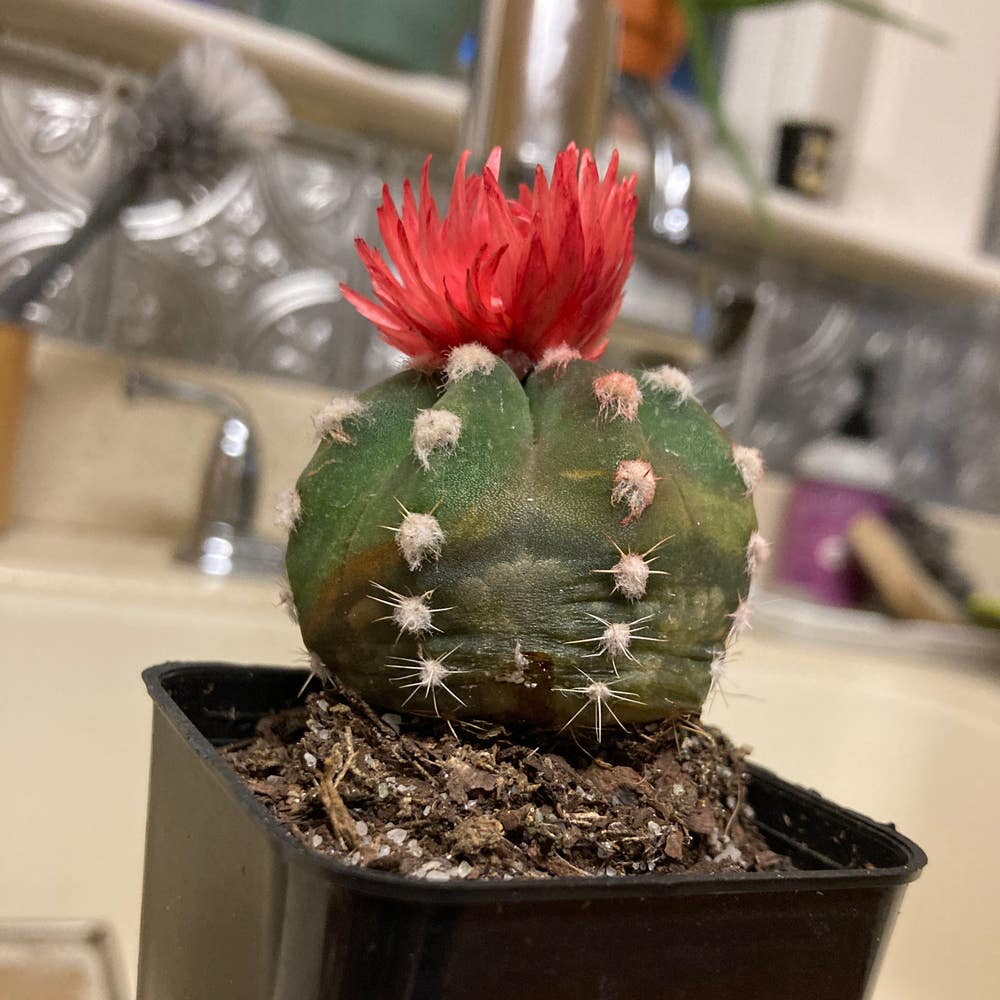
🌵 Ultimate Guide for How to Plant Bishop's Cap Cactus
Astrophytum myriostigma
By the Greg Editorial Team
Sep 30, 2024•5 min read
This article was created with the help of AI so we can cover more plants for you. May contain errors. See one? Report it here.
- 🌱 Proper planting techniques ensure Bishop's Cap cactus health and longevity.
- 🌞 Best planting time is spring or early summer for optimal growth.
- 🪴 Use well-draining soil and terracotta pots for ideal conditions.
Importance of Proper Planting Techniques
Planting techniques are crucial for the healthy growth and longevity of your Bishop's Cap cactus. When done right, these techniques set the stage for a thriving plant that can withstand the test of time.
Proper planting reduces the risk of transplant shock and establishment problems. This means your cactus will adapt more easily to its new environment, minimizing stress and maximizing growth potential.
Additionally, effective planting enhances the cactus's adaptability to local growing conditions. By considering factors like soil type and sunlight exposure, you create a nurturing environment that supports your cactus's unique needs.
In summary, investing time in proper planting techniques pays off in healthier, more resilient cacti. This foundational step is essential for ensuring your plant flourishes in its new home.
Next, let's explore the best practices for planting a new cactus.
Planting New Cactus
🌱 Optimal Timing for Planting
Spring or early summer is the best time to plant your Bishop's Cap cactus. During these warmer months, the conditions are ideal for growth, but always consider your local climate.
🪴 Selecting Soil Mix and Containers
For soil, choose a well-draining cactus mix or create your own blend using potting soil, sand, and perlite. Terracotta pots are a great option due to their breathability, and make sure the container is sized appropriately to allow for growth.
📏 Proper Depth and Spacing
When planting, ensure the top of the root ball is level with the soil surface. Space your cacti 12-18 inches apart to promote healthy growth and airflow.
☀️ Maintaining Ideal Growing Conditions
Your cactus thrives in bright, indirect sunlight, so position it accordingly. Watering is crucial; allow the soil to dry out completely between waterings, as these plants require minimal moisture.
🌤️ Hardening Off Process Before Outdoor Planting
Before moving your cactus outdoors, it's essential to acclimatize it to the new environment. Start with 1-2 hours of outdoor exposure and gradually increase this time over 1-2 weeks to ensure a smooth transition.
By following these planting guidelines, you'll set your Bishop's Cap cactus up for success. Next, we'll explore how to transplant established cacti effectively.
Transplanting Established Cactus
🌱 Optimal Timing for Transplanting
Spring is the ideal time for transplanting your Bishop's Cap cactus. This season aligns with the cactus's active growth period, making it more resilient to the stress of relocation.
🛠️ Step-by-Step Instructions for Transplanting
- Prepare the new planting site: Ensure the area has well-draining soil and receives appropriate sunlight.
- Carefully remove the cactus: Use gloves and a trowel to gently loosen the soil around the roots to avoid damage.
- Place the cactus in the new location: Make sure to follow the proper depth and spacing guidelines discussed earlier.
🏗️ Preparing the New Planting Site
Soil preparation is crucial for a successful transplant. Amend the existing soil with sand or perlite to enhance drainage.
Ensure the site receives bright, indirect sunlight to promote healthy growth. This balance is vital for your cactus's adaptation to its new environment.
💧 Tips for Watering, Mulching, and Support
After transplanting, lightly water the cactus to help settle the soil around the roots. Be cautious not to overwater, as this can lead to root rot.
Mulching with gravel or small stones can help retain moisture and prevent weeds from competing for nutrients. If your cactus needs extra stability, consider using stakes until its roots are well-established.
Transplanting can be a rewarding experience, setting the stage for your cactus to thrive in its new home. With the right care and attention, your Bishop's Cap will flourish beautifully.
Benefits and Drawbacks
💰 Cost Considerations
When deciding between seeds or young plants versus established ones, initial costs can vary significantly. Seeds are often cheaper, but growing from them requires time and patience, making it a long-term investment.
On the other hand, established plants may have a higher upfront cost but can save you money in the long run. They typically require less care and are more resilient, allowing you to enjoy their beauty sooner.
⏳ Time to Maturity
Newly planted seeds or young cacti can take longer to reach maturity compared to established plants. Depending on your local growing conditions, this timeline can stretch even further.
Established plants, however, often thrive more quickly, adapting to their environment with ease. This means you can enjoy their unique beauty and benefits sooner.
🌱 Adaptability to Local Conditions
New plants may need extra attention to adapt to local conditions. This can involve careful monitoring of light, water, and temperature to ensure they thrive.
In contrast, established plants are generally better suited to their environments. They’ve already acclimated, making them a more reliable choice for gardeners looking for low-maintenance options.
As you weigh these benefits and drawbacks, consider your gardening goals and local conditions. This will help you make an informed decision that aligns with your passion for growing Bishop's Cap Cactus.
Next, we’ll explore troubleshooting common issues that may arise during the planting process.
Troubleshooting Common Issues
🌱 Identifying Transplant Shock
Transplant shock can be a real bummer for your Bishop's Cap cactus. Look out for symptoms like wilting, yellowing leaves, or stunted growth, which usually appear within the first few weeks after transplanting.
🛠️ Solutions for Establishment Problems
If you notice signs of overwatering, it’s crucial to ensure proper drainage. Adjust your watering schedule to allow the soil to dry out completely between waterings.
If your cactus isn’t getting enough light, consider moving it to a brighter spot. Bright, indirect sunlight is essential for its recovery and growth.
📋 General Care Tips
Regular monitoring is key to keeping your cactus healthy. Check for any signs of stress or disease, and act quickly if you notice anything unusual.
Consistent care is vital for optimal growth and health. Following cactus care tips will help your Bishop's Cap thrive in its new environment.
With these troubleshooting strategies, you can ensure your cactus not only survives but flourishes. Next, let’s explore the benefits and drawbacks of planting Bishop's Cap cacti.
⚠️ Safety First
This content is for general information and may contain errors, omissions, or outdated details. It is not medical, veterinary advice, or an endorsement of therapeutic claims.
Always consult a qualified healthcare professional before using any plant as food, medicine, or supplement.
Never eat any plant (or feed one to pets) without confirming its identity with at least two trusted sources.
If you suspect poisoning, call Poison Control (800) 222-1222, the Pet Poison Helpline (800) 213-6680, or your local emergency service immediately.
Spotted an error? Please report it here.
Ensure your Bishop's Cap cactus thrives with Greg's tailored care tips 🌱, guiding you through optimal planting and watering for a flourishing garden!