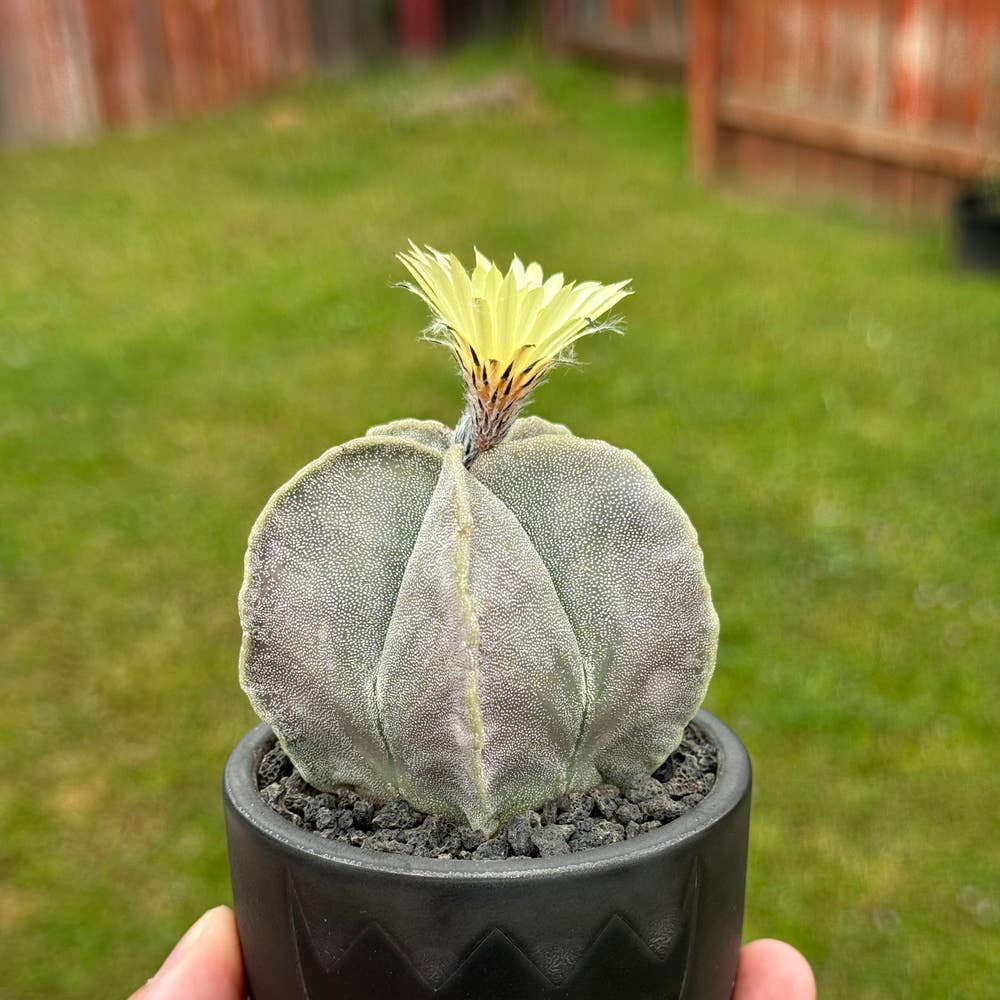
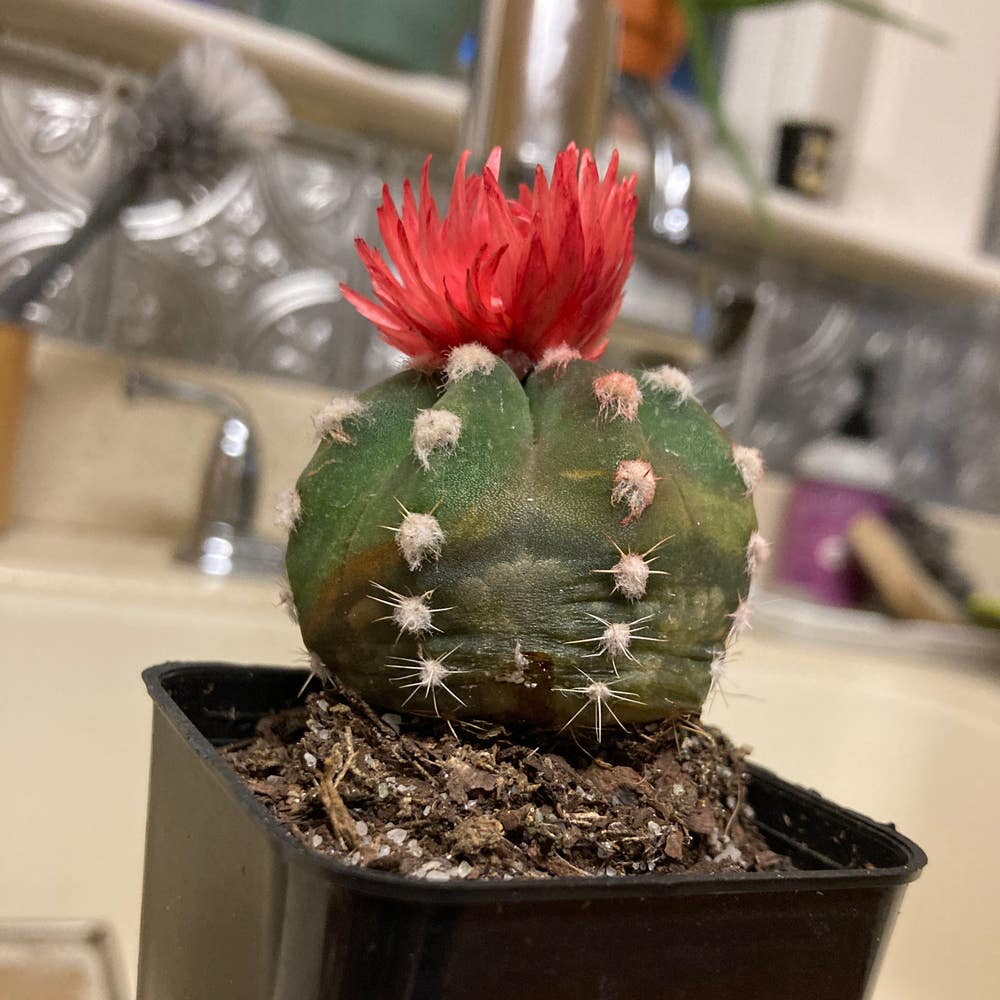
💧 Why Are My Bishop's Cap Cactus Leaves Mushy?
Astrophytum myriostigma
By the Greg Editorial Team
Jun 18, 2024•5 min read
This article was created with the help of AI so we can cover more plants for you. May contain errors. See one? Report it here.
- Overwatering leads to mushiness, so check soil before watering.
- 🌵 Root rot? Prune and repot with well-draining soil and pot.
- 🌞 Bright, indirect light and dry warmth prevent mushy leaves.
Spotting the Trouble: Signs of Mushy Leaves
🚱 Overwatering Red Flags
Soggy soil and leaves resembling overcooked veggies are your Bishop's Cap Cactus crying out for help. It's not being dramatic; it's drowning in your love, or rather, your water. Overwatering is the stage-five clinger that won't let your cactus's roots catch their breath.
🧽 The Link Between Soggy Soil and Squishy Leaves
When the soil feels like a wet sponge, it's a clear sign you've crossed a line. The roots are throwing a white flag; they're waterlogged, and the leaves are going mushy. Aeration is the unsung hero here – without it, you're on a fast track to a cactus crisis.
🕵️ Root Rot: A Sneaky Culprit
To spot root rot, think of yourself as a detective. Unearth the roots and look for the telltale dark, mushy suspects. It's not a pretty sight, but catching it early could mean the difference between life and cactus death.
🌱 The Connection Between Root Health and Leaf Texture
Healthy roots are the cactus's lifeline, but when they're rotting away, the leaves turn into a squishy mess. It's a direct correlation: rotten roots, mushy leaves. If you're seeing brown or blackened roots, it's time for an intervention.

First Aid for Your Cactus
🌵 Immediate Steps to Take
If your Bishop's Cap Cactus has turned into a mushy mess, act fast. Cease all watering to halt further damage. Mush signifies distress, and your cactus is pleading for intervention.
✂️ Pruning the Mush
Grab your clean, sharp scissors. It's surgery time. Snip away the soft, decayed parts. If the inside is still green, you've got potential; these bits can be propagated. Think of it as a cactus phoenix rising from the mush.
🌱 Reviving the Roots
After the amputation, let the cactus's wounds dry and callous. This could take days or weeks, but patience is key. If you're feeling fancy, dust the cuts with sulfur powder to ward off infection.
🏺 Choosing the Right Soil and Pot
When the cactus is ready for its new home, pick a pot with ample drainage holes. Mix a well-draining soil, combining cactus mix with perlite or coarse sand. This is your cactus's new sanctuary, so make it comfy.
🌿 Repotting with Care
Once the roots are dry and the cactus has calloused, it's time to repot. Plant the survivors in their new, well-draining soil and resist the urge to water. Let the roots seek out moisture on their own terms. Keep the plant in indirect light to avoid sunburn during this vulnerable time.

Water Wisdom: Balancing Your Cactus's Thirst
💧 Crafting the Perfect Watering Schedule
Decoding your cactus's watering needs is more art than science. Check the soil: if it's dry to the touch, it's time to water. Seasons dictate frequency—less in winter, more in summer. Remember, your cactus craves neglect; water thoroughly but infrequently.
🛠 Tools and Tricks to Never Overwater Again
Invest in a moisture meter for an accurate soil moisture reading. Or, go low-tech: a simple pencil, when inserted, should come out clean if the soil is dry. Set reminders to check soil moisture, but always verify before watering—your cactus's thirst isn't on a calendar.
🚰 Ensuring Excellent Drainage
Picking the Perfect Pot and Soil Mix for Drainage
Choose a pot with ample drainage holes to prevent water from pooling. The ideal soil mix is porous; combine a cactus-specific blend with perlite or sand to enhance drainage. This setup mimics the cactus's natural, arid habitat.
DIY Tips for Improving Soil Aeration
To boost aeration, loosen the soil periodically, allowing roots to breathe. Adding coarse materials like gravel can prevent soil compaction. Remember, well-aerated soil is key to avoiding the dreaded mushy leaves.

Keeping Mushiness at Bay: Prevention Tactics
🌵 Tailoring the Environment
Your Bishop's Cap Cactus is a creature of comfort—it likes its environment like Goldilocks likes her porridge: just right. Temperature and humidity are the stagehands of this performance, working behind the scenes to prevent a mushy leaf tragedy. Keep the air around your cactus as dry as a desert and maintain a steady, warm temperature to mimic its natural habitat.
Sunlight is the best disinfectant, and in the case of your cactus, it's also the best mushiness repellent. Ensure your cactus gets plenty of bright, indirect light. This not only keeps the leaves dry but also helps the soil shed moisture faster than a duck's back.
👀 Ongoing Vigilance
Regular check-ups on your cactus are like scrolling through your social feeds—do it often, and you'll know what's up. Look for signs of distress, like discoloration or soft spots, which could signal the onset of mushiness.
Maintenance pruning is not just for aesthetics; it's a preventive measure. Snip off any parts that seem like they're starting to turn into cactus mush. Think of it as giving your plant a haircut to keep it looking sharp and healthy. Remember, cleanliness is next to cactus healthiness, so always disinfect your tools before giving your plant a trim.
⚠️ Safety First
This content is for general information and may contain errors, omissions, or outdated details. It is not medical, veterinary advice, or an endorsement of therapeutic claims.
Always consult a qualified healthcare professional before using any plant as food, medicine, or supplement.
Never eat any plant (or feed one to pets) without confirming its identity with at least two trusted sources.
If you suspect poisoning, call Poison Control (800) 222-1222, the Pet Poison Helpline (800) 213-6680, or your local emergency service immediately.
Spotted an error? Please report it here.
Revive your Bishop's Cap Cactus from mushy to magnificent 🌵 by leveraging Greg's custom watering and environmental monitoring to ensure your spiky friend thrives!