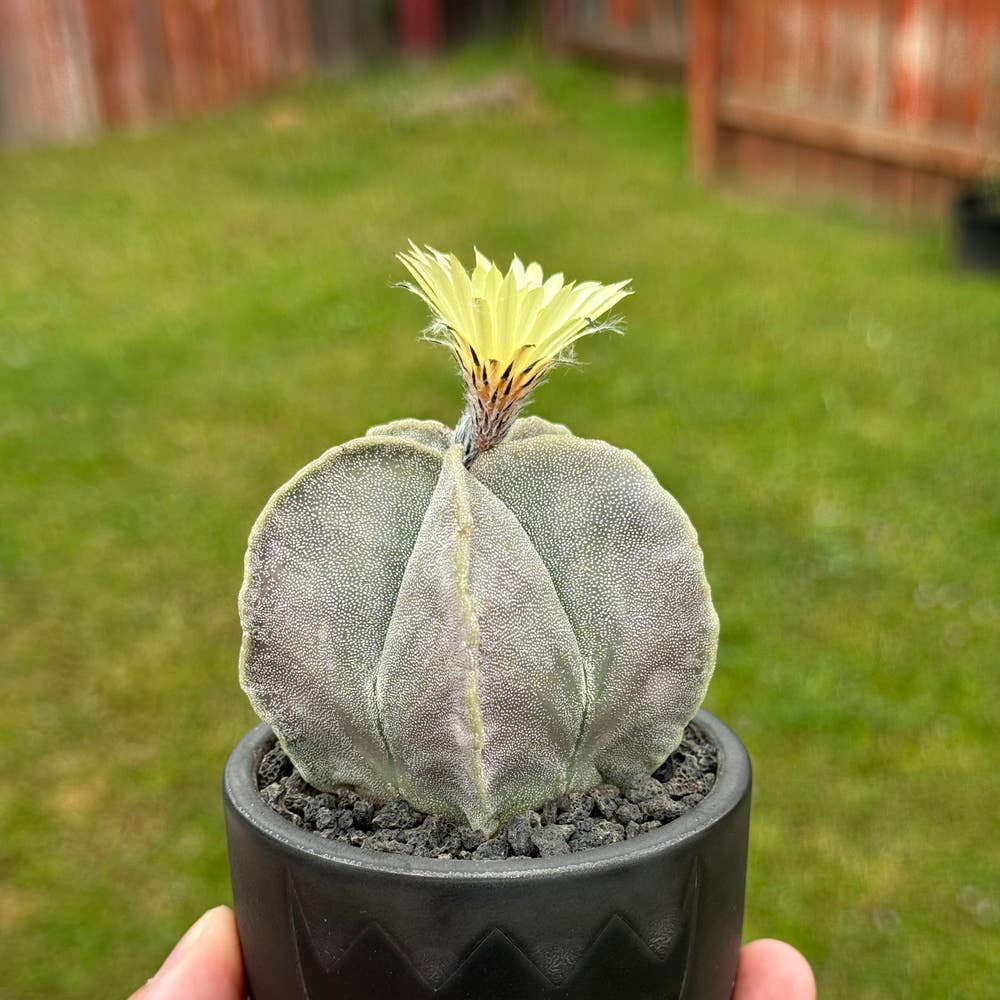
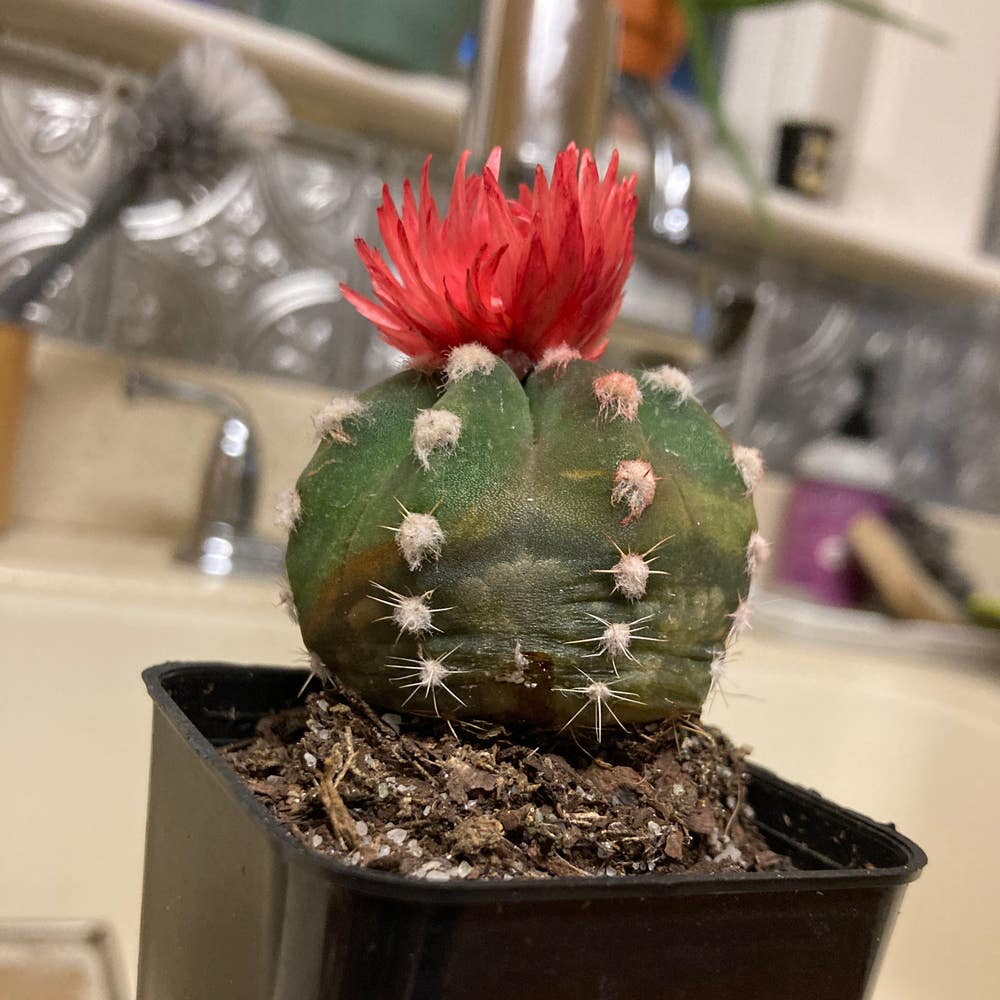
3 Key Factors in Choosing a Bishop's Cap Cactus Pot 🎩
Astrophytum myriostigma
By the Greg Editorial Team
Sep 30, 2024•5 min read
This article was created with the help of AI so we can cover more plants for you. May contain errors. See one? Report it here.
- 🌱 Choose pot size wisely: 2-10 inches based on cactus growth stage.
- 💧 Ensure proper drainage: Multiple holes prevent root rot and moisture issues.
- 🏺 Select suitable materials: Clay for breathability, plastic for lightweight moisture retention.
Choosing the Right Pot for Different Growth Stages
🌱 Importance of Pot Size
Seedling Stage
For seedlings, a pot size of 2-4 inches in diameter is ideal. Smaller containers help maintain moisture levels, which is crucial for young plants.
Juvenile Stage
As your cactus grows, transition to a 4-6 inch pot. This size accommodates root growth while still providing adequate moisture control.
Mature Stage
In the mature stage, opt for pots ranging from 6-10 inches in diameter. The unique ribbed structure of the Bishop's Cap Cactus requires a pot that supports its growth without restricting it.
General Guidelines
Adjust pot sizes as your cactus matures. Regularly check for signs of root crowding or stunted growth to determine when it's time to upgrade.
🏺 Ideal Pot Materials
Clay Pots
Clay pots offer excellent breathability and moisture regulation, making them a popular choice. Their aesthetic appeal enhances both indoor and outdoor settings.
However, they come with drawbacks. Clay pots are heavier and more fragile than plastic, and they can dry out soil faster, requiring more frequent watering.
Plastic Pots
Plastic pots are lightweight and durable, making them easy to handle. They retain moisture longer than clay, which can be beneficial in warmer climates.
On the downside, plastic pots are less breathable. This can lead to root rot if drainage isn't managed properly.
Comparison of Clay vs. Plastic
When choosing between clay and plastic, consider factors like cost, availability, and suitability for your specific cactus needs. Each material has its pros and cons, so weigh them carefully.
🚰 Importance of Drainage Holes
Drainage holes are essential for preventing water accumulation and root rot. They ensure proper airflow to the roots, promoting healthy growth.
For optimal drainage, aim for multiple holes that are at least 1/4 inch in diameter. If your pot lacks holes, consider adding gravel at the bottom to enhance drainage.
By understanding pot size, material, and drainage needs, you can create the perfect environment for your Bishop's Cap Cactus. Next, let’s explore the signs that indicate it's time to repot your cactus.
Repotting Bishop's Cap Cactus
🕵️♂️ Signs That It's Time to Repot
Recognizing when your Bishop's Cap cactus needs a new home is crucial for its health. Look for signs like roots emerging from the drainage holes or stunted growth accompanied by yellowing leaves.
Timing is also essential. Repotting should align with the cactus's growth stages to ensure it thrives in its new environment.
🛠️ Step-by-Step Guide to Repotting
Repotting may seem daunting, but it's straightforward with the right approach. Follow these steps for a successful transition:
- Gather necessary materials: a new pot, cactus soil, and gloves.
- Carefully remove the cactus from its current pot, taking care not to damage the roots.
- Inspect the roots for health; trim any damaged areas to promote new growth.
- Place the cactus in the new pot, ensuring it sits at the correct depth.
- Fill the pot with cactus soil and water lightly to settle the soil around the roots.
🪴 Choosing the Right Pot During Repotting
Selecting the right pot is vital for your cactus's continued growth. Consider factors like size, material, and drainage when making your choice.
A pot that’s too small can restrict growth, while one that’s too large may retain excess moisture. Aim for a balance that supports healthy development.
In summary, repotting your Bishop's Cap cactus involves recognizing the signs, following a clear process, and choosing the right pot. This ensures your cactus continues to flourish, setting the stage for the next topic on common mistakes in pot selection.
Common Mistakes in Pot Selection
Overly Large or Small Pots 🌱
Choosing the wrong pot size can significantly impact your Bishop's Cap cactus's health. Overly large pots tend to retain excess moisture, which can lead to root rot, while pots that are too small restrict root growth, stunting the plant's development.
Ignoring Drainage Needs 🚰
Many cactus owners overlook the importance of drainage holes. Pots without these essential features can trap water, creating a breeding ground for root rot and other issues. Ensuring adequate drainage is crucial for maintaining a healthy cactus.
Choosing Inappropriate Materials 🏺
Selecting the wrong pot materials can lead to a host of problems. Common pitfalls include choosing materials that don't suit your cactus's growth conditions. Opt for breathable options like clay or moisture-retaining plastic, depending on your environment and care routine.
By avoiding these common mistakes, you can ensure your Bishop's Cap cactus thrives in its chosen pot. Next, let’s explore the seasonal considerations for potting to further enhance your cactus care strategy.
Seasonal Considerations for Potting
🌱 Best Time of Year to Repot
Spring is the prime season for repotting your Bishop's Cap cactus. During this time, the plant is waking up from dormancy and is ready to grow, making it the perfect opportunity to give it a new home.
While spring is ideal, consider fall for minor adjustments. Winter repotting is generally discouraged, as the cactus is in a dormant state and may not adapt well to changes.
📦 Seasonal Growth Patterns and Pot Choice
Seasonal changes significantly impact your potting decisions. As temperatures rise in spring and summer, your cactus will likely need a larger pot to accommodate its growth.
In contrast, during the cooler months, you may want to monitor your cactus closely. Adjusting pot size and material based on these seasonal growth patterns can help ensure optimal health.
Additionally, keep an eye on moisture levels throughout the year. Cacti require different watering frequencies depending on the season, so adjust your care routine accordingly to prevent overwatering or drying out.
With these seasonal considerations in mind, you can create the best environment for your Bishop's Cap cactus to thrive. Next, let’s explore common mistakes in pot selection to avoid pitfalls in your potting journey.
⚠️ Safety First
This content is for general information and may contain errors, omissions, or outdated details. It is not medical, veterinary advice, or an endorsement of therapeutic claims.
Always consult a qualified healthcare professional before using any plant as food, medicine, or supplement.
Never eat any plant (or feed one to pets) without confirming its identity with at least two trusted sources.
If you suspect poisoning, call Poison Control (800) 222-1222, the Pet Poison Helpline (800) 213-6680, or your local emergency service immediately.
Spotted an error? Please report it here.
Choose the perfect pot for your Bishop's Cap cactus 🌵 with Greg's tailored reminders and expert tips to keep your plant thriving in its ideal environment!