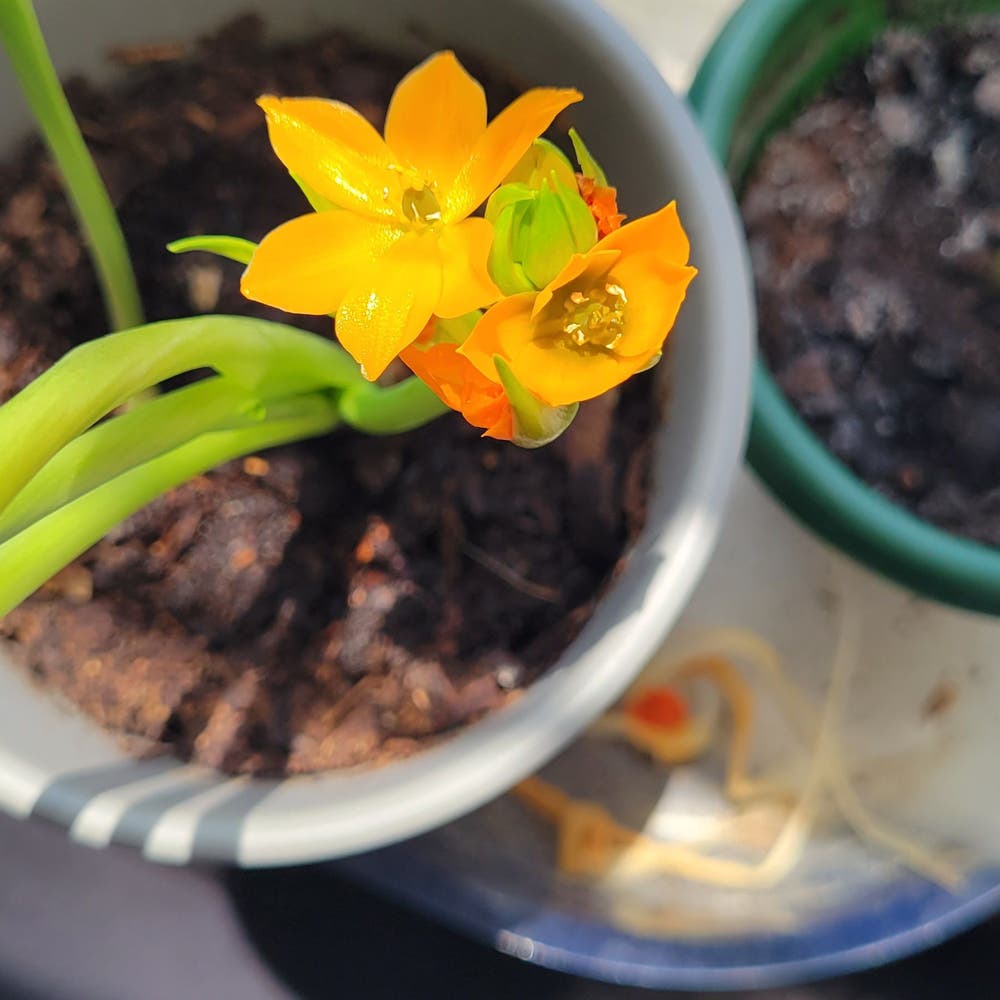
🌞 4 Tips for Propagating Your Sunstar Flower
Ornithogalum dubium
By the Greg Editorial Team
Oct 16, 2024•5 min read
This article was created with the help of AI so we can cover more plants for you. May contain errors. See one? Report it here.
Grow vibrant Sunstar flowers 🌼 effortlessly with these simple propagation techniques for cuttings, seeds, and division!
- 🌱 Select healthy stems (4-6 inches) for successful Sunstar flower propagation.
- ✂️ Make precise cuts below nodes to encourage strong root growth.
- 💧 Maintain humidity and consistent moisture for thriving cuttings and divisions.
Propagating from Cuttings
🌱 Step-by-step guide for taking cuttings
Taking cuttings from your Sunstar flower is a straightforward process that can yield beautiful results. Follow these simple steps to ensure success.
1. Select healthy stems 🌿
Start by choosing healthy stems that are at least 4-6 inches long. Make sure they are free from pests and disease to give your cuttings the best chance of thriving.
2. Make the cut ✂️
Using clean, sharp scissors, cut just below a node. This is where the roots will eventually form, so precision is key.
3. Remove lower leaves 🍃
Trim off the leaves from the bottom half of the cutting. This helps prevent rot and allows the cutting to focus its energy on root development.
4. Dip in rooting hormone 🌟
To encourage root growth, dip the cut end in rooting hormone. This step can significantly boost your chances of success.
5. Prepare the pot 🪴
Fill a pot with well-draining soil, ideally a mix of potting soil and perlite. Good drainage is crucial to prevent waterlogging.
6. Insert the cutting 🌼
Insert the cutting into the soil, ensuring the node is buried. This is where the roots will emerge, so make sure it’s well-positioned.
7. Water lightly 💧
Water the cutting lightly to settle the soil around it. Then, cover the pot with a plastic bag or dome to maintain humidity.
8. Provide light and monitor ☀️
Place your pot in bright, indirect light. Keep an eye on moisture levels, ensuring the soil remains slightly damp but not soggy.
By following these steps, you’ll be well on your way to propagating your Sunstar flower successfully. Next, let’s explore how to propagate from seeds for even more growth opportunities.
Propagating from Seeds
🌱 Seed Collection and Preparation
Collecting seeds from your Sunstar flowers is the first step in propagation. Wait until the flowers have dried and turned brown, then gently harvest the seeds.
Once collected, clean the seeds to remove any debris. Allow them to dry completely before moving on to the next step.
⏰ Sowing Seeds: Timing and Conditions
Timing is crucial for successful sowing. Aim to sow your seeds in spring, right after the last frost, using a seed-starting mix in a shallow tray.
This ensures the seeds have the best chance to thrive in optimal conditions.
🌼 Germination Process and Care
- Lightly cover the seeds with soil, about 1/8 inch deep.
- Water gently to avoid displacing the seeds.
- Maintain a temperature between 70°F and 75°F (21°C to 24°C) for optimal germination.
- Once seedlings emerge, provide bright light, ensuring they receive at least 12 hours of light daily.
By following these steps, you’ll set the stage for healthy growth and vibrant blooms. Now that you’re equipped with the basics of seed propagation, let’s explore the next method: propagating by division.
Propagating by Division
Dividing your Sunstar flower can rejuvenate the plant and promote healthy growth. Here’s a straightforward guide to help you through the process.
Step 1: Digging Up the Plant 🌱
Start by carefully digging up the entire plant. Ensure you keep the root system intact to minimize stress on the plant.
Step 2: Separating the Root Ball ✂️
Gently separate the root ball into sections. Each section should have both roots and leaves to ensure successful replanting.
Step 3: Trimming Damaged Roots 🧑🔧
Inspect the roots for any damage. Use clean scissors to trim away any unhealthy roots, promoting better growth for the divisions.
Step 4: Replanting Divisions 🌍
Replant each division in well-draining soil. A mix of potting soil and perlite works wonders for drainage.
Step 5: Watering Thoroughly 💧
Water the newly planted divisions thoroughly. This helps settle the soil around the roots and provides essential moisture.
Step 6: Providing Bright Light ☀️
Place the divisions in a location with bright light. This encourages healthy growth and helps the plants acclimate to their new environment.
Step 7: Monitoring Humidity Levels 🌫️
Keep an eye on humidity levels to prevent stress. Maintaining a consistent moisture level will support your plants as they establish themselves.
By following these steps, you can successfully propagate your Sunstar flower through division. This method not only enhances your garden but also allows you to share these beautiful plants with friends and family.
Next, let’s explore common challenges you might face during propagation and how to overcome them.
Common Challenges in Propagation
🥀 Issues with Cuttings
Signs of rot or failure
When propagating from cuttings, it's crucial to watch for signs of trouble. Yellowing leaves, mushy stems, or a foul odor indicate that your cutting may be rotting.
Solutions for common cutting problems
To combat these issues, ensure proper drainage and avoid overwatering. Using fresh soil and regularly checking humidity levels can also help keep your cuttings healthy.
🌱 Seed Germination Problems
Factors affecting germination rates
Germination can be tricky, and several factors can hinder success. Poor soil quality, incorrect temperature, or insufficient light can all negatively impact germination rates.
Troubleshooting low germination
If you're facing low germination, start by testing seed viability. Adjusting environmental conditions, such as temperature and light, can significantly improve your chances of success.
🌿 Division Challenges
Identifying stress in divided plants
After dividing plants, it's essential to monitor their health. Look for signs of stress, such as wilting, yellowing leaves, or stunted growth.
Recovery tips for divided plants
To help your divided plants recover, keep the soil consistently moist but not soggy. Providing indirect light until they establish themselves can also promote healthy growth.
By staying vigilant and addressing these common challenges, you can enhance your propagation success and enjoy thriving Sunstar flowers. Next, let’s explore the exciting world of propagating from seeds!
⚠️ Safety First
This content is for general information and may contain errors, omissions, or outdated details. It is not medical, veterinary advice, or an endorsement of therapeutic claims.
Always consult a qualified healthcare professional before using any plant as food, medicine, or supplement.
Never eat any plant (or feed one to pets) without confirming its identity with at least two trusted sources.
If you suspect poisoning, call Poison Control (800) 222-1222, the Pet Poison Helpline (800) 213-6680, or your local emergency service immediately.
Spotted an error? Please report it here.
Propagate your Sunstar flower like a pro 🌱 with Greg's tailored reminders for humidity and care, ensuring your cuttings thrive and bloom beautifully!