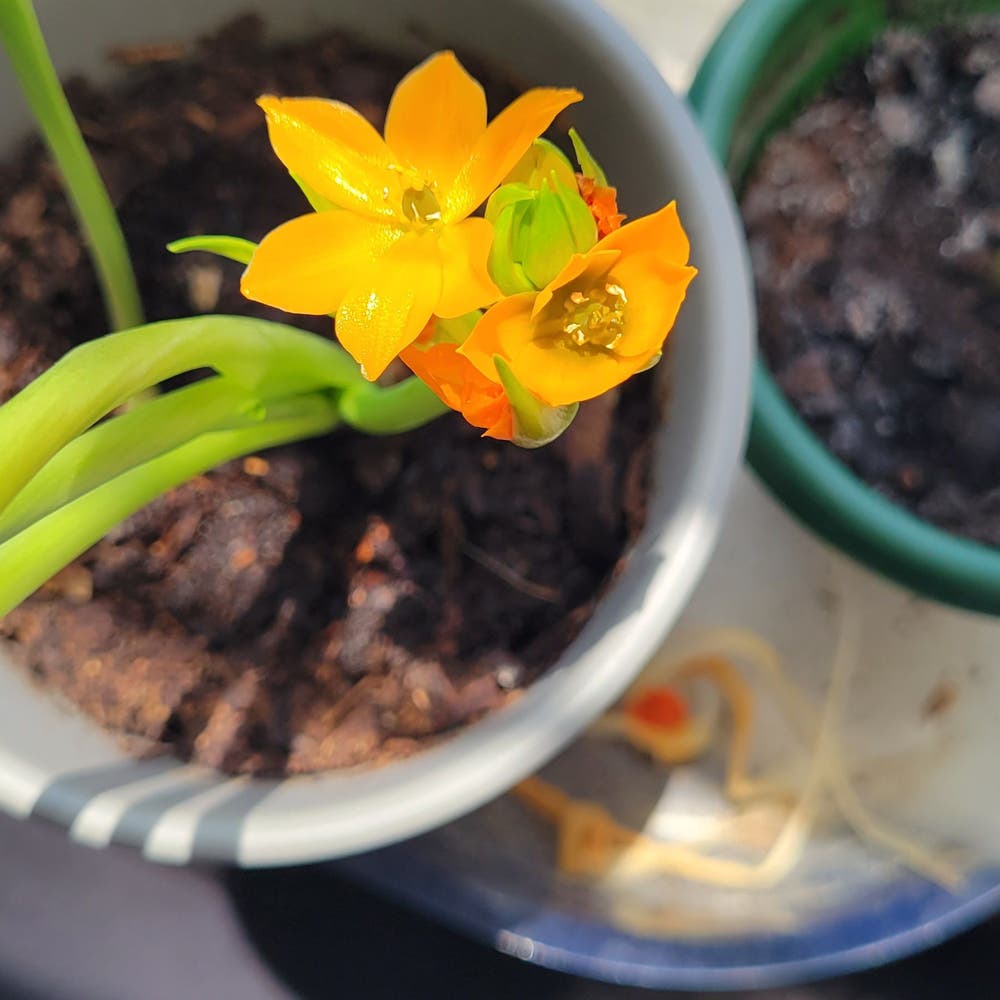
⭐ Best Practices for Planting Orange Star Plant
Ornithogalum dubium
By the Greg Editorial Team
Oct 17, 2024•5 min read
This article was created with the help of AI so we can cover more plants for you. May contain errors. See one? Report it here.
Transform your garden with expert tips on planting and transplanting Orange Star plants 🌱 for stunning blooms!
- 🌱 New Orange Star plants take months to bloom; established ones bloom within weeks.
- 🌞 Best planting time is spring or early summer for optimal establishment.
- 💧 Well-draining soil and consistent moisture are crucial to prevent root rot.
Planting vs. Transplanting
Key Considerations 🌱
When deciding between planting new or transplanting established Orange Star plants, cost is a significant factor. New plants usually come with a lower initial price tag, while established ones might require a heftier investment but reward you with quicker blooms.
Time to maturity is another crucial aspect. New plants can take months to settle in, whereas established plants often bloom within just a few weeks, giving you that instant gratification.
Adaptability also plays a role in your decision. New plants may need extra time to acclimate to their surroundings, while established plants are typically better suited to local conditions, making them a safer bet for immediate success.
Understanding these key considerations can help you make an informed choice that aligns with your gardening goals. Whether you opt for new or established plants, each has its unique advantages that can enhance your gardening experience.
Planting New Orange Star Plant
🌱 Optimal Timing for Planting
Spring and early summer are the best seasons for planting your Orange Star Plant. These warmer months allow the plant to establish itself before the cooler temperatures set in.
Avoid planting during frost or extreme heat, as these conditions can stress the plant and hinder its growth. Timing is crucial for a successful start.
🪴 Selecting Soil Mix and Containers
For optimal growth, use a well-draining soil mix enriched with organic matter like peat moss or compost. This ensures your plant gets the nutrients it needs while preventing waterlogging.
When choosing containers, select pots with drainage holes to avoid excess moisture. Aim for a size that accommodates root growth, ideally at least 6-8 inches deep.
📏 Proper Depth and Spacing
Plant your Orange Star at the same depth it was in the nursery container. This consistency helps the plant adjust more easily to its new environment.
Space each plant 12-18 inches apart to allow for ample growth and airflow. This spacing is essential for preventing overcrowding and promoting healthy development.
🌞 Maintaining Ideal Growing Conditions
Keep the soil consistently moist but not waterlogged. This balance is key to preventing root rot while ensuring your plant thrives.
Ensure your Orange Star receives at least 6 hours of sunlight daily, ideally in full sun to partial shade. Additionally, use a balanced fertilizer every 4-6 weeks during the growing season to support robust growth.
🌳 Hardening Off Process
The hardening off process is vital for acclimating your plant to outdoor conditions. Gradually introducing it to the elements helps reduce transplant shock.
Start by placing the plant outside for a few hours each day, gradually increasing exposure over 1-2 weeks. This step prepares your Orange Star for its new home in the garden.
Transitioning to the next section, understanding how to transplant established Orange Star Plants will further enhance your gardening skills.
Transplanting Established Orange Star Plant
🌱 Optimal Timing for Transplanting
Transplanting your Orange Star Plant is best done in early spring or fall. These seasons offer moderate temperatures, making it easier for the plant to adjust.
Avoid transplanting during the heat of the day. Instead, choose cooler parts of the day, like morning or late afternoon, to minimize stress on the plant.
🛠️ Step-by-Step Instructions for Transplanting
Removing the Plant
- Water the plant a day before transplanting to reduce stress.
- Carefully dig around the root zone, ensuring you keep the soil intact.
- Gently lift the plant, taking care to avoid damaging the roots.
Preparing the New Site
- Choose a location that receives full sun to partial shade.
- Amend the soil with organic matter to improve drainage.
- Dig a hole that is twice the width of the root ball and the same depth.
Ensuring Proper Placement and Spacing
Center the plant in the hole at the same depth it was previously growing.
Fill in with soil, tamping it down to eliminate any air pockets. Maintain a spacing of 12-18 inches between this plant and others for optimal growth.
💧 Tips for Watering, Mulching, and Support
After transplanting, water the plant thoroughly to help settle the soil around the roots.
Apply a 2-3 inch layer of mulch to retain moisture and suppress weeds. If your plant is taller, consider using stakes for additional support.
Transplanting can be a rewarding experience, setting the stage for vibrant blooms. Next, let’s explore how to troubleshoot common issues that may arise during this process.
Troubleshooting Common Issues
🌱 Transplant Shock
Transplant shock can be a real bummer for your Orange Star Plant. Symptoms include wilting, yellowing leaves, and stunted growth, signaling that your plant is struggling to adjust.
To prevent this, ensure proper watering and care during the initial weeks. Keeping the soil consistently moist will help your plant bounce back.
🏡 Establishment Problems and Solutions
Sometimes, your plant may face establishment problems like poor root growth or inadequate sunlight. These issues can hinder its ability to thrive in its new environment.
Monitor moisture levels closely and adjust sunlight exposure as needed. A little attention can go a long way in helping your plant settle in.
🐛 Other Common Issues
Pests can also be a concern. Keep an eye out for aphids or spider mites; if you spot them, using insecticidal soap can help manage the situation effectively.
Additionally, watch for diseases like root rot, which often results from overwatering. Ensure proper drainage to avoid waterlogging, and your plant will thank you for it.
With these troubleshooting tips, you'll be well-equipped to handle common challenges and keep your Orange Star Plant flourishing. Next, let’s explore how to ensure your plant thrives in its new home!
⚠️ Safety First
This content is for general information and may contain errors, omissions, or outdated details. It is not medical, veterinary advice, or an endorsement of therapeutic claims.
Always consult a qualified healthcare professional before using any plant as food, medicine, or supplement.
Never eat any plant (or feed one to pets) without confirming its identity with at least two trusted sources.
If you suspect poisoning, call Poison Control (800) 222-1222, the Pet Poison Helpline (800) 213-6680, or your local emergency service immediately.
Spotted an error? Please report it here.
Plant your Orange Star plant with confidence by following these best practices, and let Greg provide you with tailored care reminders 🌟 to help it flourish in your home!