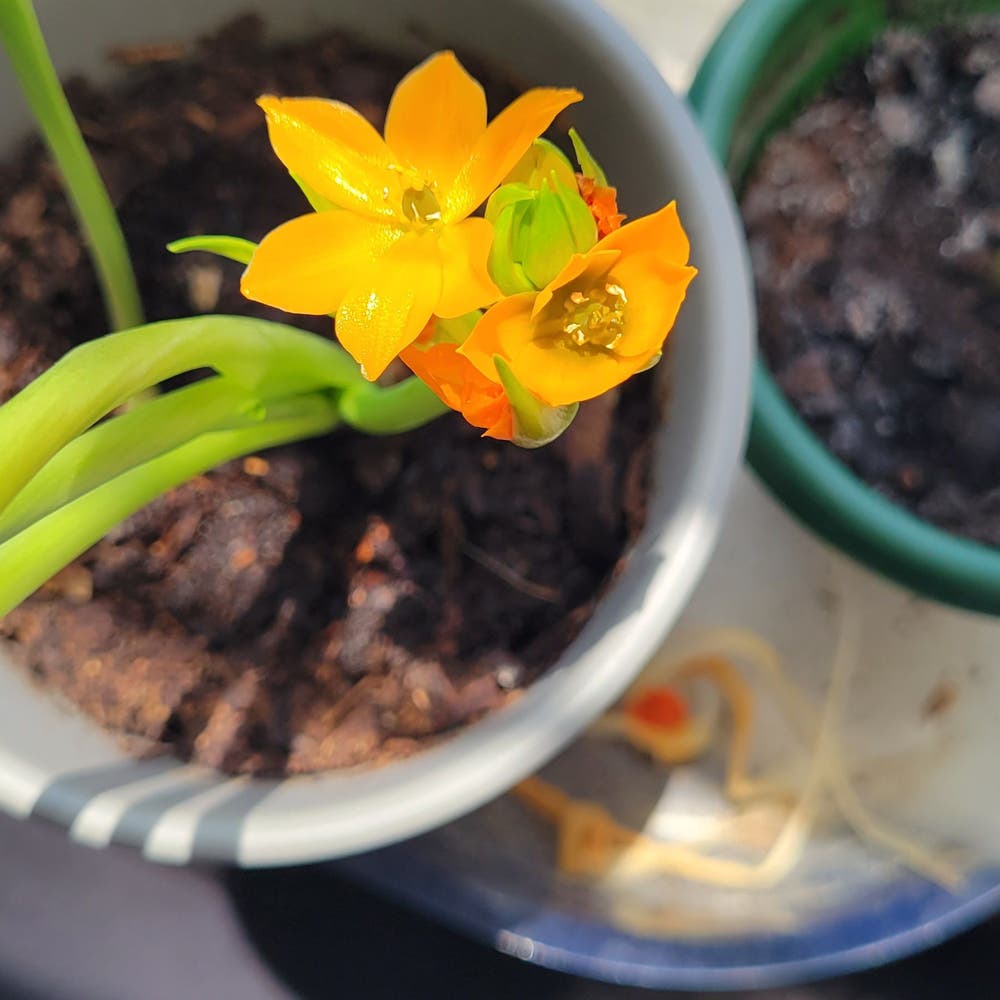
⭐ When and How to Repot Orange Star Plant
Ornithogalum dubium
By the Greg Editorial Team
Oct 17, 2024•8 min read
This article was created with the help of AI so we can cover more plants for you. May contain errors. See one? Report it here.
Revitalize your Orange Star Plant 🌱 with expert repotting tips that ensure vibrant growth and health!
- 🌱 Signs of root-bound include roots out of drainage holes; repot when noticed.
- 🌼 Best time to repot is spring, after flowering for optimal recovery.
- 🧪 Healthy roots are firm and white; brown roots indicate issues needing attention.
Signs That Indicate It's Time to Repot
🌱 Root-Bound Indicators
Recognizing when your Orange Star Plant needs repotting is crucial for its health. One clear sign is roots growing out of the drainage holes; this indicates they are cramped and seeking more space.
Another indicator is when roots start circling the pot. This behavior shows that the plant is running out of room to grow. Additionally, if you notice stunted growth or yellowing leaves despite providing proper care, it’s time to consider repotting.
⏰ Timing Based on Growth Cycles
Timing your repotting can make a significant difference. Observing blooming cycles is essential; repotting after flowering allows the plant to recover and thrive in its new environment.
Spring is another critical period. As the Orange Star Plant enters its seasonal growth phase, increased growth may signal the need for a larger pot. Keeping an eye on these cycles ensures your plant remains healthy and vibrant.
How to Assess Root Health Before Repotting
Checking Root Condition 🌱
Before repotting your Orange Star Plant, it's crucial to assess the health of its roots. Gently remove the plant from its pot, taking care not to damage the roots.
Healthy roots should be firm, white, and not overly tangled. If you notice brown, mushy, or foul-smelling roots, it's a sign that your plant may be struggling.
Importance of Root Pruning ✂️
If you find excessively tangled or damaged roots, it's time to consider root pruning. This step is essential for promoting healthy growth and preventing future issues.
Use clean, sharp scissors to trim away any unhealthy roots. This simple technique can make a significant difference in your plant's overall health.
By ensuring your roots are in good condition, you're setting the stage for a successful repotting experience. Next, let’s dive into the step-by-step guide for repotting your Orange Star Plant.
Step-by-Step Guide to Repotting Orange Star Plant
Repotting your Orange Star Plant can seem daunting, but with the right steps, it’s a straightforward process. Follow this guide to ensure your plant thrives in its new home.
1. Prepare the New Pot 🪴
Choose a pot that is 1-2 inches larger in diameter than the current one. Make sure it has adequate drainage holes to prevent waterlogging.
2. Select the Right Potting Soil 🌱
Opt for a well-draining mix suitable for succulents. This will help maintain the right moisture levels for your Orange Star Plant.
3. Remove the Plant from Its Current Pot 🌿
Gently loosen the soil around the edges of the pot. Support the base of the plant while carefully pulling it out to avoid damaging the roots.
4. Inspect and Prune Roots as Necessary ✂️
Check the roots for any signs of damage or tangling. If you find unhealthy roots, prune them back using clean, sharp scissors.
5. Place a Layer of Potting Soil in the New Pot 🏺
Add a layer of potting soil to the bottom of the new pot. This will provide a stable base for your plant.
6. Position the Plant in the Center and Fill with Soil 🌍
Set the plant in the center of the pot and fill in with soil. Ensure the crown of the plant is level with the soil surface for optimal growth.
7. Water Thoroughly to Settle the Soil 💧
Give the plant a good soak to help settle the soil around the roots. This also ensures that the plant is well-hydrated after the move.
8. Allow the Plant to Acclimate in a Shaded Area for a Few Days 🌥️
Place the repotted plant in a shaded area for a few days. This will help it adjust to its new environment without added stress.
Following these steps will set your Orange Star Plant up for success in its new pot. Next, let’s explore how to choose the right pot for your plant’s needs.
Choosing the Right Pot
🌱 Comparison of Pot Materials
Terracotta Pots
Terracotta pots are a popular choice for the Orange Star plant due to their excellent drainage and breathable material. However, they can dry out quickly, which means you might need to water more frequently.
Plastic Pots
Plastic pots are lightweight and retain moisture longer, making them convenient for busy plant parents. On the downside, they are less breathable, which can lead to root rot if drainage isn’t adequate.
Ceramic Pots
Ceramic pots offer aesthetic appeal and good insulation for your plant. The trade-off is that they tend to be heavier and can retain too much moisture, potentially harming your Orange Star.
📏 Importance of Pot Size and Shape
Choosing the right pot size is crucial. Aim for a pot that is 1-2 inches larger in diameter than the current one to give your plant room to grow.
When it comes to shape, wider pots can promote better root spread, allowing your Orange Star to thrive. A well-chosen pot can make all the difference in your plant's health and growth.
As you consider your options, remember that the right pot not only supports your plant's growth but also enhances your space. Next, let’s dive into the ideal potting soil and amendments to ensure your Orange Star plant flourishes.
Potting Soil and Amendments
Recommended Soil Types for Orange Star Plant 🌱
Choosing the right potting soil is crucial for the health of your Orange Star Plant. A well-draining succulent mix is ideal, but you can also create a custom blend using potting soil, sand, and perlite.
Creating a Well-Draining Potting Mix 🧪
To craft your own mix, follow this simple ratio: use 2 parts potting soil, 1 part sand, and 1 part perlite. This combination ensures that water drains effectively, preventing root rot while providing the necessary nutrients.
Importance of Soil pH ⚖️
Maintaining the right soil pH is essential for optimal growth. The ideal pH range for Orange Star Plants is between 6.0 and 7.0.
Testing Soil pH 🔬
To ensure your soil is within this range, consider using a simple soil pH test kit. Regular checks can help you adjust the soil composition as needed, promoting a thriving plant.
With the right soil and amendments, your Orange Star Plant will have the foundation it needs to flourish. Next, let’s explore how to care for your plant after repotting to ensure it continues to thrive.
Post-Repotting Care
💧 Watering Schedule After Repotting
After repotting your Orange Star Plant, start with an initial thorough watering. Soak the soil well, then let it dry out completely before watering again.
For ongoing care, check the top inch of soil. Water only when it feels dry to the touch, ensuring your plant stays healthy and hydrated.
☀️ Light Requirements Post-Repotting
Once repotted, gradually reintroduce your plant to bright, indirect light. This helps it adjust without the shock of direct sunlight.
Avoid placing it in direct sunlight for the first week. This precaution prevents stress and allows your plant to acclimate comfortably.
🚨 Signs of Stress and How to Address Them
Keep an eye out for wilting or drooping leaves. These signs often indicate issues with watering—either too much or too little.
If you notice yellowing leaves, reassess both light conditions and soil moisture. Adjusting these factors can help your Orange Star thrive in its new pot.
By following these post-repotting care tips, you’ll set your Orange Star Plant up for success. Next, let’s explore common repotting mistakes to avoid.
Common Repotting Mistakes
🌱 Overpotting vs. Underpotting
Choosing the right pot size is crucial for your Orange Star Plant's health. Overpotting, or selecting a pot that’s too large, can lead to excess moisture retention, which may cause root rot.
On the flip side, underpotting restricts root growth. A pot that’s too small can suffocate your plant, preventing it from thriving.
🚰 Ignoring Drainage Needs
Never underestimate the importance of drainage holes. They are essential for preventing waterlogging, which can lead to root rot and other issues.
Without proper drainage, even the most diligent watering routine can backfire, leaving your plant in a soggy situation.
🌿 Not Checking Root Health
Regularly assessing root health is a game changer. Aim to check the roots every 1-2 years to catch any potential problems early.
Healthy roots are the foundation of a thriving plant. Neglecting this step can lead to bigger issues down the line, so make it a habit to inspect those roots!
By avoiding these common mistakes, you set your Orange Star Plant up for success. Next, let’s explore the seasonal considerations for repotting to ensure optimal growth.
Seasonal Considerations for Repotting
Best Time of Year to Repot Orange Star Plant 🌱
Spring is the prime time for repotting your Orange Star Plant. During this season, the plant is actively growing, making it more resilient to the stress of repotting.
How Seasonal Changes Affect Repotting Success 🌦️
Temperature and humidity play crucial roles in the success of your repotting efforts. Ensure that conditions are stable after repotting to help your plant adjust smoothly.
Monitor your plant closely for signs of stress during seasonal transitions. Adjust your care routine based on the plant's needs to promote healthy growth and recovery.
By timing your repotting right and being mindful of seasonal changes, you set your Orange Star Plant up for success. This proactive approach can lead to a thriving, vibrant plant that brings joy to your space.
Next, let’s dive into the essential steps for repotting your Orange Star Plant effectively.
⚠️ Safety First
This content is for general information and may contain errors, omissions, or outdated details. It is not medical, veterinary advice, or an endorsement of therapeutic claims.
Always consult a qualified healthcare professional before using any plant as food, medicine, or supplement.
Never eat any plant (or feed one to pets) without confirming its identity with at least two trusted sources.
If you suspect poisoning, call Poison Control (800) 222-1222, the Pet Poison Helpline (800) 213-6680, or your local emergency service immediately.
Spotted an error? Please report it here.
Transform your Orange Star Plant's home with expert repotting tips 🌱 from Greg, ensuring it thrives with personalized watering reminders and health checks tailored just for you!