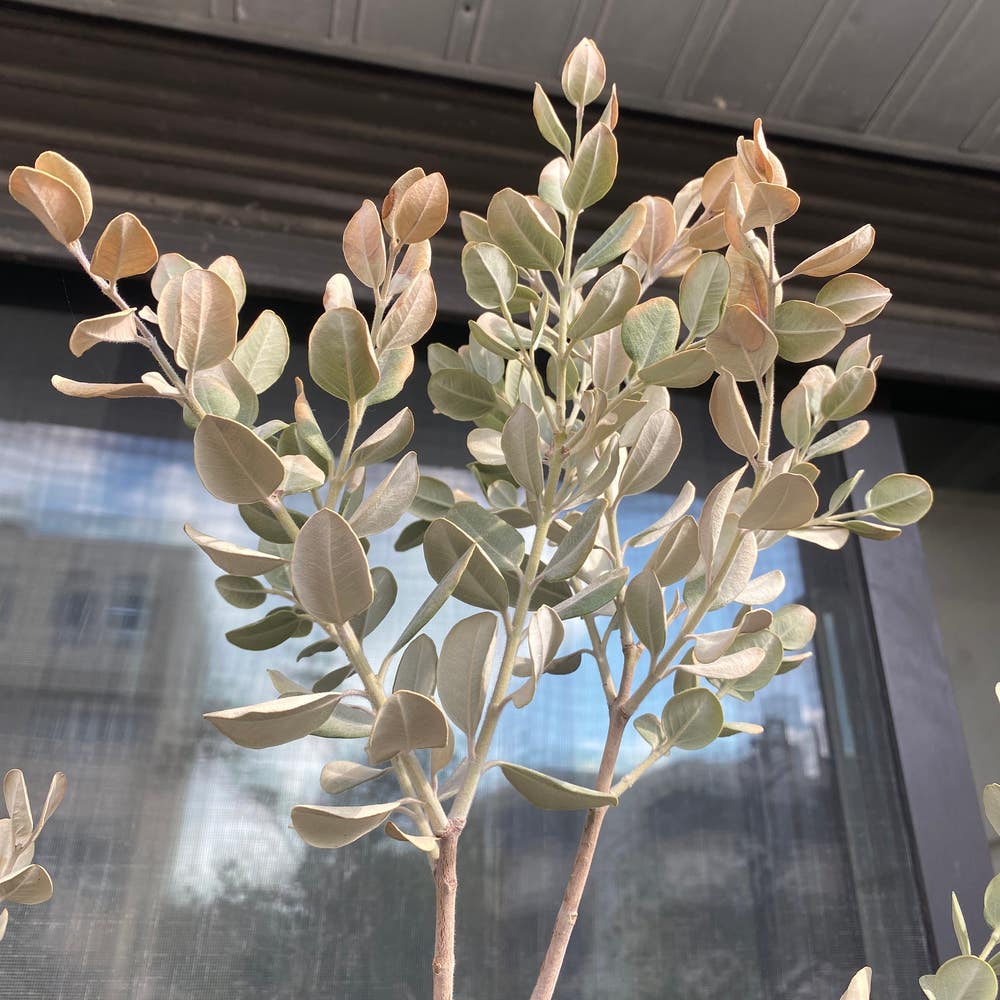
🌱 4 Tips for Propagating Your Rata
Metrosideros tremuloides
By the Greg Editorial Team
Nov 22, 2024•7 min read
This article was created with the help of AI so we can cover more plants for you. May contain errors. See one? Report it here.
- 🌱 Propagate Rata using cuttings, seeds, air layering, or layering techniques for success.
- ✂️ Use healthy semi-hardwood cuttings and sterilized shears for optimal results.
- 🌡️💧 Maintain warm, humid conditions and avoid overwatering to prevent root rot.
Propagating Rata from Cuttings
Step-by-step guide for taking cuttings 🌱
Taking cuttings from your Rata is a straightforward process that can yield beautiful results.
Select healthy stems: Look for semi-hardwood stems that are about 4-6 inches long. Healthy stems are crucial for successful propagation.
Prepare the cuttings: Use sharp, sterilized pruning shears to make a clean cut just below a node. This helps the plant focus its energy on root development.
Remove lower leaves: Trim off the leaves from the bottom half of the cutting. This prevents rot and allows the cutting to focus on growing roots.
Apply rooting hormone: Dip the cut end in rooting hormone. This encourages root development and increases your chances of success.
Ideal conditions for rooting cuttings 🌤️
Creating the right environment is key to successful rooting.
Temperature: Maintain a warm environment between 20°C to 25°C (68°F to 77°F). This temperature range promotes healthy growth.
Humidity: Use a humidity dome or a plastic bag to retain moisture around the cuttings. High humidity helps prevent dehydration.
Light: Provide indirect sunlight to avoid scorching the cuttings. Too much direct light can hinder root development.
Common mistakes to avoid 🚫
Avoiding common pitfalls can make your propagation efforts more successful.
Overwatering: Ensure the medium is moist but not soggy. Overwatering can lead to root rot, which is detrimental to your cuttings.
Poor light conditions: Avoid placing cuttings in direct sunlight until roots develop. Insufficient light can stunt growth.
Neglecting to check for pests: Regularly inspect your cuttings for signs of pests or diseases. Early detection can save your plants from serious issues.
By following these steps and tips, you can successfully propagate your Rata from cuttings. This method not only expands your plant collection but also deepens your connection to gardening. Next, let's explore how to propagate Rata from seeds for even more growth opportunities!
Propagating Rata from Seeds
🌱 How to collect and prepare Rata seeds
Collecting Rata seeds is a straightforward process. Wait until the flower capsules mature and turn brown and dry before harvesting.
Once collected, clean the seeds to remove any debris. Allow them to dry for a few days to ensure they are ready for planting.
🌿 Germination process and conditions
For successful germination, start with a well-draining seed-starting mix. Sow the seeds on the surface and lightly press them into the soil for optimal contact.
Maintain a temperature between 18°C to 22°C (64°F to 72°F) for the best results. Under these conditions, expect seeds to germinate within 2-4 weeks.
🌼 Tips for seedling care
Once your seeds have germinated, it's crucial to keep the soil consistently moist but not waterlogged. This balance will help prevent damping-off disease, which can be fatal for young seedlings.
Provide bright, indirect light to promote healthy growth. As seedlings develop, transplant them to larger pots once they have 2-3 true leaves, ensuring they have enough space to thrive.
With these steps, you'll be well on your way to successfully propagating Rata from seeds. Next, let’s explore air layering, another effective propagation method that can yield impressive results.
Air Layering Rata
🪴 Explanation of air layering technique
Air layering is a fascinating propagation method that allows you to grow roots on a stem while it remains attached to the parent plant. This technique not only simplifies the propagation process but also ensures that the new plant starts off strong and healthy.
🛠️ Materials needed for air layering
To successfully air layer your Rata, gather the following materials:
- Sharp knife or pruning shears
- Sphagnum moss or rooting medium
- Plastic wrap or aluminum foil
- Twine or plant ties
📋 Step-by-step instructions for successful air layering
Follow these steps to master the air layering technique:
- Select a healthy branch: Choose a stem that is at least 1/4 inch in diameter for the best results.
- Make an upward cut: Create a 1-inch long cut about one-third through the stem to initiate the rooting process.
- Insert a small piece of plastic or wood: This will keep the cut open and promote healing, allowing roots to develop more easily.
- Apply moist sphagnum moss: Wrap the moss around the cut area and secure it with plastic wrap to maintain moisture.
- Wait for root development: Monitor the moss for moisture and check for roots after 4-6 weeks. Patience is key here!
Air layering is a rewarding technique that can yield impressive results. Once you see roots forming, you’ll be ready to transition to the next propagation method.
Layering Technique for Rata
Description of the layering method 🌱
Layering is a fantastic propagation technique that allows you to encourage root growth on a low-growing stem while it remains attached to the parent plant. This method is particularly effective for Rata, as it takes advantage of the plant's natural growth habits.
Best practices for successful layering 🌿
To achieve the best results, start by selecting a flexible, healthy branch.
- Prepare the soil: Ensure the soil is well-draining and rich in organic matter to support root development.
- Secure the stem: Use a U-shaped pin or a rock to hold the stem in place while it’s buried, ensuring it stays in contact with the soil.
Timing and environmental considerations ⏰
Timing is crucial for successful layering. The best time to start this process is early spring when the plant is actively growing.
- Environmental factors: Make sure to maintain adequate moisture in the soil and avoid extreme temperatures during the rooting process. This will help create the ideal conditions for your Rata to thrive.
By following these guidelines, you can effectively propagate your Rata through layering, setting the stage for healthy new growth. Next, let’s explore some common challenges you might face during Rata propagation and how to overcome them.
Challenges in Rata Propagation
🛠️ Common Issues in Rata Propagation
Propagation can be tricky, and recognizing the signs of failure is crucial. Look out for wilting, yellowing leaves, or a lack of root development—these are red flags that something isn't right.
To address these issues, consider adjusting your watering practices. Ensure your plants are getting the right amount of moisture, improve light conditions, or check for pests that might be causing stress.
🐛 Pests and Diseases Affecting Rata Propagation
Pests can wreak havoc on your propagation efforts. Common culprits include aphids, spider mites, and scale insects, which can sap the vitality of your Rata plants.
To prevent diseases, use organic pesticides and maintain good air circulation around your plants. This will help keep pests at bay and promote a healthier growing environment.
🌡️ Environmental Factors
Importance of Humidity and Temperature
Humidity plays a vital role in successful propagation. Aim to maintain high humidity levels between 60-80% for both cuttings and seedlings to encourage robust growth.
Temperature control is equally important. Keeping temperatures stable will help your plants thrive and reduce the risk of stress-related issues.
💡 Light Requirements for Successful Propagation
Light exposure is key to preventing leggy growth in your Rata plants. Provide bright, indirect light for cuttings and seedlings to ensure they develop strong, healthy stems.
Be cautious about direct sunlight, especially for young plants. Protect them from harsh rays to minimize stress and promote steady growth.
Understanding these challenges and how to address them will set you on the right path for successful Rata propagation. With the right care and attention, your efforts will surely bear fruit. Next, let’s explore the various propagation methods available for Rata.
⚠️ Safety First
This content is for general information and may contain errors, omissions, or outdated details. It is not medical, veterinary advice, or an endorsement of therapeutic claims.
Always consult a qualified healthcare professional before using any plant as food, medicine, or supplement.
Never eat any plant (or feed one to pets) without confirming its identity with at least two trusted sources.
If you suspect poisoning, call Poison Control (800) 222-1222, the Pet Poison Helpline (800) 213-6680, or your local emergency service immediately.
Spotted an error? Please report it here.
Propagate your Rata like a pro 🌿 with Greg's tailored reminders and expert tips to ensure your cuttings thrive and flourish!