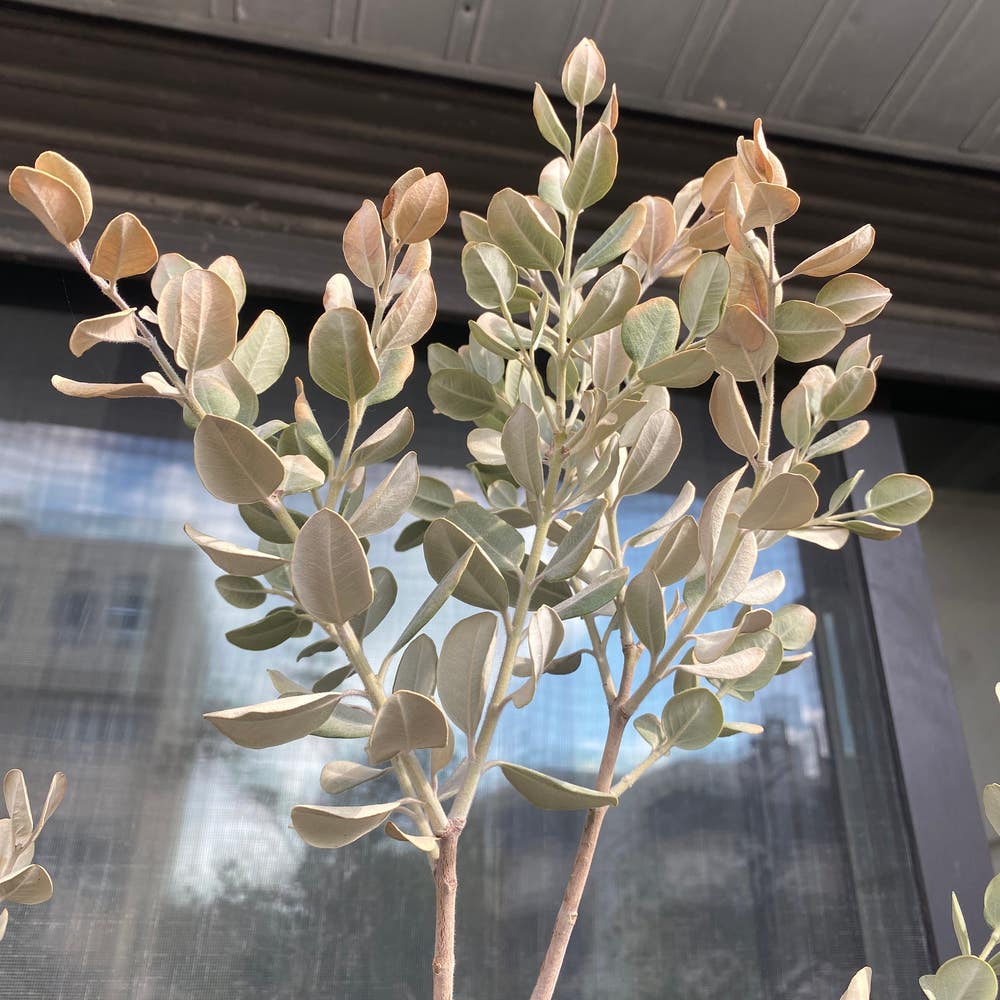
When and How to Repot Rata 🪴
Metrosideros tremuloides
By the Greg Editorial Team
Nov 22, 2024•7 min read
This article was created with the help of AI so we can cover more plants for you. May contain errors. See one? Report it here.
- 🌱 Signs of root-bound Rata include roots growing out of drainage holes.
- 🕒 Best repotting times are early spring and late summer for optimal growth.
- 🧴 Use quality potting soil and ensure proper drainage to prevent root rot.
Signs That Rata Needs Repotting
Recognizing when your Rata needs repotting is crucial for its health and growth. Here are the key indicators to watch for.
🌱 Root Bound Indicators
One of the first signs that your Rata is root-bound is when you see roots growing out of the drainage holes. This indicates that the plant has outgrown its current pot.
Another clear sign is roots circling the pot's interior. If you notice this, it’s time to consider a larger pot.
Stunted growth despite proper care is also a red flag. If your Rata isn’t thriving, it might be struggling for space.
🪴 Soil Condition Signs
Pay attention to the soil condition as well. If the soil dries out too quickly after watering, it may not be retaining moisture effectively.
Salt buildup on the soil surface is another sign that repotting is needed. This can occur from fertilizers and can harm your plant.
Poor drainage leading to water pooling is a serious issue. If water isn’t draining properly, it can lead to root rot.
🌿 Plant Health Symptoms
Your Rata's overall health can also indicate the need for repotting. Yellowing leaves or leaf drop are common symptoms of stress.
Reduced flowering or growth vigor can signal that the plant is unhappy in its current environment.
Lastly, if your Rata is wilting despite adequate watering, it may be time to give it a new home.
By keeping an eye out for these signs, you can ensure your Rata remains healthy and vibrant. Next, let’s explore the best time of year to repot your Rata for optimal results.
Best Time of Year to Repot Rata
🌱 Seasonal Considerations
The best time to repot your Rata is during early spring or late summer. These periods align with the plant's active growth phases, making it easier for your Rata to adapt to its new environment.
Avoid repotting during the winter months when the plant is dormant. This can lead to unnecessary stress and hinder recovery.
🔄 Growth Cycle Awareness
Repotting during active growth not only encourages recovery but also enhances the plant's overall health. Timing can vary based on specific Rata varieties, such as Northern and Southern Rata, so it's essential to consider their unique growth cycles.
Understanding these seasonal and growth cycle factors will set your Rata up for success. With the right timing, your plant will thrive in its new pot, ready to flourish in the coming seasons.
Next, let’s explore the step-by-step guide to repotting Rata effectively.
Step-by-Step Guide to Repotting Rata
Repotting your Rata can seem daunting, but with the right steps, it can be a smooth process. Follow this guide to ensure your plant thrives in its new home.
1. Gather Necessary Materials 🛠️
Before you start, collect all the materials you'll need: a new pot, quality potting soil, and tools like a trowel and scissors. Having everything on hand will make the process more efficient.
2. Choose the Right Pot Size 📏
Select a pot that is 1-2 inches larger in diameter than the current one. This size allows for growth without overwhelming the roots with excess soil.
3. Prepare the New Pot 🥣
Ensure the drainage holes in the new pot are clear to prevent waterlogging. Add a layer of potting soil at the bottom to provide a cushion for the roots.
4. Remove Rata from the Old Pot 🚪
Gently loosen the soil around the edges of the old pot. Carefully lift the plant by the base, taking care not to damage the roots.
5. Inspect and Trim Roots ✂️
Check the roots for any dead or damaged sections and remove them. Trim excessively long roots to encourage healthy new growth.
6. Place Rata in the New Pot 🪴
Center the plant in the new pot and fill in with potting soil. Make sure the root ball is level with the rim of the pot for stability.
7. Water Thoroughly 💧
After potting, water the plant thoroughly to settle the soil around the roots. This step is crucial for eliminating air pockets.
8. Allow the Plant to Acclimatize 🌱
Place the newly potted Rata in a shaded area for a few days. This gradual acclimatization helps the plant adjust to its new environment without shock.
By following these steps, you’ll set your Rata up for success in its new pot. Next, let’s explore the best pot materials to use for your Rata.
Pot Material Options for Rata
Choosing the right pot material for your Rata can significantly impact its health and growth. Let's explore the various options available.
🌱 Benefits of Terracotta Pots
Terracotta pots are a popular choice among plant enthusiasts. They offer excellent drainage and breathability, which is crucial for Rata's root health.
Additionally, terracotta helps prevent overwatering by allowing moisture to evaporate through the walls. This feature is especially beneficial for those who might be prone to overwatering their plants.
🥤 Advantages of Plastic Pots
Plastic pots have their own set of advantages. They are lightweight and easy to handle, making them a practical option for repotting.
Moreover, plastic retains moisture better than terracotta, which can be helpful in maintaining consistent soil moisture levels. This can be particularly advantageous during warmer months.
🎨 When to Use Ceramic Pots
Ceramic pots are not just about looks; they also provide good insulation for roots. Their aesthetic appeal can enhance your indoor or outdoor space.
However, it's essential to ensure that ceramic pots have adequate drainage holes. Without proper drainage, you risk water pooling, which can harm your Rata.
🚫 Pot Materials to Avoid
While there are many great options, some materials should be avoided. Metal pots can heat up quickly in the sun, potentially damaging the roots of your Rata.
Additionally, non-breathable materials can lead to root rot by trapping excess moisture. It's best to steer clear of these options to keep your plant thriving.
In summary, selecting the right pot material is crucial for your Rata's health. With the right choice, you can create an environment that promotes growth and vitality.
Next, let's dive into the essential post-repotting care for your Rata to ensure it thrives in its new home.
Post-Repotting Care for Rata
💧 Watering Schedule After Repotting
After repotting your Rata, the first step is to give it a thorough soak. This helps settle the soil around the roots, but be sure to allow the soil to dry slightly before the next watering.
For regular care, maintain consistent moisture without overwatering. Check the top inch of soil; if it feels dry, it’s time to water again.
☀️ Light Requirements After Repotting
Light is crucial for your Rata's recovery. Gradually reintroduce it to bright, indirect light to help it adjust without shock.
Avoid direct sunlight for the first week after repotting. This gentle approach allows your plant to acclimatize and thrive in its new environment.
🌱 Fertilization Tips Post-Repotting
Fertilization is important, but timing is key. Delay fertilizing for 4-6 weeks to give the roots time to settle into their new home.
When you do resume feeding, opt for a balanced, slow-release fertilizer. This will provide the nutrients your Rata needs without overwhelming it.
By following these post-repotting care tips, you’ll set your Rata up for a successful recovery and continued growth. Next, let’s explore common repotting mistakes to avoid for a smoother experience.
Common Repotting Mistakes with Rata
🪴 Overpotting Issues
One of the most common mistakes when repotting Rata is choosing a pot that’s too large. This can lead to excess soil moisture, which may cause root rot and other issues.
Signs of overpotting include slow growth and yellowing leaves. If you notice these symptoms, it might be time to reassess your pot size.
⚠️ Root Damage During Repotting
Improper handling during repotting can stress your Rata and lead to decline. Always use clean, sharp tools to minimize damage to the roots.
Taking your time to gently loosen the soil and lift the plant can make a significant difference in its recovery. Remember, healthy roots are key to a thriving plant.
🌱 Not Allowing for Acclimatization After Repotting
Another frequent error is not allowing your Rata to acclimatize after repotting. Sudden exposure to full light can shock the plant, hindering its adjustment to the new environment.
Instead, gradually reintroduce your Rata to bright, indirect light over the course of a week. This gentle transition helps your plant thrive in its new home.
By avoiding these common pitfalls, you can ensure a smoother repotting experience for your Rata. Next, let’s explore the best pot material options to enhance your plant's growth.
⚠️ Safety First
This content is for general information and may contain errors, omissions, or outdated details. It is not medical, veterinary advice, or an endorsement of therapeutic claims.
Always consult a qualified healthcare professional before using any plant as food, medicine, or supplement.
Never eat any plant (or feed one to pets) without confirming its identity with at least two trusted sources.
If you suspect poisoning, call Poison Control (800) 222-1222, the Pet Poison Helpline (800) 213-6680, or your local emergency service immediately.
Spotted an error? Please report it here.
Repot your Rata at the right time for thriving growth 🌱 with Greg's tailored reminders and expert tips to help your plant flourish in its new pot!