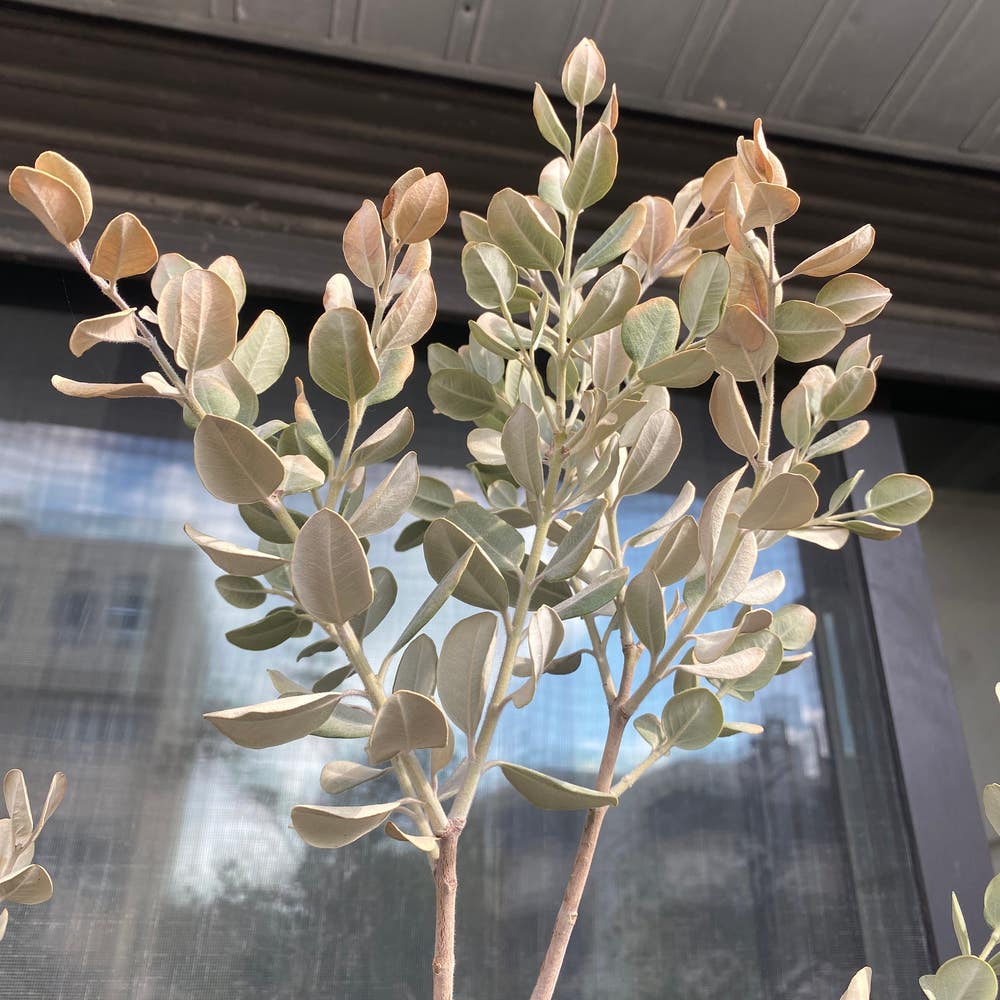
Ultimate Guide for How to Plant Rata ⛏️
Metrosideros tremuloides
By the Greg Editorial Team
Nov 22, 2024•6 min read
This article was created with the help of AI so we can cover more plants for you. May contain errors. See one? Report it here.
- 🌱 Plant new Rata in spring or fall for optimal growth and adaptation.
- ⚠️ Transplant shock is a risk; hydrate roots before moving established Rata.
- 🌿 Space Rata 3-6 feet apart for healthy air circulation and growth.
New Rata vs. Transplanting Established Rata
🌱 Benefits of Planting New Rata
Planting new Rata offers several advantages. First, these young plants tend to adapt better to local conditions, ensuring a stronger start.
Additionally, new Rata often develops healthier root systems, which can lead to more robust growth. You also have access to a wider variety of species, allowing for more creativity in your garden design.
⚠️ Drawbacks of Planting New Rata
However, there are some downsides to consider. New Rata typically takes longer to mature and flower, which can test your patience.
Moreover, the initial costs for seeds or young plants can add up, making it a more significant investment upfront.
🌼 Benefits of Transplanting Established Rata
On the flip side, transplanting established Rata can provide immediate visual impact in your garden. These plants often have established root systems that may adapt quickly to their new environment.
This means you can enjoy the beauty of Rata sooner rather than later.
😬 Drawbacks of Transplanting Established Rata
Yet, transplanting comes with its own set of challenges. One major concern is the risk of transplant shock, which can hinder growth and vitality.
Additionally, there's always the potential for damage during the transplanting process, which can affect the plant's overall health.
In weighing these options, consider your gardening goals and the specific conditions of your space. This will help you decide whether to plant new Rata or transplant established ones, setting the stage for a thriving garden.
Key Steps for Planting New Rata
🌱 Optimal Timing for Planting Rata
The best times to plant Rata are early spring or fall. These seasons align with the plant's growth cycle and local climate, ensuring a robust start.
🪴 Selecting the Appropriate Soil Mix and Containers
For optimal growth, use a well-draining, fertile soil mix enriched with organic matter. If you're container gardening, choose pots that are at least 12 inches deep to accommodate healthy root development.
📏 Proper Depth and Spacing for Planting Rata
When planting, dig a hole that is 1-2 inches deeper than the root ball. Space your Rata plants 3-6 feet apart, depending on the species, to allow for proper air circulation and growth.
💧 Tips for Maintaining Ideal Growing Conditions
Consistent moisture is crucial, but avoid waterlogging your plants. Rata thrives in full sun to partial shade, so ensure they receive adequate light throughout the day.
🌤️ Hardening Off Rata Before Outdoor Planting
To prepare your young Rata for the outdoors, follow these steps:
- Gradually expose them to outdoor conditions over 7-10 days.
- Start with a few hours of sunlight and increase exposure daily.
- Keep an eye out for signs of stress or shock, adjusting exposure as needed.
By following these key steps, you'll set your new Rata up for success in your garden. Next, let’s explore the essential steps for transplanting established Rata.
Key Steps for Transplanting Established Rata
🌱 Optimal Timing for Transplanting Established Rata
The best time to transplant established Rata is during early spring or late fall. This timing aligns with the plant's dormant phase, minimizing stress and promoting successful establishment.
🛠️ Step-by-Step Instructions for Transplanting Rata
Removing the Plant from Its Current Location
- Water the plant thoroughly a day before transplanting. This helps to hydrate the roots and makes the soil easier to work with.
- Carefully dig around the root zone, ensuring you maintain as much soil as possible. This protects the roots and aids in a smoother transition.
- Lift the plant gently from the ground, taking care to avoid damaging the roots. A gentle touch goes a long way in preserving the plant's health.
Preparing the New Planting Site
- Choose a location with well-draining soil and adequate sunlight. Rata thrives in environments where it can soak up the sun.
- Dig a hole that is twice the width of the root ball and the same depth. This gives the roots ample space to spread out.
- Amend the soil with organic matter if necessary. Enriching the soil can enhance growth and overall plant health.
Ensuring Proper Placement and Spacing
Position the plant at the same depth it was previously growing. This consistency helps the plant acclimate to its new environment.
Space the plants according to species requirements, typically 3-6 feet apart. Proper spacing allows for airflow and reduces competition for nutrients.
💧 Tips for Watering, Mulching, and Providing Support
Water the plant immediately after transplanting to settle the soil around the roots. This initial watering is crucial for reducing transplant shock.
Apply a layer of mulch to retain moisture and suppress weeds. Mulch acts as a protective barrier, keeping the soil temperature stable.
For taller varieties, provide support if necessary. Staking or using supports can help prevent damage from wind or heavy rain.
Transplanting established Rata can be a rewarding experience, setting the stage for vibrant growth. With the right timing and care, your Rata will thrive in its new home, ready to flourish and bring beauty to your garden.
Troubleshooting Common Issues
🌱 Understanding Transplant Shock
Transplant shock is a common hurdle when planting Rata. Symptoms include wilting, yellowing leaves, and stunted growth, all indicating that the plant is struggling to adjust.
The primary causes of transplant shock are root disturbance and sudden environmental changes. When roots are disturbed, they can struggle to take up water and nutrients, leading to these distress signals.
🔍 Addressing Establishment Problems
Monitoring moisture levels and light exposure is crucial for helping your Rata thrive. Too much or too little water can hinder growth, while inadequate light can stunt development.
Adjusting care practices based on your plant's response is essential. If you notice signs of stress, consider modifying your watering schedule or relocating the plant to a sunnier spot.
⚙️ Solutions for Common Rata Planting Issues
Dealing with poor soil drainage is a common challenge. To improve drainage, consider amending the soil with organic matter or creating raised beds to elevate the root zone.
For enhancing growth in less-than-ideal conditions, focus on consistent care. Regularly check moisture levels and ensure your Rata receives adequate sunlight to promote healthy development.
With these troubleshooting tips, you can help your Rata overcome initial challenges and flourish in your garden. Next, let’s explore the key steps for planting new Rata to ensure a successful start.
⚠️ Safety First
This content is for general information and may contain errors, omissions, or outdated details. It is not medical, veterinary advice, or an endorsement of therapeutic claims.
Always consult a qualified healthcare professional before using any plant as food, medicine, or supplement.
Never eat any plant (or feed one to pets) without confirming its identity with at least two trusted sources.
If you suspect poisoning, call Poison Control (800) 222-1222, the Pet Poison Helpline (800) 213-6680, or your local emergency service immediately.
Spotted an error? Please report it here.
Planting Rata can be a rewarding journey 🌱, and with Greg's custom watering reminders and tailored care tips, you'll nurture your plants to thrive beautifully in your garden!