Propagating Your Moon Orchid: Step-by-Step Guide
Phalaenopsis amabilis
By the Greg Editorial Team
Jun 15, 2024•5 min read
This article was created with the help of AI so we can cover more plants for you. May contain errors. See one? Report it here.
- Identify ripe orchids for division by looking for multiple pseudobulbs with roots.
- Keikis grow into new plants; separate when roots are 2-3 inches long.
- Stem cutting and tissue culture offer advanced propagation options.
Dividing Moon Orchids Like a Pro
🌸 Identifying Division-Ready Orchids
To spot a Moon Orchid ready for division, look for multiple pseudobulbs or canes. These should have their own roots and at least three to four active growth points. It's like finding a plant with its own mini-me; it's ready to strike out on its own.
🛠 The Division Process
Step 1: Prepare Your Tools
Disinfect your pruning shears with rubbing alcohol. This is non-negotiable; we're not here to spread diseases.
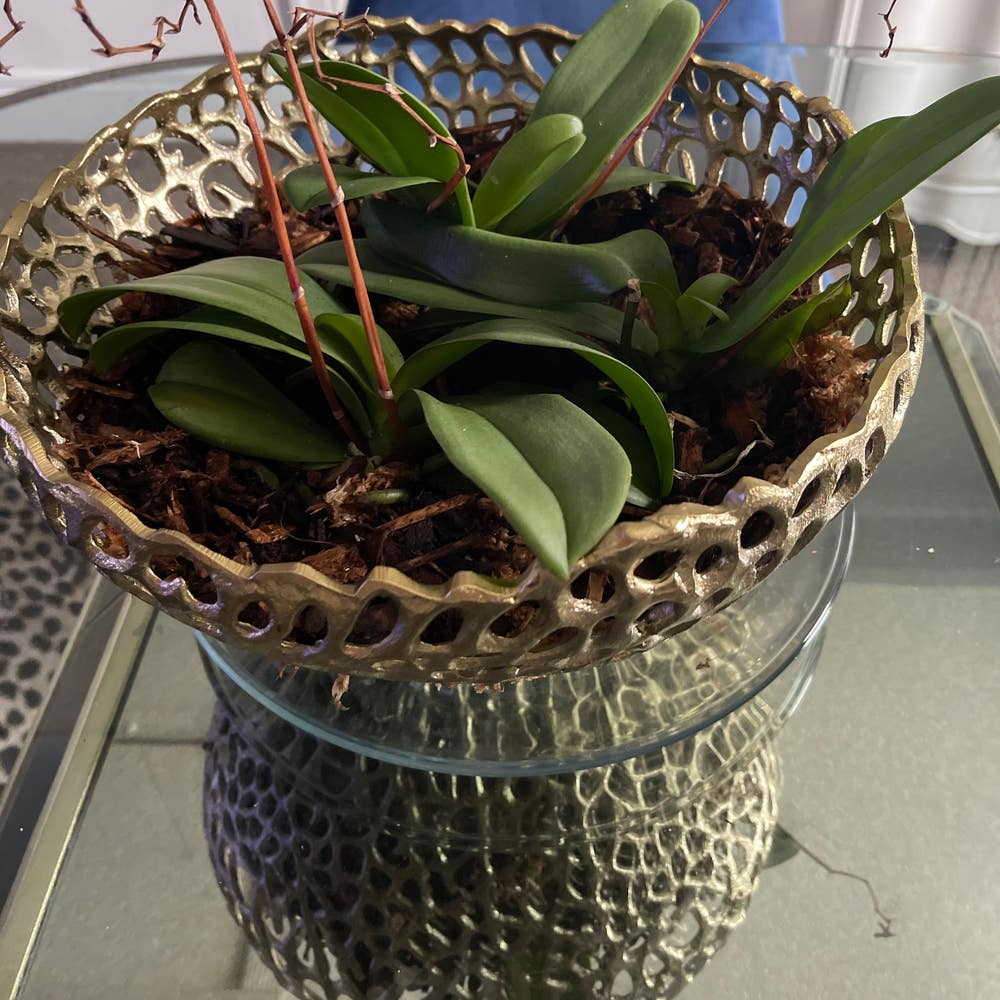
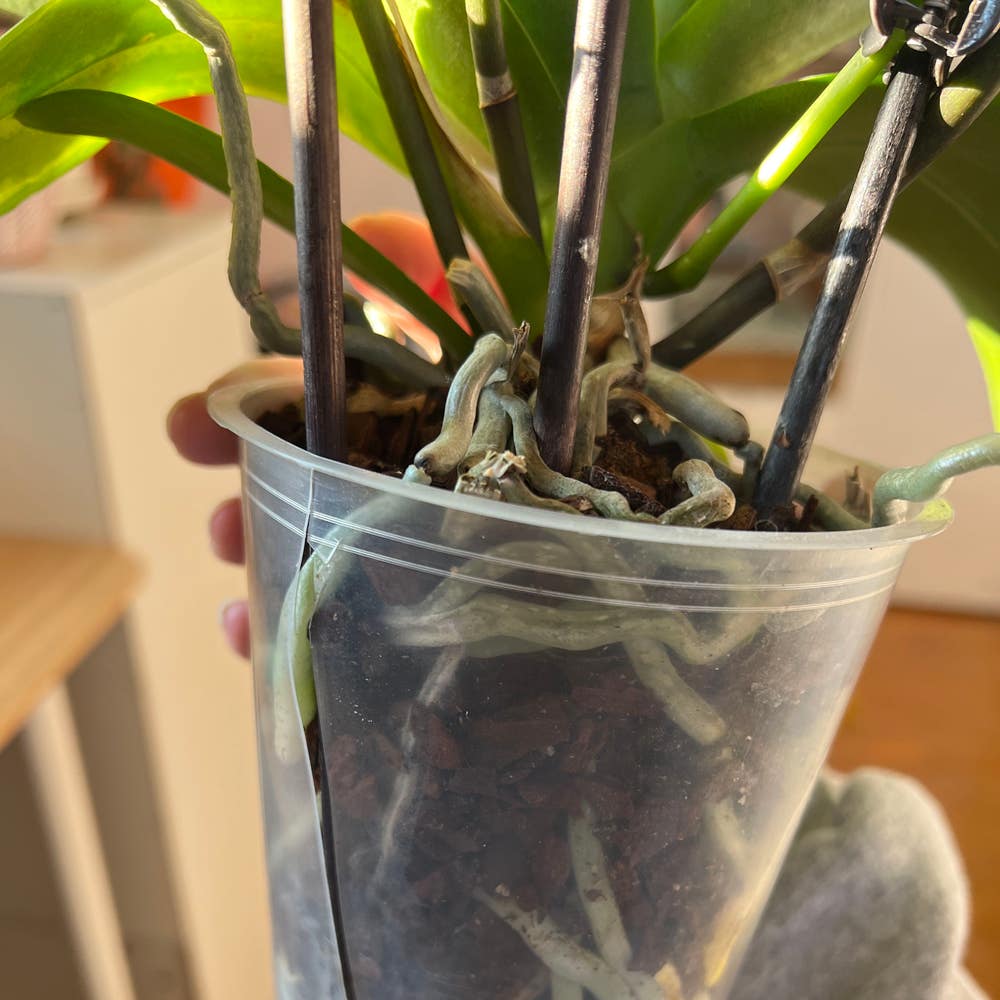
Step 2: Unpot and Inspect
Gently remove your orchid from its pot. Shake off the old mix and inspect the roots. Healthy ones are firm and white, while mushy, brown roots are a no-go.
Step 3: Divide and Conquer
Identify the natural divisions between pseudobulbs. Each new plant should have its own root system. Divide using your shears, and don't look back.
Step 4: Potting the Divisions
Choose pots with drainage holes and fill them with a bark, perlite, and sphagnum moss mix. Pot each division, ensuring the roots are comfortably spread.
🌱 Post-Division Care
After the split, water lightly to settle the roots. Overwatering is the fast track to root rot, so let's not drown our newly independent orchids. Keep them in a warm, humid environment with indirect light, and watch as they grow into their own.
Budding New Life: Keiki Propagation
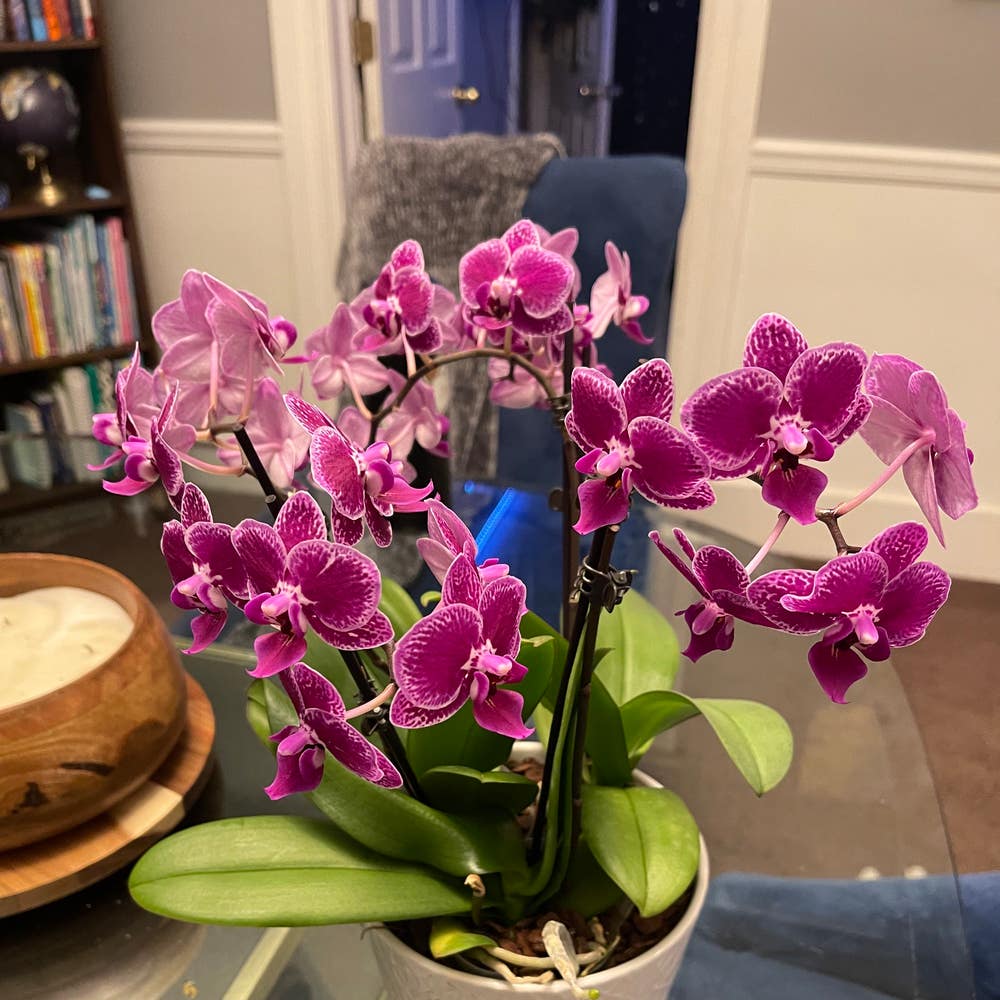
🌱 Spotting a Keiki on Your Orchid
Keikis, Hawaiian for "baby," are orchid offshoots that signal your plant's cloning efforts. Look for green bumps on flower spikes; these are your future plantlets. Monopodial orchids like Phalaenopsis and Dendrobium are keiki champs, often sprouting these babies along their stems. A keiki with leaves and roots is like a green thumb's gold medal, showing you've got the magic touch—or at least a very happy orchid.
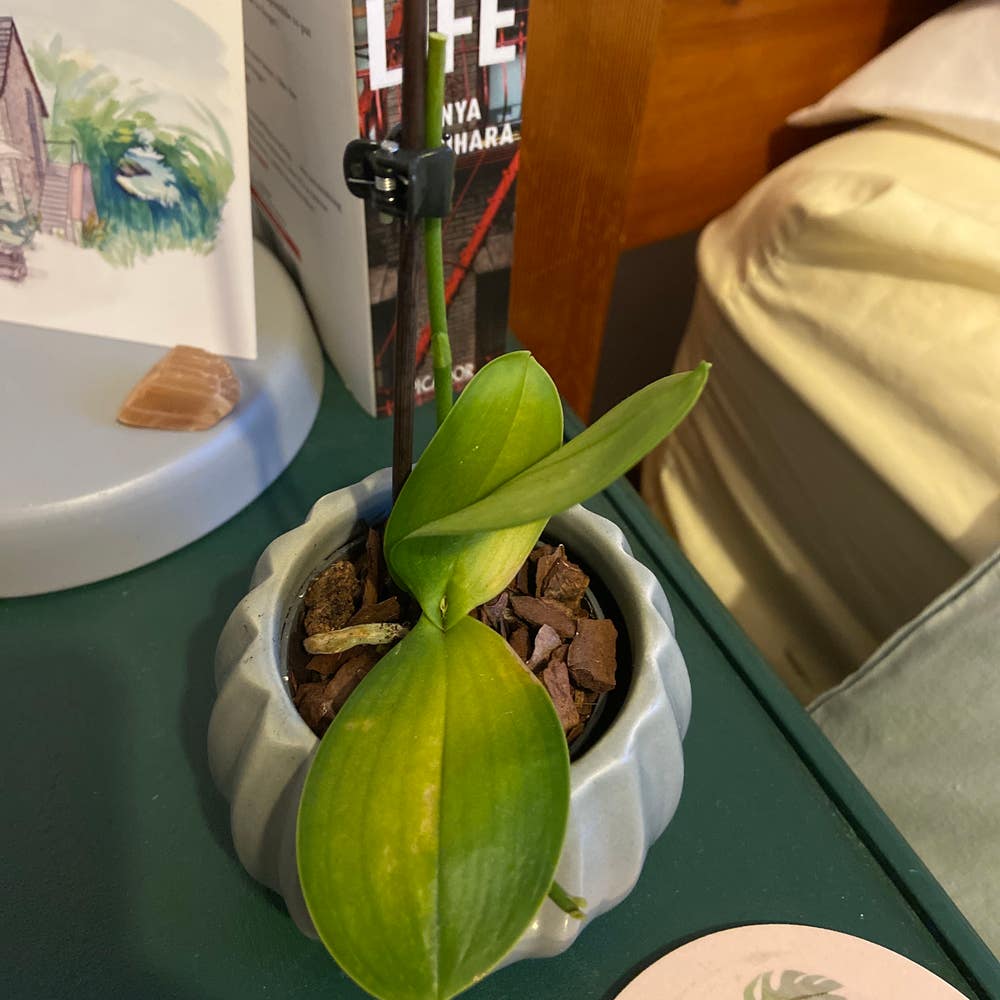
🌿 From Keiki to Independent Plant
When your keiki has roots about 2-3 inches long, it's ready for the big move. Grab a sterile blade and channel your inner surgeon to separate it from the mother plant. Pot it in a mix suited for young orchids and give it the same TLC you'd show a newborn—gentle and nurturing. Remember, it's not a race; let the keiki tell you when it's ready to stand on its own.
💡 Keiki Care Tips
Your keiki's new digs should be bright but not sunburn-bright. Humidity is your new best friend; it's like a cozy blanket for your baby orchid. Water carefully, letting the keiki sip, not gulp. And patience? It's not just a virtue; it's a necessity. Orchids are the marathon runners of the plant world, taking their sweet time to grow up. But oh, when they bloom, it's worth every minute of the wait.
Stem Cutting: A Snip in the Right Direction
🌱 Choosing and Cutting the Perfect Stem
In the quest for the ideal stem, look for signs of robust health: a vibrant color and a firm texture. Disinfect your shears or knife to ensure a clean cut, which reduces stress on the mother plant. Aim for a 4-6 inch stem, and always cut just above a node—this is where the magic happens.
💧 Rooting Your Stem Cuttings
Once you've snipped your stem, it's time to coax those roots into existence. Strip the lower leaves to avoid rot and submerge the cut end in water. For an extra boost, consider a dip in rooting hormone before planting in a light potting mix. Change the water every few days to keep oxygen levels up and algae at bay.
🌿 The Right Environment for Stem Cuttings
Your fledgling cuttings need a Goldilocks zone: not too hot, not too cold. Place them in a spot with indirect light and wrap them in a plastic bag to maintain humidity. Remember to let them breathe every few days. Patience is key—roots take time, but the payoff is a new generation of Moon Orchids.
Advanced Propagation: Tissue Culture Techniques
🧫 The Basics of Tissue Culture
Tissue culture, or micropropagation, is like a sci-fi approach to plant reproduction. It's not about seeds or cuttings; instead, it's about nurturing tiny plant cells in a petri dish. Moon Orchids can be cloned by this method, using just a fragment of the plant's tissue. The process starts with sterilizing the plant material, then placing it in a gel-like medium that's chock-full of nutrients and hormones. This concoction convinces the cells to multiply like crazy, eventually forming new plantlets.
Home Lab or Professional Help?
Deciding whether to go DIY with tissue culture or to seek professional help is like choosing between brewing your own beer or just buying a pint at the pub. Setting up a home lab requires an upfront investment in equipment and a whole lot of patience. It's a meticulous process, demanding a sterile environment to prevent microbial Armageddon on your plant cells. On the flip side, professionals have the gear and the know-how. They can churn out plantlets with the efficiency of a factory line, but it'll cost you. If you're a hobbyist with a thirst for botanical adventure, trying it at home could be your next big project. But if you're all about results with fewer gray hairs, then outsourcing is your friend.
⚠️ Safety First
This content is for general information and may contain errors, omissions, or outdated details. It is not medical, veterinary advice, or an endorsement of therapeutic claims.
Always consult a qualified healthcare professional before using any plant as food, medicine, or supplement.
Never eat any plant (or feed one to pets) without confirming its identity with at least two trusted sources.
If you suspect poisoning, call Poison Control (800) 222-1222, the Pet Poison Helpline (800) 213-6680, or your local emergency service immediately.
Spotted an error? Please report it here.
Turn your Moon Orchid propagation into a thriving project 🌸 with Greg's personalized care reminders and water scheduling from this step-by-step guide!