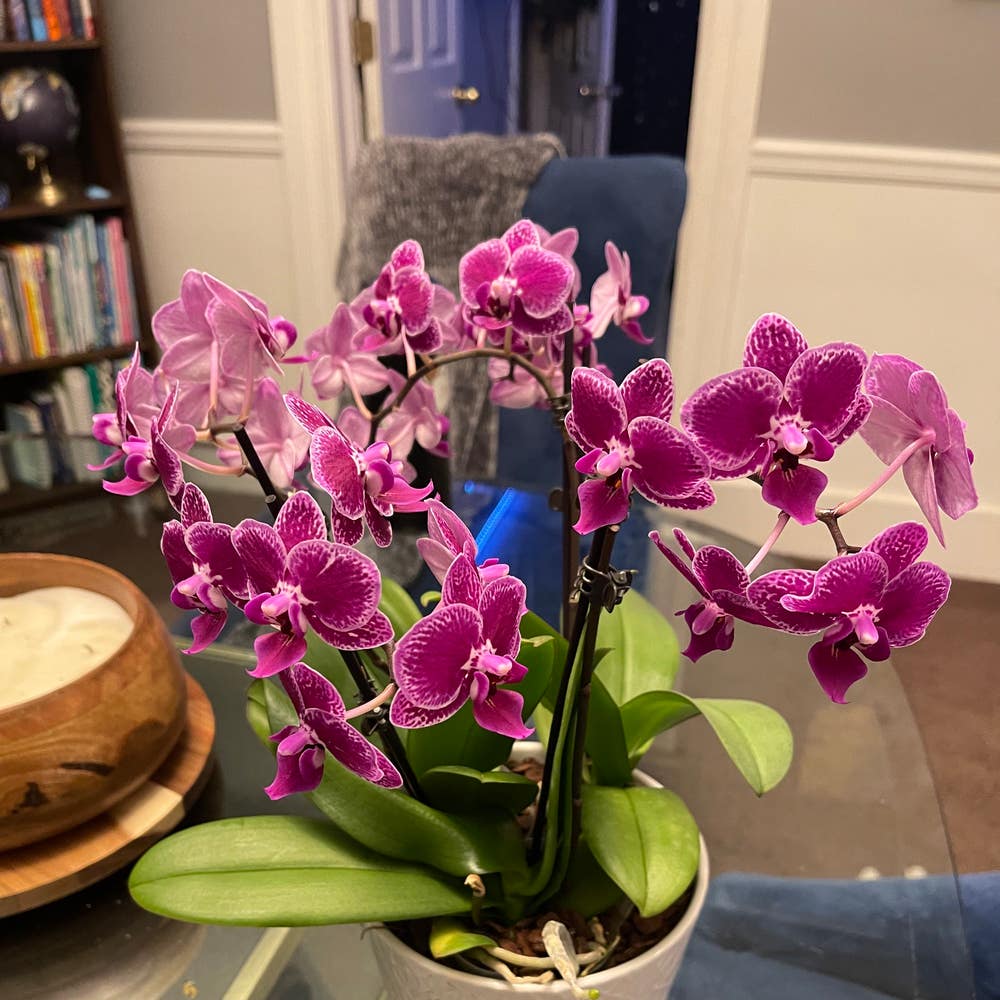
🌜 How to Know When to Repot a Moon Orchid?
Phalaenopsis amabilis
By the Greg Editorial Team
Jun 15, 2024•5 min read
This article was created with the help of AI so we can cover more plants for you. May contain errors. See one? Report it here.
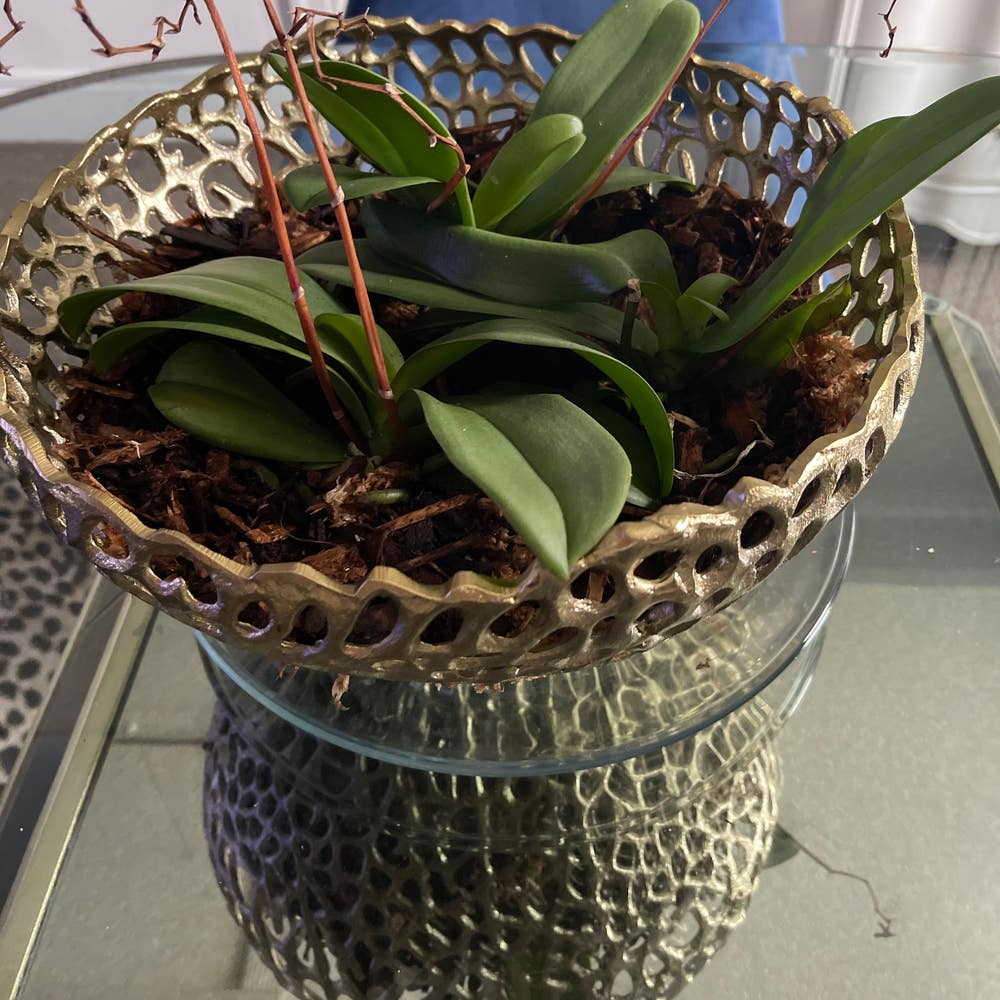
- 🌱 Roots spilling over? Time to repot your Moon Orchid.
- 🏺 Choose clay or ceramic pots for breathability and moisture.
- 💧 Water sparingly post-repotting, and provide bright, indirect light.
Spot the Clues: When Your Moon Orchid is Screaming for a New Home
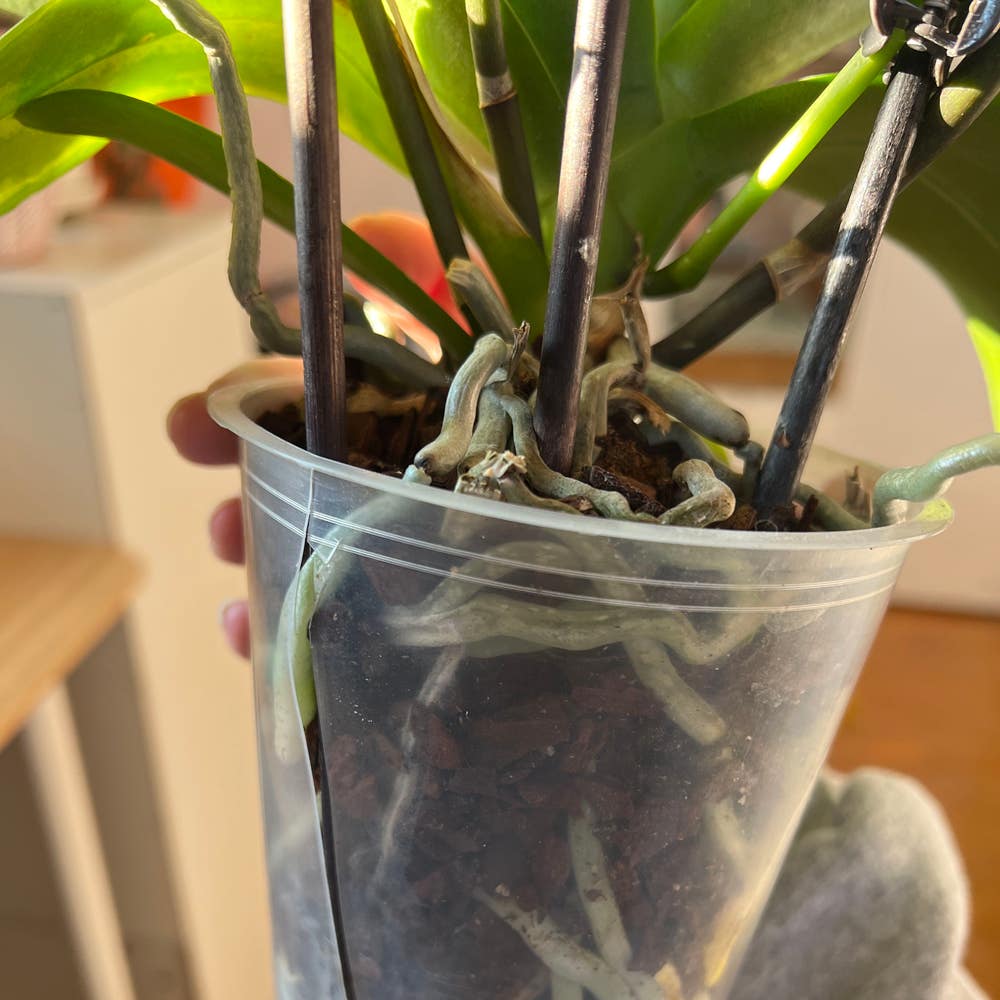
⏰ Root Tango in a Tiny Pot
Roots spilling over the pot's edge? Time to repot. Your Moon Orchid's roots should have room to breathe, not perform an escape act. Overcrowding can strangle growth and vitality.
💧 Watering Woes and the Telltale Signs
Is water pooling on the surface or taking ages to drain? Poor drainage can be a death sentence, leading to root rot and a decline in plant health. Your Moon Orchid craves a balance—moist, but never soggy.
🚨 The Visible SOS Signals from Your Orchid
Yellow leaves or a sudden growth halt? These are distress signals. Your Moon Orchid isn't just being dramatic; it genuinely needs a new pot. Act promptly to prevent further stress.

Choosing the Best Pot for Your Moon Orchid's Big Move
🌱 Size Matters: Picking the Perfect Pot Size
When it comes to repotting your Moon Orchid, size is non-negotiable. A pot too large invites moisture problems; too small, and you'll choke its growth. Aim for a pot that's just 2 inches larger in diameter than the current one. This Goldilocks zone ensures enough space for growth without drowning the roots in soil.
🏺 Material World: What's Your Pot Made Of?
The pot's material can make or break your Moon Orchid's health. Plastic pots are cheap and cheerful, but they're the fast food of the pot world—convenient yet not always the best choice. Clay and ceramic pots, however, are like a balanced diet for your orchid's roots, offering breathability and even moisture distribution.
🌿 The Best Bet: Top Pot Materials for Moon Orchids
Clay pots are the unsung heroes for Moon Orchids, with their porous nature allowing roots to breathe and preventing waterlogging. Ceramic pots are also a solid choice, especially if they have drainage holes. They retain moisture better than clay, which can be a boon in drier environments. Remember, the pot is the orchid's partner, not just a pretty accessory.

The Repotting Rendezvous: A Step-by-Step Guide
🌿 Gently Does It: Removing Your Orchid Without a Fuss
Before you start, spread newspaper or a drop cloth to catch any stray bits of potting mix. Now, let's get your Moon Orchid out of its cramped quarters. Tilt the pot and gently coax the orchid out by supporting the base of the plant. If it's stubborn, tap the pot's edges on a hard surface or use a blunt knife to loosen the soil from the sides.
Avoid yanking the plant; roots are not bungee cords. If the roots are a tangled mess, don't panic. Rinse them with water to remove old potting mix and untangle them with your fingers. Snip off any roots that are more lifeless than a forgotten gym membership, using sterilized scissors.
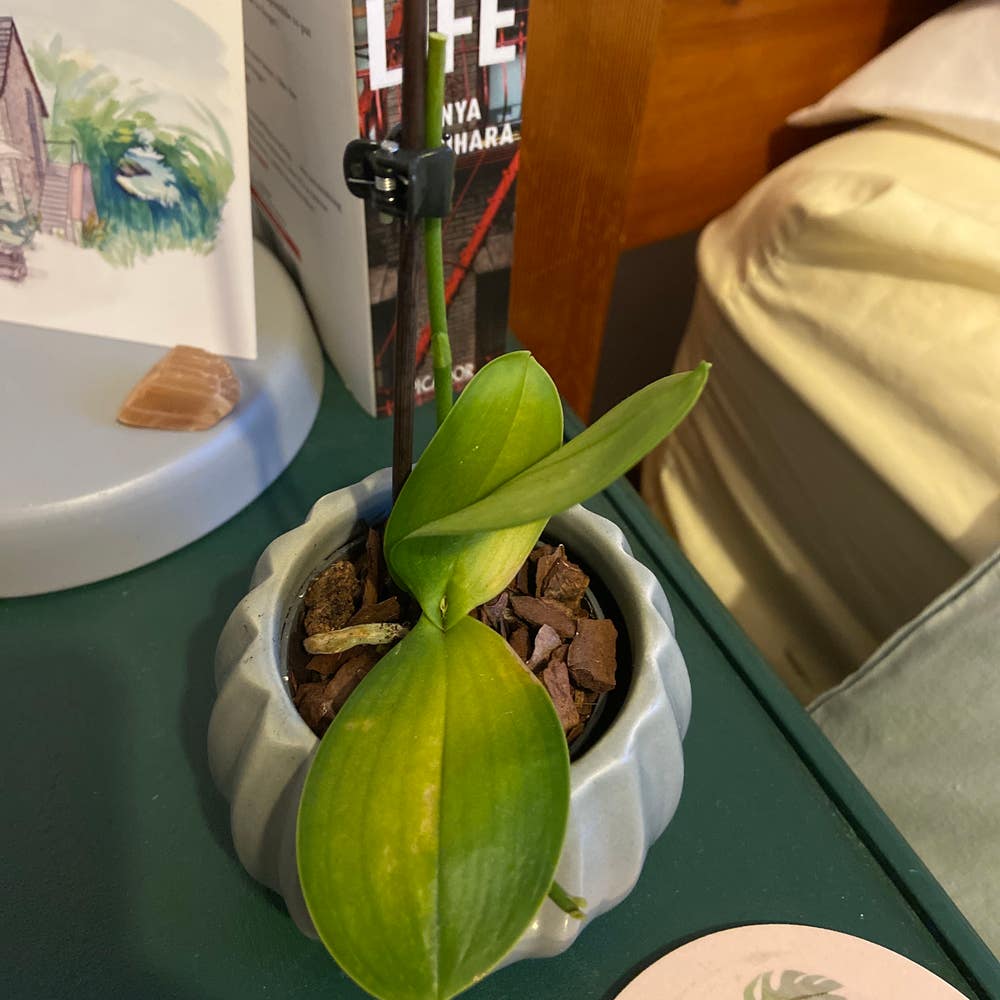
🏡 Home Sweet Home: Planting in the New Pot
Select a pot that's a snug fit—one inch larger in diameter should do the trick. Ensure it has drainage holes to prevent your orchid from developing a case of soggy bottom.
Now, introduce your Moon Orchid to its new home. Position it at the same depth it was previously, spreading the roots like a fan. Fill in with a specialized orchid potting mix, which should be as fluffy as a well-whipped mousse. Press the mix gently around the roots, but don't compact it; roots need to breathe, not be strangled.
After the move, water the orchid sparingly. Think of it as a light drizzle, not a monsoon. This helps the orchid settle without drowning it in good intentions. Remember, overwatering is the root of all evil in the orchid world.
Post-Repotting Care: Helping Your Moon Orchid Settle In
💦 The First Few Days: Watering and Light
After the repotting hustle, your Moon Orchid needs a bit of TLC. Water lightly right after the switcheroo to help the roots cozy up to their new digs. Then, play it cool and let the topsoil dry out before the next watering session. Overzealous hydration is a no-go; soggy soil is the stuff of nightmares for orchid roots.
Lighting is like the Goldilocks conundrum; it has to be just right. Bright, indirect light is the sweet spot. If your orchid's leaves start throwing shade (by turning yellow), it's time to dial down the sunlight.
🚫 Avoiding Post-Move Trauma: Minimizing Stress
Your Moon Orchid's just had a major life event, so let's not add insult to injury. Keep it out of the draft's way and give it some ambient airflow—a gentle fan can work wonders. It's not about creating a wind tunnel; think more of a soft summer breeze.
Watch for signs of a post-repotting sulk. Droopy leaves? It might be throwing a bit of a tantrum, but keep up the care routine, and it should perk up. If things look grim, check the roots. They should be firm and white, not mushy and brown. If they're on the dark side, snip the sadness away.
Remember, your Moon Orchid isn't asking for a parade in its honor. It just wants some understanding and a chance to thrive in its new pot. Keep an eye out, and at the first sign of trouble, be ready to jump in. The sooner you act, the better your Moon Orchid's encore performance will be.
⚠️ Safety First
This content is for general information and may contain errors, omissions, or outdated details. It is not medical, veterinary advice, or an endorsement of therapeutic claims.
Always consult a qualified healthcare professional before using any plant as food, medicine, or supplement.
Never eat any plant (or feed one to pets) without confirming its identity with at least two trusted sources.
If you suspect poisoning, call Poison Control (800) 222-1222, the Pet Poison Helpline (800) 213-6680, or your local emergency service immediately.
Spotted an error? Please report it here.
Ensure your Moon Orchid thrives in its perfect pot by letting Greg remind you when it's time to repot 🌱 with precision and care.