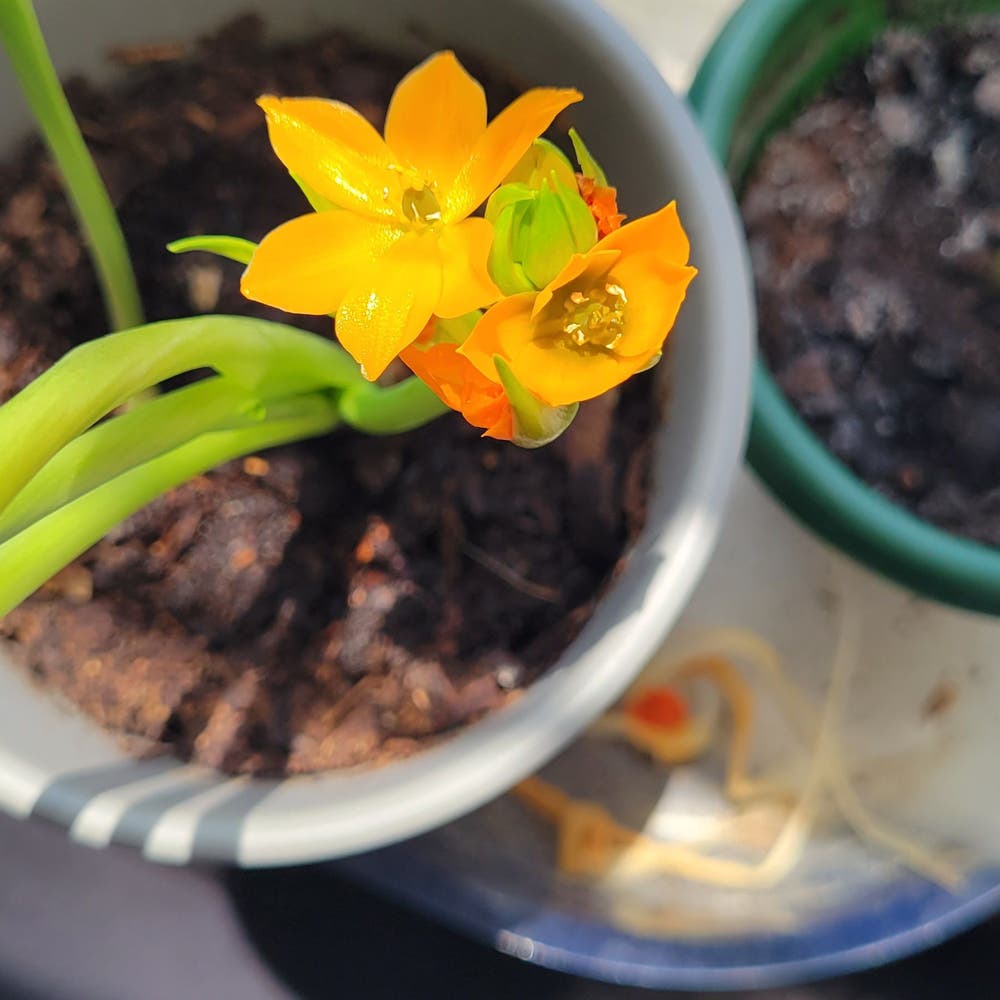
How Do I Propagate My Star of Bethlehem?
Ornithogalum dubium
By the Greg Editorial Team
Jun 18, 2024•4 min read
This article was created with the help of AI so we can cover more plants for you. May contain errors. See one? Report it here.
Discover the joy of multiplying your Star of Bethlehem 🌟 effortlessly with our expert propagation guide!
- Late summer division ensures successful Star of Bethlehem propagation.
- Collect seeds post-bloom or identify robust offsets for cloning.
- Stem cuttings in spring with rooting hormone boost root growth.
Digging In: Division as a Propagation Technique
🌼 When to Divide: Timing for Success
Late summer is the golden hour for dividing Star of Bethlehem bulbs. As the foliage retreats, it's your cue to act. This timing allows bulbs to settle in before winter, priming them for a robust spring comeback.
🛠️ Splitting Bulbs: A Step-by-Step Guide
Tools and Prep
Grab a shovel and some gloves—it's showtime. Ensure you've got a spot prepped for these soon-to-be transplants; they'll need a cozy home post-split.
Digging In
Gently unearth the clump of bulbs. You're looking for offsets—mini-me's of the parent bulb. They're ready for the limelight.
The Division Waltz
Separate the offsets with a careful twist or a soft tug. It's like untangling headphones—patience is key. Each offset should have a piece of the mother bulb's base to kickstart growth.
Bulb Boot Camp
Plant these little troopers 3-6 inches deep and about 4 inches apart. They like their space. Think moist, loamy soil for their training ground. The smallest recruits may need a couple of years before they're ready to bloom.
🌱 After the Split: Caring for New Bulb Plants
Water your new bulbs like they're parched marathon runners—thoroughly but not drowned. Bright, indirect light is their jam. Keep an eye out for new growth; it's like waiting for a text back—exciting and nerve-wracking.

Planting the Future: Seed Propagation Specifics
👩🌾 Harvesting Hope: Collecting Star of Bethlehem Seeds
Star of Bethlehem seeds are tiny and can be a challenge to handle. The best time to collect these seeds is immediately after the flowers have faded but before they have self-seeded. This typically occurs in late spring or early summer. To prevent unwanted spread, deadhead the flowers diligently. If you're aiming to control the plant's proliferation, this step is crucial.
🌱 From Tiny Seeds: Sowing and Germination Tips
When planting Star of Bethlehem seeds, precision is key. Sow them in well-draining soil and lightly cover them, as they need sufficient light to germinate. A propagation mat can significantly enhance germination by providing consistent warmth. Keep the soil moist but not waterlogged. Patience is essential; germination can be slow and may require a full season before you see sprouts. Remember, you're not just growing plants; you're cultivating a new generation.

Bulb Offsets: Cloning Your Star
🌱 Spotting Potential: Identifying Viable Bulb Offsets
Offsets are the understudies of the Star of Bethlehem, waiting in the wings of the parent plant. Look for smaller bulbs with a robust appearance, indicating they're ready to go solo. The best candidates are those that have developed their own roots but are still snugly attached to the mother bulb.
🌱 Planting and Nurturing Offsets
Separate the chosen offsets with care, using a sharp tool to minimize damage. Plant them immediately, ensuring they're nestled about 3-6 inches deep in a cozy bed of moist, loamy soil. Space them out by 4 inches to give each its personal bubble. Remember, the smallest of the bunch may be shy bloomers, taking their sweet time—up to two years—to show their true colors.

Stem Cuttings: A Rare Adventure
🌱 The Cutting Edge: How to Take Stem Cuttings
To propagate the Star of Bethlehem through stem cuttings, timing is everything. Early spring is your window of opportunity, when the plant's energy is surging.
Select a healthy stem, about 4-6 inches long, with a vibrant color and a firm texture. With sterilized, sharp scissors, make an angled cut just below a leaf node. This is where roots will eagerly emerge.
Remove the lower leaves to reduce moisture loss and prevent rot. Leave a couple of leaves at the top to keep photosynthesis going.
Dip the cut end in rooting hormone to boost root development. This isn't mandatory, but it's like an insurance policy for your propagation efforts.
🌿 Rooting for Success: Encouraging Root Growth
Now, let's get those cuttings to root. Moisture and warmth are your best friends here.
Plant the cutting in a container filled with a well-draining potting mix. The container should have drainage holes and not be too large; you want to manage watering easily.
Keep the soil consistently moist, but not waterlogged. Think of it as a sponge that's damp but not dripping.
Place the container in a spot with indirect light and warmth, but shield it from direct sunlight to avoid scorching your delicate cuttings.
Patience is key. It might take a few weeks to a couple of months for roots to appear. Check bi-weekly and celebrate when you see those tiny roots peeking out.
Remember, propagation isn't just science; it's an art that rewards the steadfast gardener.
⚠️ Safety First
This content is for general information and may contain errors, omissions, or outdated details. It is not medical, veterinary advice, or an endorsement of therapeutic claims.
Always consult a qualified healthcare professional before using any plant as food, medicine, or supplement.
Never eat any plant (or feed one to pets) without confirming its identity with at least two trusted sources.
If you suspect poisoning, call Poison Control (800) 222-1222, the Pet Poison Helpline (800) 213-6680, or your local emergency service immediately.
Spotted an error? Please report it here.
Propagate your Star of Bethlehem effortlessly 🌱 with Greg's custom reminders for the perfect planting time and tailored watering schedule, ensuring your bulbs and seeds thrive.