How to Know When to Repot a Star of Bethlehem?
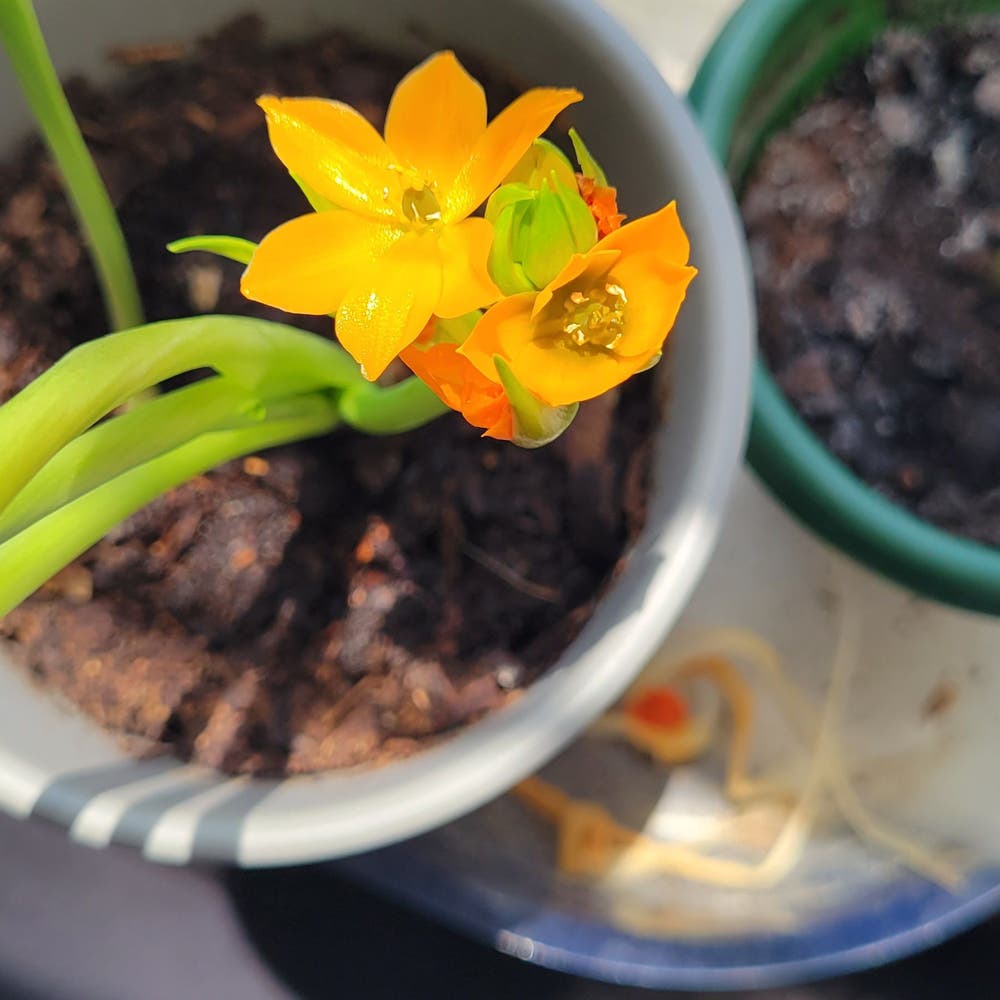
Ornithogalum dubium
By the Greg Editorial Team
Jun 18, 2024•4 min read
This article was created with the help of AI so we can cover more plants for you. May contain errors. See one? Report it here.
Discover the secret to a flourishing Star of Bethlehem 🌟—know exactly when to give it a new home! 🏡
- Roots peeking out? Time to repot your Star of Bethlehem.
- 🌱 Terracotta pots allow roots to breathe, aiding plant health.
- Post-repot care: Water thoroughly, then monitor for stress signals.
Spotting the Tell-Tale Signs for Repotting Star of Bethlehem
🌱 Root Clues
Tangled roots are a cry for help. If you spot roots escaping through the drainage holes, it's a clear signal: your Star of Bethlehem is too big for its britches. It's time to give it room to grow.
💧 Water Woes
When water zips through the pot like it's on a mission, it's not just showing off its speed—it's telling you the soil can't keep up. Prolonged dryness? That's another red flag. Your plant's roots have likely turned into a tangled mess, leaving little room for moisture.
🍃 Visible Distress
If your Star of Bethlehem's growth has hit the brakes, take note. Unhappy foliage—think droopy leaves and a lackluster presence—is the plant's way of saying, "I'm not okay." Don't ignore these signs; they're as subtle as a billboard.

The Repotting Rundown: Star of Bethlehem Edition
🌱 Prepping the Stage
Timing is everything. Avoid repotting during bloom to prevent stressing the Star of Bethlehem. Ensure it's not too healthy or too sick—just ripe for a change. Clean your new pot with soapy water; let it dry to dodge any disease-causing pathogens. Lay down a welcoming layer of well-draining potting mix—peat moss, perlite, and vermiculite are your go-to guys.
🌿 The Gentle Uproot
Now, for the main event. Gently coax your plant out of its current pot. If it's stubborn, tap the container's edge. Inspect the roots like you're a detective looking for clues. Roots circling? Tease them apart. Dead or long roots? Give them a trim. But remember, treat the living roots with the care they deserve.
🏡 Home Sweet New Home
Position your plant in the new pot, ensuring it's not too deep or too high—aim for just right. The top of the root ball should be cozy, about an inch from the rim. Backfill with your primo potting mix, tamping down to eliminate air pockets. The first watering should be like a welcoming toast, but don't drown the guest of honor. Skip the fertilizer; let the plant settle into its new pad first.

Picking the Perfect Pot
🏺 Terracotta vs. Plastic vs. Ceramic: Weighing the Pros and Cons
Terracotta is the classic choice for plant parents. It's porous, allowing roots to breathe and excess moisture to escape, which is a lifesaver against overwatering. But, it's like an all-you-can-eat buffet for water—your plants will need frequent drinks.
Plastic pots are the low-maintenance buddies. They're lightweight, making them a cinch to move around. Plus, they keep soil moist for longer. But beware, they can turn into a swamp if you're too generous with water.
Ceramic pots are the show-offs—gorgeous but high-maintenance. They strike a balance between breathability and moisture retention. Just remember, they can be as heavy on your shelf as they are on your wallet.
🌬 Breathability and Moisture Management: Why Terracotta Might Be Your Best Bet
Terracotta's breathability is unmatched, making it the go-to for those who tend to over-love with water. It's like a self-regulating system, preventing root rot by letting the soil dry out more evenly.
💃 Aesthetic and Weight Considerations: When to Go for Ceramic
If you're looking to dress to impress, ceramic is your pick. They come in all shapes and colors, adding that extra oomph to your decor. Just make sure your table can handle the weight, or you might hear a crash in the middle of the night.
🚫 What to Avoid: Steering Clear of Glass and Metal Pitfalls
Glass and metal pots are the divas of the pot world—high on looks, low on practicality. They're about as breathable as a sealed jar, and you'll find no drainage here. Stick to the classics; your plants will thank you.

Post-Repotting Care for Star of Bethlehem
💧 The First Watering: When and How Much
After the repotting shuffle, your Star of Bethlehem needs a proper drink. Water thoroughly once, then let the top inch of soil dry out before going in for another round. Overwatering is the fast track to root rot, so keep it on the drier side to avoid a soggy disaster.
🌞 Light and Location: Finding the Sweet Spot
Bright, indirect light is your Star of Bethlehem's best friend. Think of a spot that's sunny but not blinding—no sunglasses required. Avoid the temptation to give it a sunbath; too much direct light can stress it out just as much as the dark corner you might have forgotten about.
👀 Stress Signals: Keeping an Eye Out for Adjustment Issues
Your plant's not being dramatic—it's just adjusting. Yellow leaves or a droopy demeanor are your cues to tweak the care routine. Don't smother it with kindness; instead, watch and respond to its needs. A little patience goes a long way in helping your Star of Bethlehem settle into its new home.
⚠️ Safety First
This content is for general information and may contain errors, omissions, or outdated details. It is not medical, veterinary advice, or an endorsement of therapeutic claims.
Always consult a qualified healthcare professional before using any plant as food, medicine, or supplement.
Never eat any plant (or feed one to pets) without confirming its identity with at least two trusted sources.
If you suspect poisoning, call Poison Control (800) 222-1222, the Pet Poison Helpline (800) 213-6680, or your local emergency service immediately.
Spotted an error? Please report it here.
Ensure your Star of Bethlehem's roots have room to grow 🌱 by using Greg's PlantVision to measure the perfect pot size and get post-repotting care reminders.