Should I Repot My Sun Star?
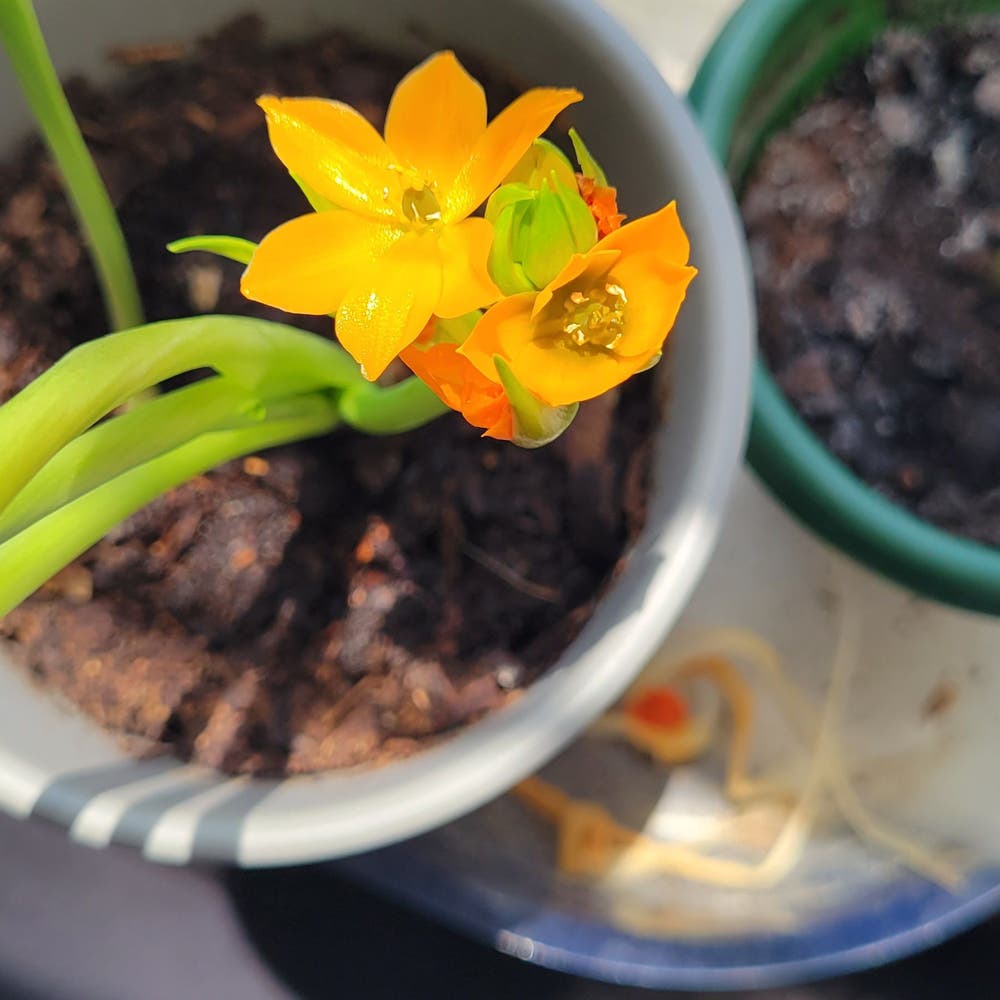
Ornithogalum dubium
By the Greg Editorial Team
Jun 18, 2024•4 min read
This article was created with the help of AI so we can cover more plants for you. May contain errors. See one? Report it here.
Ensure your Sun Star's vibrant growth with this essential repotting guide! 🌱🌟
- Roots peeking out? Time to repot your Sun Star.
- 🌱 Choose the right pot size and material for healthy growth.
- Post-repot care is crucial: monitor light, water, and stress signs.
Spotting the Tell-Tale Signs for Repotting
🌱 Roots on the Run
Roots making a break for it outside the pot? That's your Sun Star's version of sending an SOS. When you spot roots peeking through the drainage holes or circling the topsoil like sharks, it's time to act. This isn't a trendy new hairstyle; it's a cry for help.
🎩 Above the Surface
Is your Sun Star looking like it's wearing a hat too big for its head? A top-heavy plant is a sign that the roots need more room to anchor themselves. And if your green buddy's growth has hit the brakes, it's not just taking a breather—it's likely root-bound and craving some new digs.

Picking the Perfect Pot
🌱 Size Matters
Finding the right size for your Sun Star's new pot is like picking a new apartment—it has to be just the right fit. Go for a pot that's 1-2 inches wider than the current one. This gives your plant room to grow without making it feel like it's lost in an oversized mansion of soil. Too small, and you'll be repotting again before you know it.
🏺 Material World
🏺 Terracotta vs. Ceramic vs. Plastic
The pot material can make or break your Sun Star's mood. Terracotta is the breathable choice, letting air and water flow freely, making it harder to overwater. Ceramic is the stylish cousin, often glazed and gorgeous but less forgiving with moisture. Plastic is the low-maintenance buddy—lightweight and less prone to breaking, but it can hold onto moisture for longer, which isn't always what your Sun Star wants.
🌱 Pot Material and Plant Happiness
Your Sun Star's happiness hinges on avoiding wet feet. Terracotta and unglazed ceramic pots are like moisture-wicking workout gear for roots, while plastic pots are the comfy sweatpants that might get a bit clammy. Choose based on your watering habits and how much attention you can give to your green friend.

The Repotting Rodeo
🌱 Pre-Repot Prep
Before the main event, choose a soil mix that's well-draining—think perlite, pine bark, and peat. Your Sun Star will thank you for avoiding "soggy soil syndrome."
Get your tools and workspace ready. You'll need gloves, a trowel, and maybe a friend who doesn't mind getting dirty. Clear a spot where a little mess won't cause a meltdown.
🌿 The Main Event
Step 1: Gently Freeing Your Sun Star
Tilt the pot and coax your plant out. If it plays hard to get, a gentle tap on the pot's bottom should do the trick. Be kind—no yanking allowed.
Step 2: Checking and Trimming the Roots
Inspect the root ball. Trim any brown or mushy roots—these are no good. Use clean, sharp scissors, and remember: it's a haircut, not a beheading.
Step 3: Settling into the New Pot
Place a layer of your prepped soil in the new pot. Set your plant in, ensuring it's at the same depth as before. Fill around with more soil, and tap the pot to settle—no soil compacting.
🛠 Troubleshooting Common Hiccups
Dealing with damaged roots or leaves? Trim them. If you've accidentally created a root mohawk, don't panic—just be more gentle next time.
Ensure proper soil compaction and depth. You want your Sun Star snug, not suffocating. Leave some space at the top for watering without creating a mini flood.

Post-Repot Pampering
💦 The First Watering
After the repotting shuffle, watering is your plant's first encore. Give it a good gulp to help it settle, but then play it cool—let the top inch of soil dry before the next act. Overwatering is the villain here, so err on the side of less is more to dodge the soggy soil saga.
🏠 Settling In
Think of the post-repot phase as your plant's rehab. Light and temperature need to stay consistent; any drastic changes and you're basically giving your plant an existential crisis. Keep a hawk-eye on your green buddy for signs of a meltdown—yellow leaves, drooping stems, or a general aura of "I'm not okay." If it's throwing a fit, tweak your care routine, but don't go overboard. It's a plant, not a lab experiment.
⚠️ Safety First
This content is for general information and may contain errors, omissions, or outdated details. It is not medical, veterinary advice, or an endorsement of therapeutic claims.
Always consult a qualified healthcare professional before using any plant as food, medicine, or supplement.
Never eat any plant (or feed one to pets) without confirming its identity with at least two trusted sources.
If you suspect poisoning, call Poison Control (800) 222-1222, the Pet Poison Helpline (800) 213-6680, or your local emergency service immediately.
Spotted an error? Please report it here.
Ensure your Sun Star's roots 🌱 have room to grow and flourish with Greg's tailored care reminders and post-repotting tips.