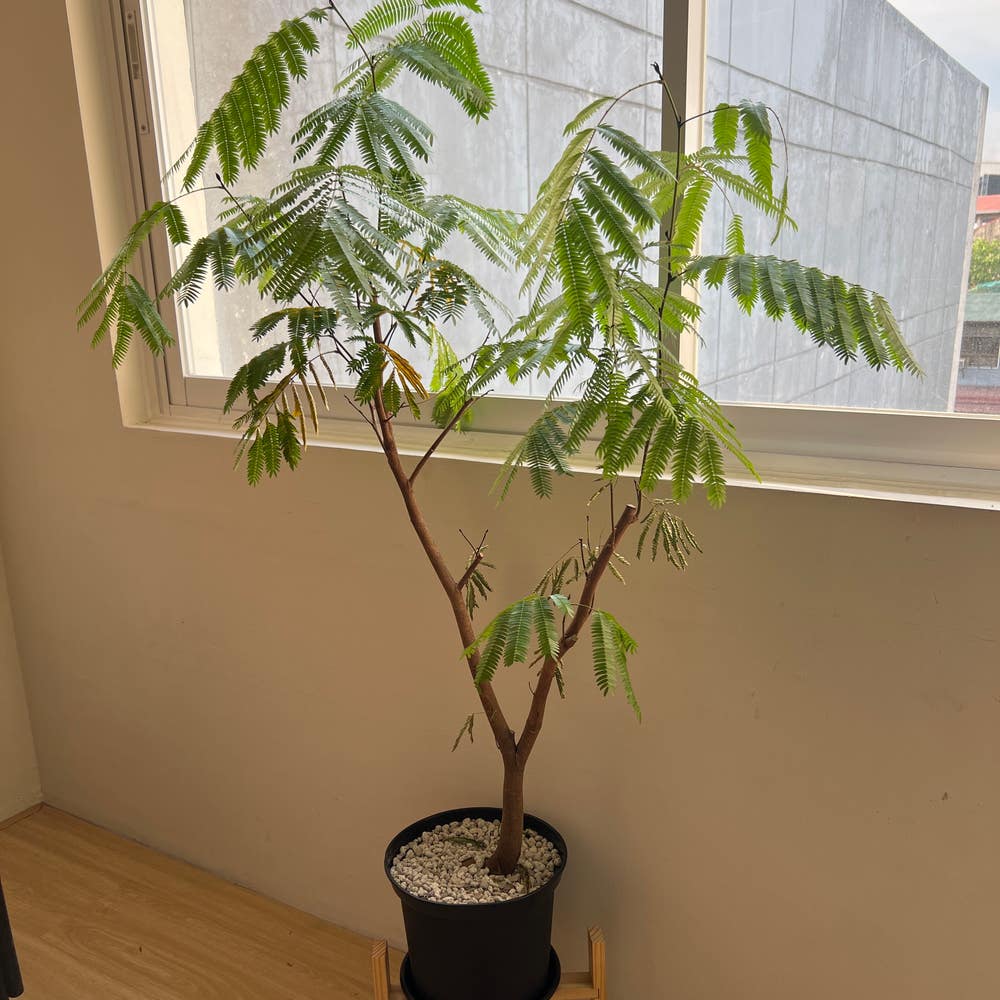
🌳 How to Know When to Repot Soap Tree
Albizia saponaria
By the Greg Editorial Team
Nov 08, 2024•7 min read
This article was created with the help of AI so we can cover more plants for you. May contain errors. See one? Report it here.
Revitalize your soap tree's growth 🌱 by mastering the signs it needs repotting and ensuring its health!
- 🌱 Recognize rootbound signs like roots out of drainage holes to know when to repot.
- 🍃 Yellowing leaves and wilting indicate root stress, signaling it's time to repot.
- 🪴 Choose a pot 1-2 inches larger for healthy growth without overwhelming roots.
Signs That Your Soap Tree Needs Repotting
Recognizing when your soap tree needs repotting is crucial for its health and growth. Here are the key signs to watch for.
🌱 Rootbound Symptoms
One of the first indicators that your soap tree is rootbound is when roots start growing out of the drainage holes. This is a clear sign that the plant has outgrown its current pot.
Another symptom is when roots begin to circle the pot. This behavior indicates limited space and can lead to stunted growth or reduced leaf production.
🚨 Other Repotting Signs
If you notice that the soil dries out too quickly, it may suggest a lack of soil volume. This can stress the plant and hinder its growth.
Yellowing leaves or wilting are also red flags, signaling potential root stress. Additionally, the presence of pests or diseases can be exacerbated by a pot that’s too small, making repotting essential for your soap tree's well-being.
By keeping an eye on these signs, you can ensure your soap tree remains healthy and vibrant. Next, let’s explore how to assess root health before making the transition to a new pot.
How to Assess Root Health Before Repotting
Checking Root Condition 🌱
Before repotting your Soap Tree, it's crucial to assess the health of its roots. Gently remove the plant from its pot, taking care not to damage the root system.
Inspect the roots closely. Healthy roots should be firm and white, while brown, mushy roots indicate rot and require immediate attention.
Root Pruning Techniques ✂️
If you find damaged roots, it's time to prune. Use clean, sharp scissors to carefully cut away any unhealthy sections, ensuring you don’t remove too much.
Remember, leaving healthy roots intact is vital for the plant's recovery. This careful approach helps your Soap Tree bounce back stronger after repotting.
With the roots assessed and pruned, you're ready to move on to choosing the right pot for your Soap Tree.
Choosing the Right Pot
Recommended Pot Materials 🌱
Selecting the right pot material is crucial for your Soap Tree's health.
Ceramic: This option retains moisture well, making it ideal for plants that prefer consistent hydration. However, it can be heavy and may crack in freezing temperatures.
Plastic: Lightweight and easy to handle, plastic pots are a popular choice. Just be cautious, as they can retain too much moisture, potentially leading to root rot.
Terracotta: Known for excellent drainage, terracotta pots allow air circulation to the roots. Keep in mind that they require more frequent watering due to their porous nature.
Pot Size Considerations 📏
Choosing the right pot size is just as important as the material.
General Rule: Opt for a pot that is 1-2 inches larger in diameter than the current one. This provides enough room for growth without overwhelming the roots with excess soil.
Depth Considerations: Ensure the pot is deep enough to accommodate the taproot. A well-sized pot supports healthy growth and stability.
Pros and Cons of Different Pot Materials ⚖️
Understanding the advantages and disadvantages of each pot material can help you make an informed decision.
| Material | Pros | Cons |
|---|---|---|
| Ceramic | Aesthetic appeal, good insulation | Heavy, can crack in freezing temperatures |
| Plastic | Lightweight, affordable | Less breathable, potential for root rot |
| Terracotta | Excellent drainage, breathable material | Can dry out quickly, requires more frequent watering |
Choosing the right pot for your Soap Tree can significantly impact its growth and health. By considering the material, size, and specific needs of your plant, you set the stage for a thriving environment.
Next, let’s dive into the step-by-step process of repotting your Soap Tree effectively.
Repotting Process
Repotting your Soap Tree can seem daunting, but with the right approach, it’s a straightforward task. Follow this step-by-step guide to ensure a successful transition for your plant.
📝 Step-by-Step Guide to Repotting Soap Tree
- Gather materials: Start by collecting a new pot, quality potting soil, pruning shears, and gloves.
- Remove the Soap Tree from its current pot: Gently loosen the soil around the edges and lift the plant out carefully.
- Inspect and prune roots: Check the root system for any damaged or dead roots and trim them away.
- Prepare the new pot: Add a layer of potting soil at the bottom to create a stable base.
- Position the Soap Tree: Center the plant in the new pot and fill in with soil, ensuring it’s secure.
- Water thoroughly: Give the plant a good drink, making sure the soil is moist but not waterlogged.
🪴 How to Prepare the New Pot and Soil
Choosing the right potting mix is crucial for your Soap Tree's health. Opt for a well-draining potting mix designed for succulent plants.
- Consider adding perlite or sand: These materials enhance drainage, preventing root rot and ensuring your plant thrives.
🤲 Techniques for Handling the Roots During Repotting
Handling the roots with care is essential to avoid damage.
- Avoid excessive disturbance of the root ball: This helps maintain the plant's stability and health.
- Use gentle pressure to separate circling roots: If you notice roots circling the pot, gently untangle them to encourage outward growth.
By following these steps, you’ll set your Soap Tree up for success in its new home. Next, let’s explore common mistakes to avoid during the repotting process to ensure your plant remains healthy and vibrant.
Common Mistakes in Repotting
Mistakes to Avoid When Repotting Soap Tree 🌱
Repotting your Soap Tree can be a rewarding experience, but it’s easy to make mistakes. One common error is choosing a pot that is too large, which can lead to excess soil moisture and ultimately root rot.
Another frequent pitfall is neglecting to check the root health before repotting. Healthy roots are crucial for your plant's recovery and growth, so always inspect them first.
How to Prevent Root Damage During Repotting 🛠️
To ensure a smooth repotting process, use the right tools and techniques. A clean pair of pruning shears and gloves can make all the difference in minimizing root disturbance.
When handling the root ball, be gentle. Avoid tearing roots by using soft pressure to separate them, ensuring your Soap Tree remains healthy and vibrant after the transition.
With these tips in mind, you can confidently repot your Soap Tree without causing unnecessary stress to its roots. Next, let’s explore how to troubleshoot any issues that may arise post-repotting.
Troubleshooting
🧐 What to Do If Your Soap Tree Shows Signs of Distress After Repotting
If your Soap Tree appears stressed after repotting, the first step is to assess your watering habits. Overwatering or underwatering can lead to significant issues, so ensure you're providing the right amount of moisture.
Next, check for pests or diseases that may have been introduced during the repotting process. A quick inspection can help you catch any unwanted guests before they cause serious damage.
🔍 How to Identify and Solve Potting-Related Issues
Monitoring your plant for signs of root rot is crucial. Look for yellowing leaves or mushy roots, which are clear indicators that something is amiss.
If you notice drainage issues, consider adjusting your potting soil composition. Adding materials like perlite or sand can enhance drainage and promote healthier root growth.
By staying vigilant and responsive to your Soap Tree's needs, you can help it thrive after repotting. This proactive approach not only fosters a healthier plant but also deepens your connection to your green companion.
⚠️ Safety First
This content is for general information and may contain errors, omissions, or outdated details. It is not medical, veterinary advice, or an endorsement of therapeutic claims.
Always consult a qualified healthcare professional before using any plant as food, medicine, or supplement.
Never eat any plant (or feed one to pets) without confirming its identity with at least two trusted sources.
If you suspect poisoning, call Poison Control (800) 222-1222, the Pet Poison Helpline (800) 213-6680, or your local emergency service immediately.
Spotted an error? Please report it here.
Repotting your soap tree can be a thriving adventure 🌱 when you recognize rootbound signs and choose the right pot, and with Greg's tailored care tips and reminders, you'll set your plant up for success in no time!