Should I Repot My Campfire Crassula?
Crassula capitella 'Campfire'
By the Greg Editorial Team
Jun 18, 2024•4 min read
This article was created with the help of AI so we can cover more plants for you. May contain errors. See one? Report it here.
- Roots peeking out? Time to repot your Campfire Crassula.
- 🌱 Choose terracotta or ceramic pots with care for breathability and moisture.
- Repot in spring/fall, trim roots, use well-draining soil, and water sparingly.
Spot the Clues: When Your Campfire Crassula is Begging for a New Home
🌱 Roots on the Run: Spotting roots through drainage holes
If you're seeing roots peeking through the pot's drainage holes, it's not a shy hello; it's a cry for help. Your Campfire Crassula's roots should be comfortably housed, not making a break for it.
🏠 Cramped Quarters: Recognizing overcrowded growth
Overcrowding isn't just a problem on public transport. When your Crassula's leaves are more packed than a can of sardines, it's time to give them some breathing room. Overcrowded growth is a billboard-sized hint that your plant's current residence is too snug.
🏜️ Thirsty All the Time: Soil drying out faster than a desert
Soil that dries out quicker than you can say "hydration" is a sign that your plant is thirsty—and possibly root-bound. If you're watering more often than you're checking social media, it's probably time for a repot.

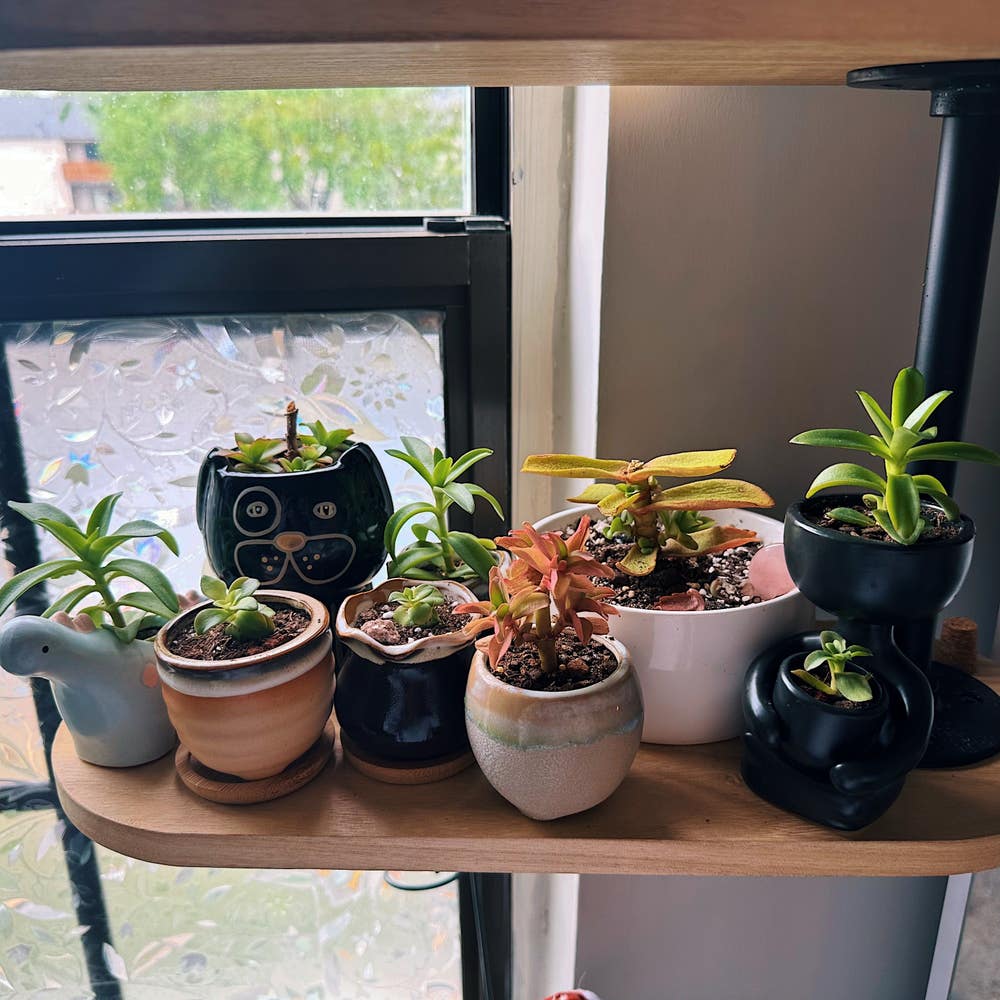
Choosing the Right Pot: Material Matters
🏺 Terracotta vs. Plastic: A Breathability Battle
Terracotta pots are the MVPs of breathability, letting roots breathe easy and preventing waterlogging. But they'll have you watering more often, thanks to their thirst for evaporation. Plastic pots, on the other hand, are like that friend who never leaves the party—holding onto moisture for dear life. Great for hydration, but a slippery slope to root rot if you're not careful.
🍶 Ceramic Considerations: Heavyweight Champion or Not?
Ceramic pots come with a glaze of glamour but don't be fooled; they're the heavyweights of the pot world. They'll hold onto water longer than terracotta, which is a plus or a minus, depending on your watering habits. Just make sure they've got drainage holes to avoid a soggy disaster.
🥽 Glass: The Good, the Bad, and the Ugly
Glass pots might show off your Campfire Crassula's roots like a botanical exhibit, but they're a no-go for long-term growth. No breathability means no chance for moisture escape, turning your pot into a swampy mess. Stick to materials that let your plant breathe and you won't have to deal with the ugly aftermath of root rot.

The Repotting Rodeo: A Step-by-Step Guide
🌱 Pre-Repot Prep: Selecting the Right Season and Pot
Spring or early fall is your plant's moving day; it's when they handle change best. Choose a new pot that's a size up from the old one—think of it as a plant's version of getting a roomier apartment. Ensure it has drainage holes; soggy roots are a no-go.
🌿 Gentle Extraction: How to Safely Remove Your Plant
Coax your Campfire Crassula out by squeezing the pot's sides and flipping it upside down. If it resists, tap the bottom but don't get rough—this isn't a wrestling match. Once free, let the old soil fall away like yesterday's news.
🌱 Root Review: Inspecting and Trimming the Root System
Lay your plant down and give its roots a health check. Snip off any dead or suspicious bits with clean scissors—think of it as a root haircut for better growth. Be gentle; roots are the lifelines, not spaghetti.
🌿 Home Sweet Home: Planting in the New Pot with the Perfect Soil Mix
Fill the pot's bottom with a well-draining soil mix; your plant craves good drainage like a desert yearns for rain. Place your Crassula in and add soil around it, firming gently. Water sparingly—this isn't a pool party. Now, let it settle into its new digs and thrive.

Aftercare: Helping Your Campfire Crassula Settle In
💧 Watering Wisdom: When to water after repotting
Hold off on watering your Campfire Crassula immediately after repotting. This plant detests soggy feet, especially when it's trying to get comfortable in its new abode. Wait for a few days, let the plant call the shots, and only water when the soil feels dry to the touch. Remember, overwatering is the express lane to root rot city.
🌞 Location, Location, Location: Finding the ideal spot for your newly potted plant
Post-repotting, your Campfire Crassula craves stability. Find a spot that's the Goldilocks zone of light—bright but indirect, like a shady spot on a sunny day. Keep it away from drafts; think of it as putting your plant in a witness protection program from the elements.
👀 Monitoring and Maintenance: Keeping an eye out for post-repotting stress
Your plant's not high-maintenance, but it does send signals when it's in distress. Droopy leaves? It's probably parched. Pale growth? It might be begging for more light. Stay vigilant, adjust care as needed, and remember, it's not being needy, it's just acclimating.
⚠️ Safety First
This content is for general information and may contain errors, omissions, or outdated details. It is not medical, veterinary advice, or an endorsement of therapeutic claims.
Always consult a qualified healthcare professional before using any plant as food, medicine, or supplement.
Never eat any plant (or feed one to pets) without confirming its identity with at least two trusted sources.
If you suspect poisoning, call Poison Control (800) 222-1222, the Pet Poison Helpline (800) 213-6680, or your local emergency service immediately.
Spotted an error? Please report it here.
After repotting, let Greg craft a custom care schedule 📅 for your Campfire Crassula, ensuring it settles into its new home with the perfect balance of water and love.