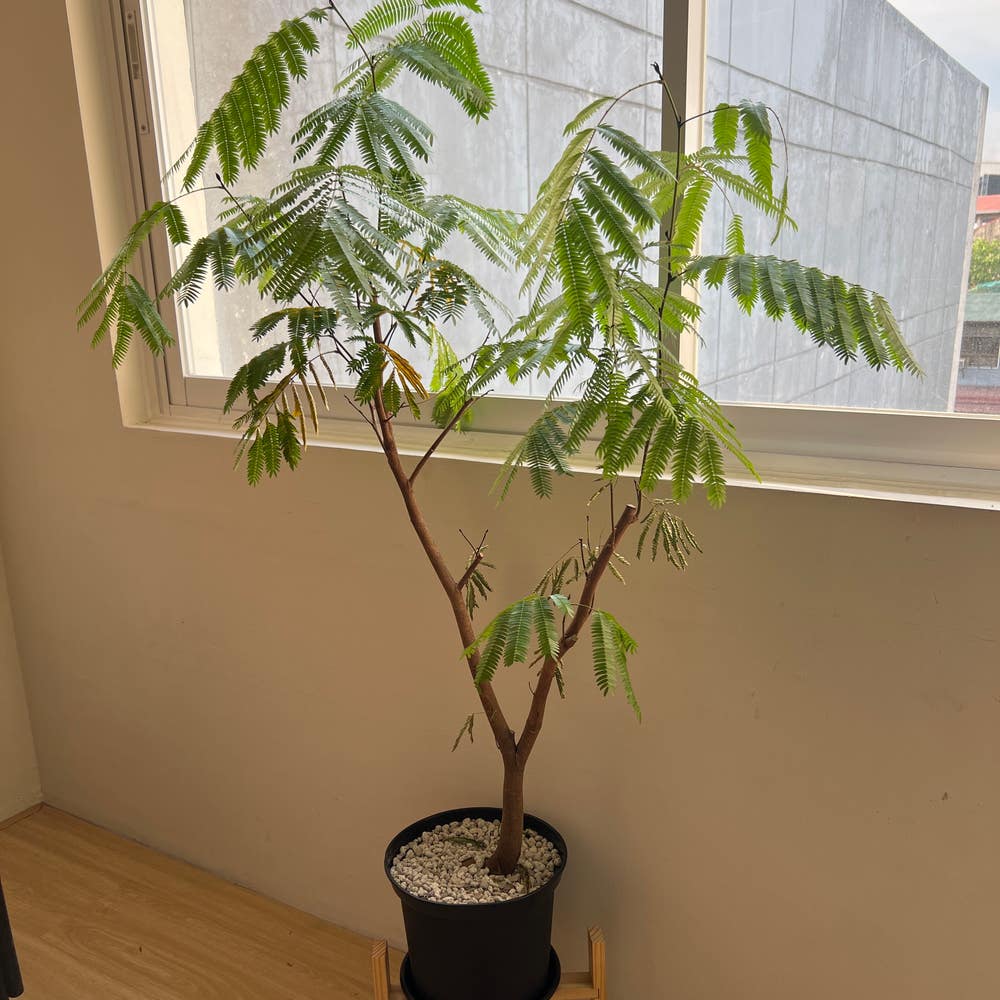
🌳 Silk Tree Roots 101
Albizia julibrissin
By the Greg Editorial Team
Oct 11, 2024•7 min read
This article was created with the help of AI so we can cover more plants for you. May contain errors. See one? Report it here.
Master silk tree care 🌳 by understanding their unique root systems for vibrant growth and resilience!
- 🌳 Silk trees have deep taproots, enhancing stability and moisture absorption.
- 🚫💧 Overwatering causes root rot, leading to wilting and yellowing leaves.
- 🌱 Fertilize in spring and summer for optimal nutrient absorption and growth.
Root System Characteristics
Type of Root System 🌳
Silk trees primarily exhibit a taproot system. This means their roots can extend deep into the soil, often reaching impressive depths.
The depth of the taproot not only provides stability but also allows the tree to access vital nutrients that are buried deep underground. This anchorage is crucial for the tree's overall health and resilience.
Root Depth and Spread 📏
In mature silk trees, the typical root depth ranges from 3 to 5 feet. This depth is essential for anchoring the tree firmly in place.
The root spread can be even more expansive, extending 2 to 3 times the width of the canopy. As the tree matures, its roots develop in a way that supports its growth and stability, adapting to the surrounding soil conditions.
Understanding these characteristics is vital for anyone looking to cultivate healthy silk trees. With the right care, these trees can thrive, showcasing their beauty for years to come.
Next, we will explore how these root systems impact watering and fertilizing practices.
Watering and Fertilizing
🌱 Impact of Root System on Watering Needs
The root system of a silk tree plays a crucial role in its water absorption capabilities. Deep roots can access moisture from lower soil layers, making the tree more resilient during dry spells.
However, this depth also means that overwatering can be detrimental. Excess moisture can lead to root rot, a serious condition that can compromise the health of your tree.
🌿 Fertilization Techniques
Best Practices for Fertilizing
Timing is everything when it comes to fertilizing silk trees. The best times to apply fertilizer are early spring and late summer, allowing the tree to absorb nutrients when it needs them most.
When choosing fertilizers, consider the options available. Slow-release fertilizers provide a steady supply of nutrients, while liquid fertilizers offer a quick boost.
🧪 Tailoring Fertilization to Root Health
Understanding the nutrient requirements of your silk tree is essential for robust root development. Tailoring your fertilization approach can significantly enhance root health, ensuring your tree thrives.
By focusing on the specific needs of the roots, you can foster a healthier, more resilient tree. This attention to detail pays off in the long run, leading to vibrant growth and flowering.
As we move forward, let’s explore effective transplanting techniques to ensure your silk tree continues to flourish in its new environment.
Transplanting Techniques
Best Practices for Transplanting 🌱
Timing is crucial when it comes to transplanting trees. The optimal seasons are typically early spring or late fall, as these periods allow the tree to establish roots before the heat of summer or the cold of winter sets in.
Soil conditions also play a significant role. Ensure that the soil temperature is warm enough and moisture levels are adequate to support healthy root growth during the transplanting process.
Steps for Successful Transplanting 🛠️
Preparing the new planting site: Choose a location with suitable sunlight and space for growth. Clear the area of weeds and debris to give your tree a fresh start.
Digging up the tree: Carefully dig around the tree to preserve the root ball. Aim for a diameter of at least 12 inches for every inch of trunk diameter to minimize root damage.
Replanting: Position the tree in its new hole, ensuring it sits at the same depth as it was previously. Fill in with soil, gently tamping down to eliminate air pockets while allowing for proper drainage.
By following these steps, you can help ensure a smooth transition for your tree, setting it up for success in its new environment. Next, let’s explore common root-related issues that can arise during and after transplanting.
Common Root-Related Issues
🦠 Identifying Root Rot and Other Diseases
Root rot can sneak up on you, often showing its first signs in the leaves. Look for wilting, yellowing leaves, and stunted growth—these are telltale symptoms that something's amiss below the surface.
Fungal infections also pose a threat to your tree's roots. These diseases can weaken the root system, leading to further complications if not addressed promptly.
🛠️ Solutions for Common Root Problems
Preventing root rot starts with proper watering techniques. Ensure your tree isn't sitting in soggy soil; overwatering is a leading cause of root issues.
If you find yourself facing root rot, treatment options include fungicides and improving drainage. Adjusting soil conditions can make a world of difference in restoring root health.
By staying vigilant and proactive, you can keep your tree's roots thriving and healthy. This sets the stage for robust growth and resilience against future challenges.
Next, let’s explore how to recognize and manage root health indicators effectively.
Root Health Indicators
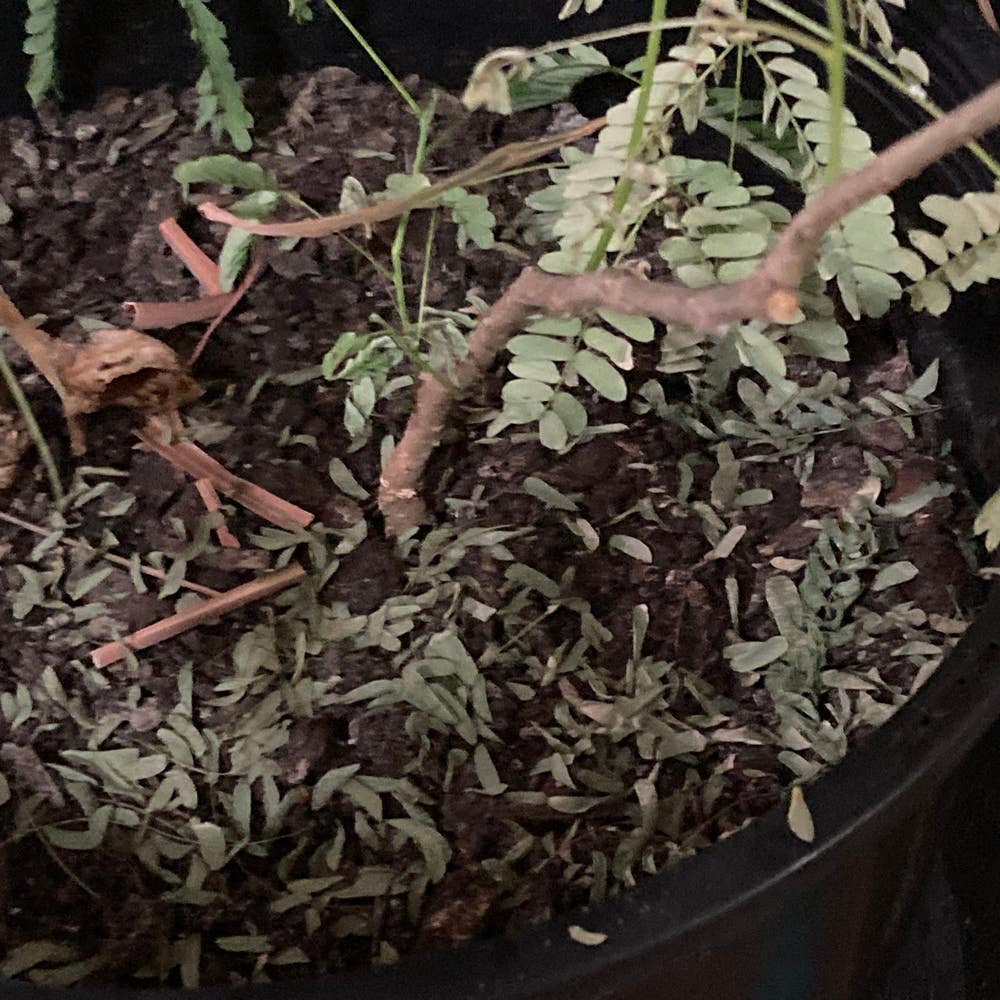
🌱 Visual Cues of Healthy vs Unhealthy Roots
Healthy roots are a sight to behold. They should feel firm and display a vibrant white or light tan color, indicating robust growth.
In contrast, unhealthy roots tell a different story. Look for dark, mushy textures or foul smells, which are clear signs of distress and potential root rot.
🌿 Importance of Root Health for Overall Plant Vitality
Root health is crucial for plant resilience. Strong roots anchor the plant and absorb essential nutrients, directly influencing its overall vitality.
When roots thrive, the plant flourishes, leading to better growth, abundant flowering, and enhanced stress tolerance. Prioritizing root care can make all the difference in your gardening success.
Understanding these indicators not only helps in maintaining healthy plants but also sets the stage for effective care strategies. With this knowledge, you can ensure your plants are well-equipped to thrive in their environment.
Managing Rootbound Plants
Definition and Signs of Rootbound Conditions 🌱
Rootbound plants occur when a plant's roots grow so densely that they circle around the pot, restricting growth. This condition often leads to stunted growth and can be identified by roots visibly growing out of the drainage holes.
Steps to Remedy Rootbound Situations 🛠️
Assessing the Plant's Condition
Start by examining the plant. If you notice roots tightly coiled or the plant seems to be struggling, it’s time to take action.Techniques for Relieving Rootbound Stress ✋
Gently loosen the roots by running your fingers through them. If they’re too tightly wound, you may need to make a few vertical cuts to encourage new growth.Repotting: Choosing the Right Size Container 🪴
Select a container that is 1-2 inches larger in diameter than the current pot. This extra space allows the roots to spread and thrive.
By understanding and addressing rootbound conditions, you can significantly enhance your plant's health and vitality. This proactive approach not only fosters growth but also ensures your plant remains resilient in the long run.
Next, we’ll explore propagation and division techniques to further enhance your gardening skills.
Propagation and Division
🌱 Importance of Root Health in Propagation
Healthy roots are the backbone of successful propagation. They ensure that new plants can absorb nutrients and water effectively, setting the stage for robust growth.
Timing is crucial when it comes to propagation. The best seasons for cutting are typically spring and early summer, as plants are actively growing and can recover more quickly.
✂️ Techniques for Dividing Effectively
When it comes to dividing plants, having the right tools is essential. You'll need a sharp spade or garden knife, gloves, and possibly a trowel for smaller plants.
Follow these steps for effective division:
- Assess the Plant's Condition: Ensure the plant is healthy and well-watered before dividing.
- Digging Up the Plant: Carefully lift the plant from the soil, preserving as much of the root ball as possible.
- Dividing the Roots: Use your spade or knife to separate the roots into sections, making sure each section has healthy roots and shoots.
- Replanting: Place the divided sections in new pots or garden beds, ensuring they are at the same depth as they were originally.
Post-division care is vital for recovery. Water the newly divided plants thoroughly and keep them in a shaded area for a few days to reduce stress. Monitor their growth closely to ensure they adapt well to their new environment.
By understanding the importance of root health and employing effective division techniques, you can enhance your gardening success. This knowledge not only fosters plant vitality but also enriches your gardening experience.
Next, we’ll explore how to manage rootbound plants, ensuring they thrive in their containers.
⚠️ Safety First
This content is for general information and may contain errors, omissions, or outdated details. It is not medical, veterinary advice, or an endorsement of therapeutic claims.
Always consult a qualified healthcare professional before using any plant as food, medicine, or supplement.
Never eat any plant (or feed one to pets) without confirming its identity with at least two trusted sources.
If you suspect poisoning, call Poison Control (800) 222-1222, the Pet Poison Helpline (800) 213-6680, or your local emergency service immediately.
Spotted an error? Please report it here.
Master the art of caring for your silk tree roots 🌱 with Greg's tailored watering reminders and expert tips, ensuring your plant thrives and flourishes in your garden!