Propagating Sinningia: The Ultimate Guide
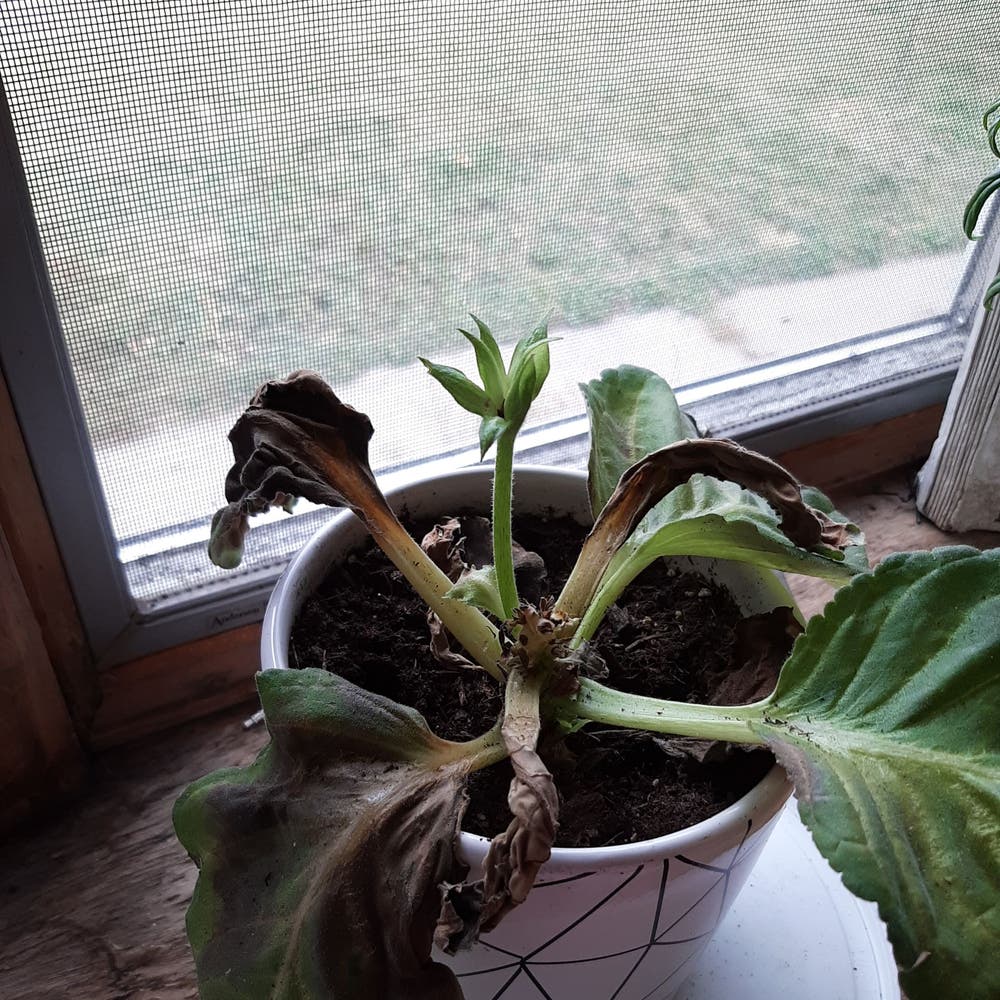
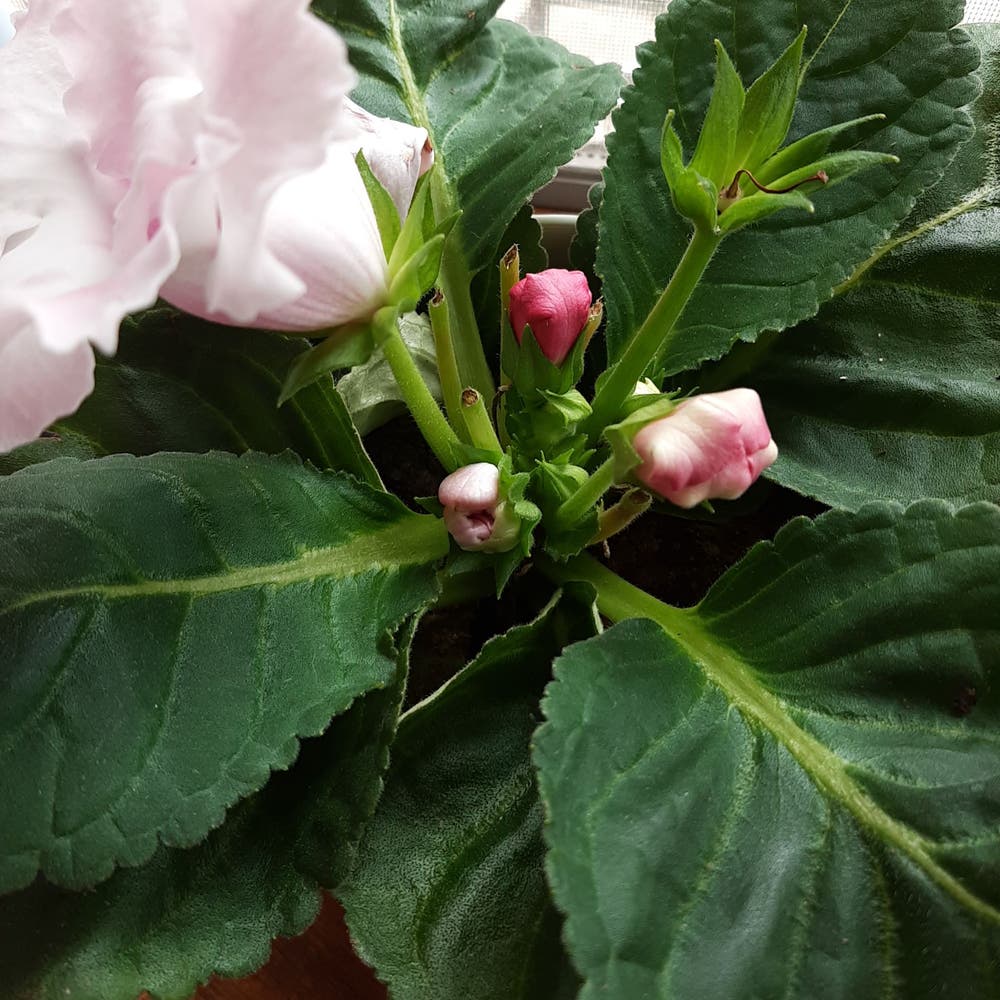
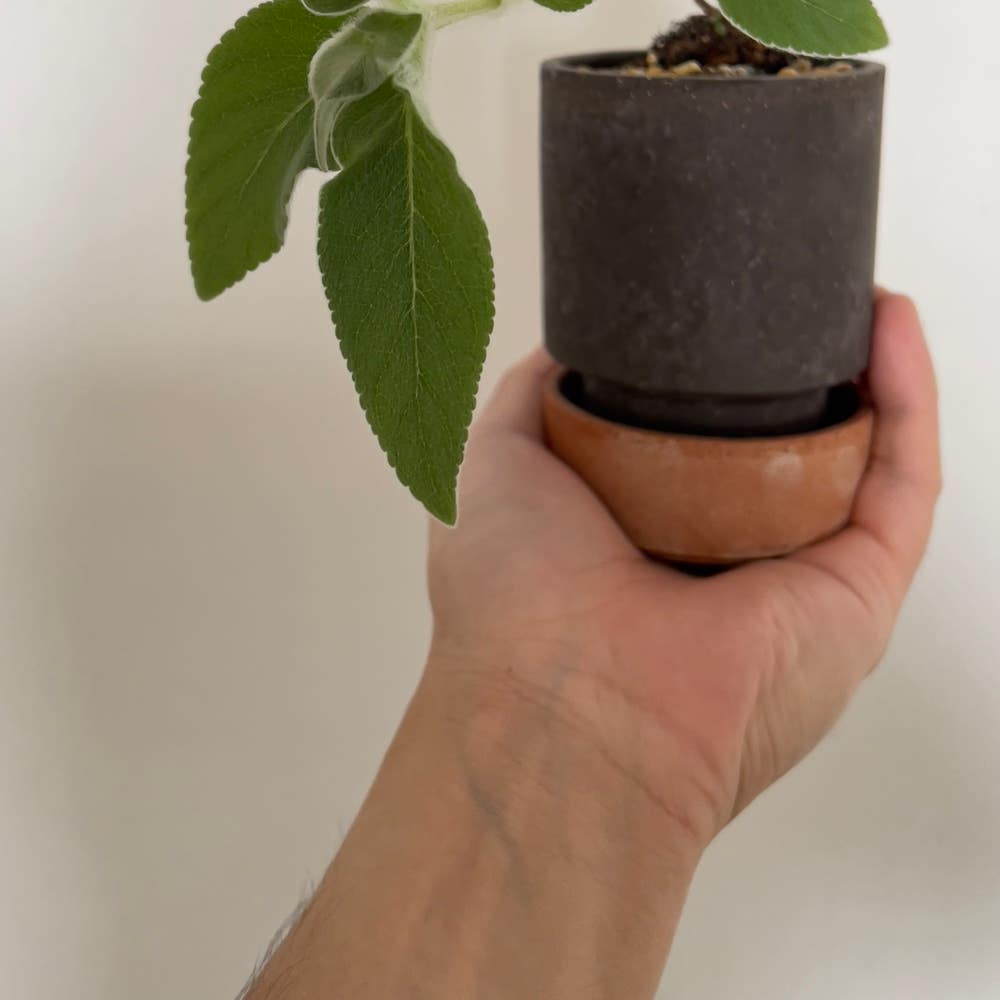
Sinningia allagophylla
By the Greg Editorial Team
Nov 23, 2024•6 min read
This article was created with the help of AI so we can cover more plants for you. May contain errors. See one? Report it here.
Master Sinningia propagation 🌱 from seeds, tubers, cuttings, and leaves for a flourishing garden adventure!
- 🌱 Select high-quality seeds for successful Sinningia propagation from reputable suppliers.
- 🌡️ Maintain 20-25°C for optimal seed germination and healthy seedlings.
- 🌞 Provide 12-16 hours of light daily to support robust growth in seedlings.
Propagating from Seeds
🌱 Seed Selection and Sourcing
Choosing the right seeds is crucial for successful propagation. Always opt for high-quality seeds from reputable suppliers to ensure healthy plants.
Understanding seed viability is equally important. Fresh seeds typically yield better germination rates, so check the packaging date before purchasing.
🌱 Germination Process and Conditions
To achieve optimal germination, maintain a temperature between 20°C to 25°C (68°F to 77°F). This range creates the perfect environment for your seeds to sprout.
Next, focus on soil requirements. A well-draining seed starting mix is essential to prevent waterlogging and promote healthy root development.
Light conditions also play a significant role. Provide indirect sunlight or use grow lights for 12-16 hours daily to support robust growth.
Expect a germination timeline of 2-4 weeks for your seeds to sprout. Patience is key during this phase, as each seed takes its time to emerge.
🌱 Transplanting Seedlings
Timing is everything when it comes to transplanting. Move seedlings to individual pots when they have developed 2-3 true leaves, indicating they are ready for the next stage.
The transplanting method requires care. Gently lift seedlings from their initial container and place them into their new pots to minimize root disturbance.
For soil and care, use a light potting mix that allows for good drainage. Consistently maintain moisture without overwatering to ensure your seedlings thrive.
With these steps, you're well on your way to growing healthy Sinningia plants from seeds. Next, let's explore how to propagate from tubers for even more plant diversity.
Propagating from Tubers
🌱 Identifying Healthy Tubers
When propagating Sinningia, selecting healthy tubers is crucial. Look for tubers that are firm, plump, and free from any signs of rot.
Size matters too; ensure your tubers are at least 1 inch in diameter for successful propagation. Larger tubers generally yield better results.
🧼 Preparing Tubers for Propagation
Before planting, you need to prepare your tubers properly. Start by gently washing and drying them to remove any soil.
Next, slice the tubers into sections, ensuring each piece has at least one eye. This eye is essential for new growth.
🌿 Planting and Care for Tuber Propagation
Now it’s time to plant your prepared tubers. Bury them 1-2 inches deep in well-draining soil to promote healthy root development.
After planting, water lightly to settle the soil, then maintain a slightly moist environment. Avoid overwatering, as this can lead to rot.
For optimal growth, keep the tubers in warm temperatures between 20°C to 25°C (68°F to 77°F) and ensure high humidity levels. This creates the perfect conditions for your tubers to thrive.
With the right care, your tubers will soon sprout, leading to a flourishing Sinningia collection. Next, let’s explore how to propagate from cuttings for even more propagation options!
Propagating from Cuttings
🌱 Selecting the Right Cutting
The best time to take cuttings is during the active growth phase, typically in spring or early summer. Aim for cuttings that are 4-6 inches long, sourced from healthy stems to ensure a robust start.
✂️ Preparing Cuttings for Rooting
Before planting, remove the lower leaves from the cutting, leaving 2-3 at the top. This helps the cutting focus its energy on root development.
To encourage rooting, use the wounding technique: make a small cut at the base of the stem. This minor injury signals the plant to produce roots more readily.
🌿 Rooting Hormone Application
Rooting hormones can significantly boost your success rate. They come in powder or gel forms, both effective for stimulating root growth.
Simply dip the cut end of your cutting into the rooting hormone before planting. This step can make a noticeable difference in how quickly and successfully your cuttings root.
💧 Care for Cuttings During Rooting
Humidity is crucial for cuttings to thrive. Cover them with a plastic bag or a dome to maintain moisture levels, creating a mini greenhouse effect.
Provide indirect light to prevent scorching the delicate cuttings. Too much direct sunlight can hinder their growth.
Finally, keep the soil consistently moist but not soggy. Overwatering can lead to rot, while underwatering can stunt growth.
With these steps, you’re well on your way to successfully propagating Sinningia from cuttings. Next, let’s explore how to propagate from leaves, another exciting method to expand your collection.
Propagating from Leaves
🌿 Leaf Selection and Preparation
Choosing the right leaves is crucial for successful propagation. Look for mature, undamaged leaves that are healthy and vibrant.
When preparing the leaves, use a sharp knife to cut them into sections. Ensure each section has a vein, as this will help facilitate root development.
🌱 Techniques for Leaf Propagation
There are two primary methods for propagating leaves: direct planting and water propagation. For direct planting, place the leaf sections in soil with the cut side facing down.
Alternatively, you can opt for water propagation. Simply place the leaf sections in water and wait for roots to develop before transferring them to soil.
💧 Care for Leaf Cuttings
Providing the right light conditions is essential for leaf cuttings. Aim for bright, indirect light to encourage optimal growth without scorching the leaves.
Watering is another critical aspect. Keep the soil moist but not waterlogged, and if you're using water propagation, remember to change the water regularly to keep it fresh.
With these techniques and care tips, you'll be well on your way to successfully propagating Sinningia from leaves. Next, let's explore common challenges you might face during propagation and how to overcome them.
Common Challenges in Propagation
🐛 Pests and Diseases Affecting Propagation
Propagation can be a rewarding journey, but pests and diseases can quickly derail your efforts. Common culprits include aphids, spider mites, and mealybugs, which can wreak havoc on your plants.
To prevent these issues, always use sterile tools and maintain clean growing conditions. Regularly inspect your plants for signs of infestation, and act quickly to address any problems.
🌡️ Environmental Factors Impacting Success
Environmental stability is crucial for successful propagation. Temperature fluctuations can stress your plants, so aim to maintain a consistent environment.
Humidity levels also play a significant role. Consider using humidity trays or misting your plants to create the ideal moisture levels for growth.
🛠️ Troubleshooting Propagation Failures
Sometimes, despite your best efforts, propagation fails. Common signs of trouble include yellowing leaves, wilting, or a complete lack of growth.
To troubleshoot, first identify the issue. Adjust your watering schedule, modify light exposure, and check for pests or diseases. With a little attention, you can often turn things around and get back on track.
Understanding these challenges will empower you to tackle propagation with confidence. Next, we’ll explore the exciting world of propagating from leaves, a method that can yield fantastic results.
⚠️ Safety First
This content is for general information and may contain errors, omissions, or outdated details. It is not medical, veterinary advice, or an endorsement of therapeutic claims.
Always consult a qualified healthcare professional before using any plant as food, medicine, or supplement.
Never eat any plant (or feed one to pets) without confirming its identity with at least two trusted sources.
If you suspect poisoning, call Poison Control (800) 222-1222, the Pet Poison Helpline (800) 213-6680, or your local emergency service immediately.
Spotted an error? Please report it here.
Propagating Sinningia can be a thriving adventure 🌱 when you leverage Greg's tailored care tips and reminders to keep your plants flourishing at every stage!