How to Fix Black Spots on Your Sinningia 🎨
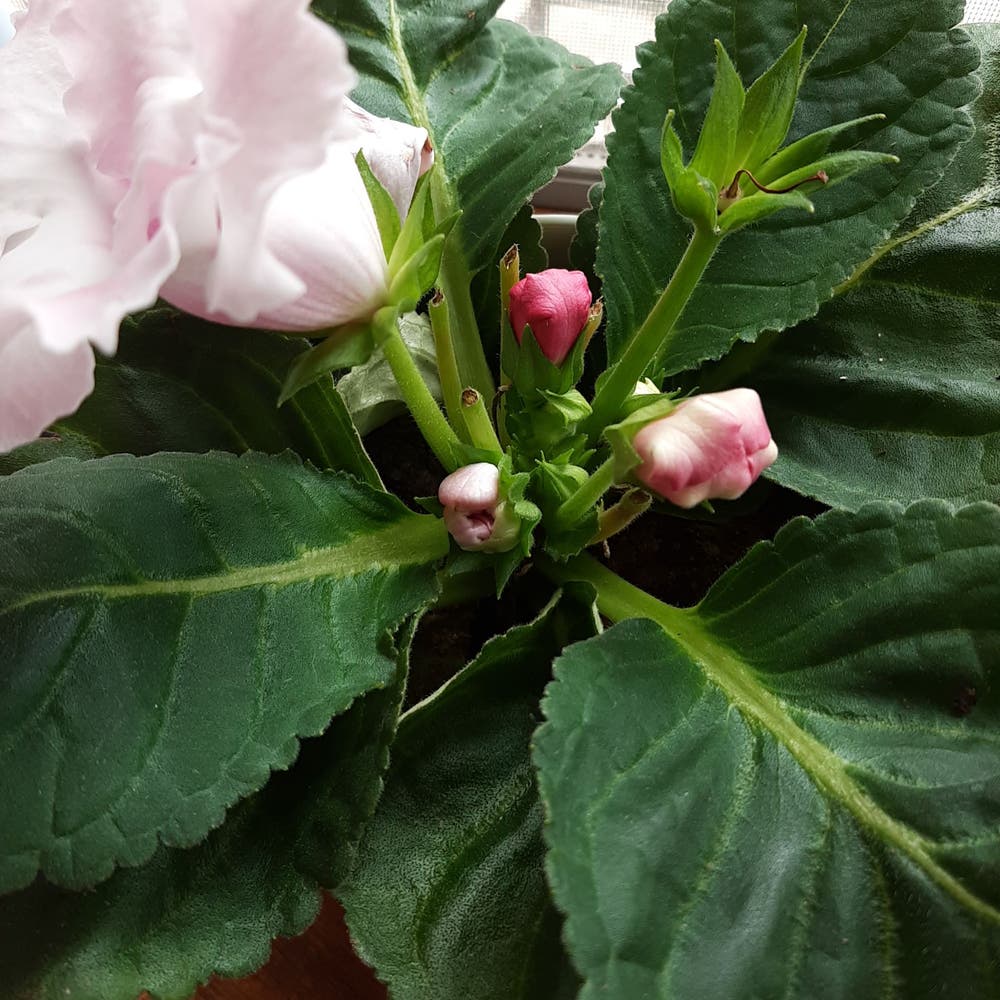
Sinningia allagophylla
By the Greg Editorial Team
Nov 23, 2024•5 min read
This article was created with the help of AI so we can cover more plants for you. May contain errors. See one? Report it here.
Transform your Sinningia care 🌿 by learning to diagnose and treat black spots for a thriving, vibrant plant!
- 🦠 Identify black spots: Fungal and bacterial infections require different treatments.
- 🌱 Regular inspections catch pests early, preventing further damage to your Sinningia.
- 💧 Adjust watering and use well-draining pots to prevent black spots from worsening.
Diagnosing the Problem
🦠 Differentiating Between Fungal, Bacterial, and Environmental Causes
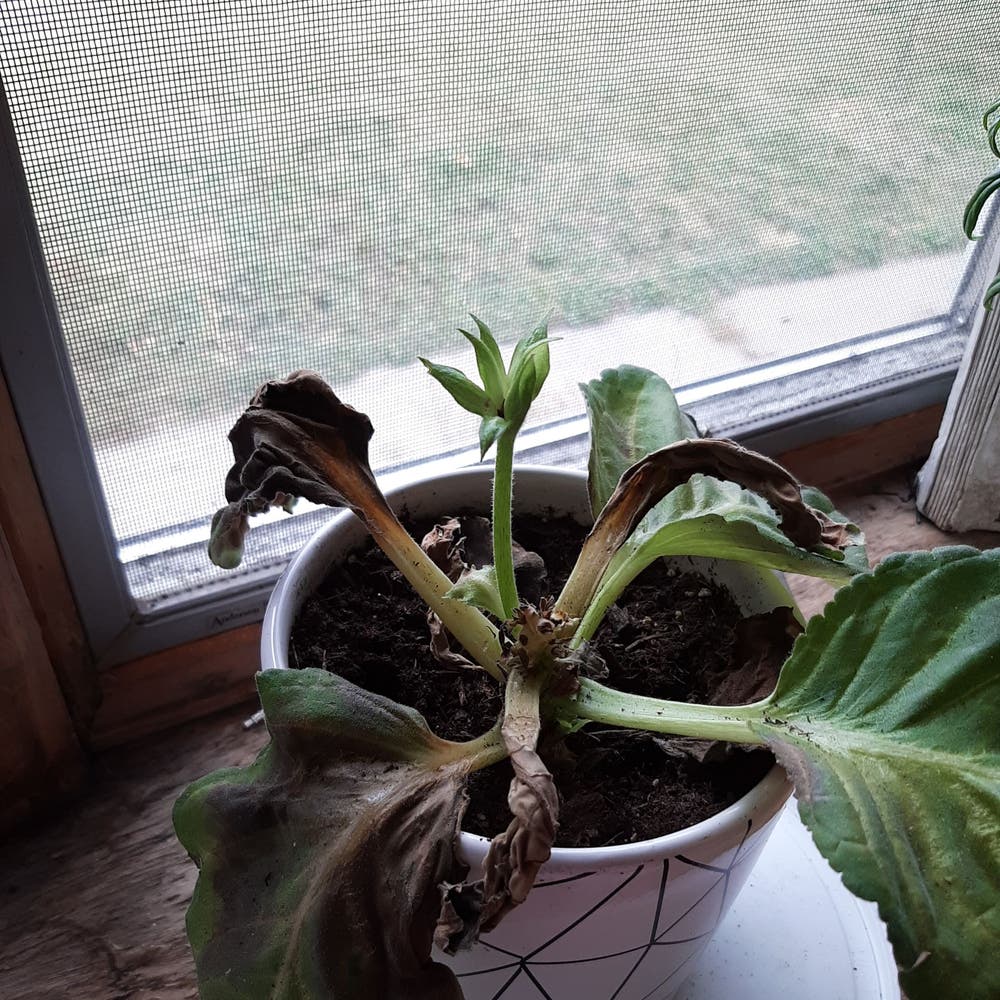
Identifying the cause of black spots on your Sinningia is crucial for effective treatment. Start by examining the key indicators of fungal infections, which often present as spots with fuzzy edges or concentric rings.
Fungal growth thrives in damp conditions, so be mindful of overwatering and poor air circulation. On the other hand, bacterial infections manifest as soft, mushy spots accompanied by a foul odor. These issues can worsen in overly humid environments, making it essential to monitor your plant's surroundings.
Environmental stress can also lead to black spots. Symptoms include leaf curling, discoloration, and an overall decline in plant health. Recognizing these signs early can help you take corrective action before the situation worsens.
🔍 How to Inspect Sinningia for Pests and Diseases
A thorough inspection is vital for diagnosing issues with your Sinningia. Follow these simple steps to ensure you catch any problems early:
- Examine the undersides of leaves for pests like aphids and spider mites.
- Check for signs of fungal or bacterial infections by looking for unusual spots or textures.
- Assess soil moisture and drainage conditions to ensure your plant is not sitting in water.
For effective inspection, you'll need a few tools. A magnifying glass can help you spot tiny pests, while clean scissors are essential for removing any affected leaves. Regular inspections will keep your Sinningia healthy and vibrant, allowing you to enjoy its beauty without the worry of black spots.
By understanding the causes and conducting thorough inspections, you're well on your way to maintaining a thriving Sinningia. Next, let’s explore treatment options to address those pesky black spots effectively.
Treatment Options
Step-by-Step Guide to Treating Black Spots 🌱
Treating black spots on your Sinningia requires a systematic approach. Start by isolating affected plants to prevent the spread of any potential infections.
Next, remove any severely affected leaves to minimize the risk of further damage. Adjust your watering practices to avoid overwatering, which can exacerbate the problem. Finally, apply appropriate treatments based on your diagnosis to effectively combat the issue.
Recommended Fungicides and Treatments for Sinningia 💊
When it comes to fungicides, you have two main categories: chemical and organic. Chemical fungicides can be classified into systemic and contact types, each with specific application frequencies and methods.
On the other hand, organic fungicides like neem oil and baking soda solutions offer a more natural approach. To prepare these treatments, mix neem oil with water according to the instructions, or create a baking soda solution for a gentle yet effective remedy.
Natural Remedies for Black Spots on Sinningia 🌿
For those who prefer homemade solutions, several effective remedies exist. A popular choice is garlic spray, which can be made by blending garlic cloves with water and straining the mixture. This spray can deter pests and help manage fungal issues.
Another option is a milk solution, which can boost plant health and combat fungal growth. Consistency is key; regularly apply these treatments to see the best results.
By following these treatment options, you can help your Sinningia recover from black spots and thrive once again. Next, let’s explore preventive measures to keep your plant healthy and vibrant.
Preventive Measures
🌊 Best Practices for Watering Sinningia
Watering your Sinningia correctly is crucial for preventing black spots. Adjust your watering frequency based on environmental conditions, ensuring the soil remains moist but not soggy.
To promote proper drainage, always use pots with drainage holes. A well-draining soil mix will also help maintain optimal moisture retention, preventing waterlogged roots.
☀️ Optimal Light and Humidity Conditions for Sinningia
Sinningia thrives in bright, indirect light. If you notice stretching stems or pale leaves, it’s a sign that your plant isn’t getting enough light.
Humidity is equally important for your Sinningia's health. Maintain humidity levels by using humidity trays or misting the leaves, and watch for signs of low humidity, like leaf browning and curling.
🪴 Soil and Potting Recommendations to Prevent Black Spots
Choosing the right soil is essential for your Sinningia. A well-draining potting mix is recommended, with a pH level between 6.0 and 7.0 for optimal growth.
When potting, select the appropriate pot size and material. Keep an eye on your plant’s growth; if it becomes root-bound, it may be time to repot.
By following these preventive measures, you can create a thriving environment for your Sinningia, reducing the risk of black spots and ensuring your plant remains healthy and vibrant. Next, we’ll explore ongoing care and monitoring to keep your Sinningia in top shape.
Ongoing Care and Monitoring
🌿 Regular Inspection Routines for Sinningia
To keep your Sinningia healthy, establish a weekly inspection routine. During these checks, focus on leaf health, soil moisture, and the overall vigor of the plant.
Look for any signs of pests or diseases, such as discoloration or wilting leaves. Regular monitoring helps catch issues early, ensuring your plant stays vibrant and thriving.
👀 Signs of Recovery and When to Re-Treat
As your Sinningia begins to recover, watch for indicators like new growth and a reduction in black spots. These signs suggest that your treatment is effective.
However, if symptoms persist despite your efforts, it may be time to consider re-treatment. Staying vigilant will help you maintain the health of your plant.
🌸 Seasonal Care Adjustments to Prevent Black Spots
Adjusting your care routine based on seasonal changes is crucial for preventing black spots. In winter, reduce watering frequency while maintaining humidity levels to support your plant's needs.
During the summer months, keep an eye out for increased pests and diseases due to heat and humidity. Adapting your care strategy will help your Sinningia flourish year-round.
By following these ongoing care and monitoring practices, you can ensure your Sinningia remains healthy and vibrant. Next, let’s explore the best practices for watering your Sinningia to further enhance its growth.
⚠️ Safety First
This content is for general information and may contain errors, omissions, or outdated details. It is not medical, veterinary advice, or an endorsement of therapeutic claims.
Always consult a qualified healthcare professional before using any plant as food, medicine, or supplement.
Never eat any plant (or feed one to pets) without confirming its identity with at least two trusted sources.
If you suspect poisoning, call Poison Control (800) 222-1222, the Pet Poison Helpline (800) 213-6680, or your local emergency service immediately.
Spotted an error? Please report it here.
Revive your Sinningia from black spots and watch it flourish 🌱 with Greg's tailored care tips and reminders that ensure your plant stays healthy and vibrant all year round!