Propagating My Paphiopedilum fairrieanum: Step-by-Step Guide
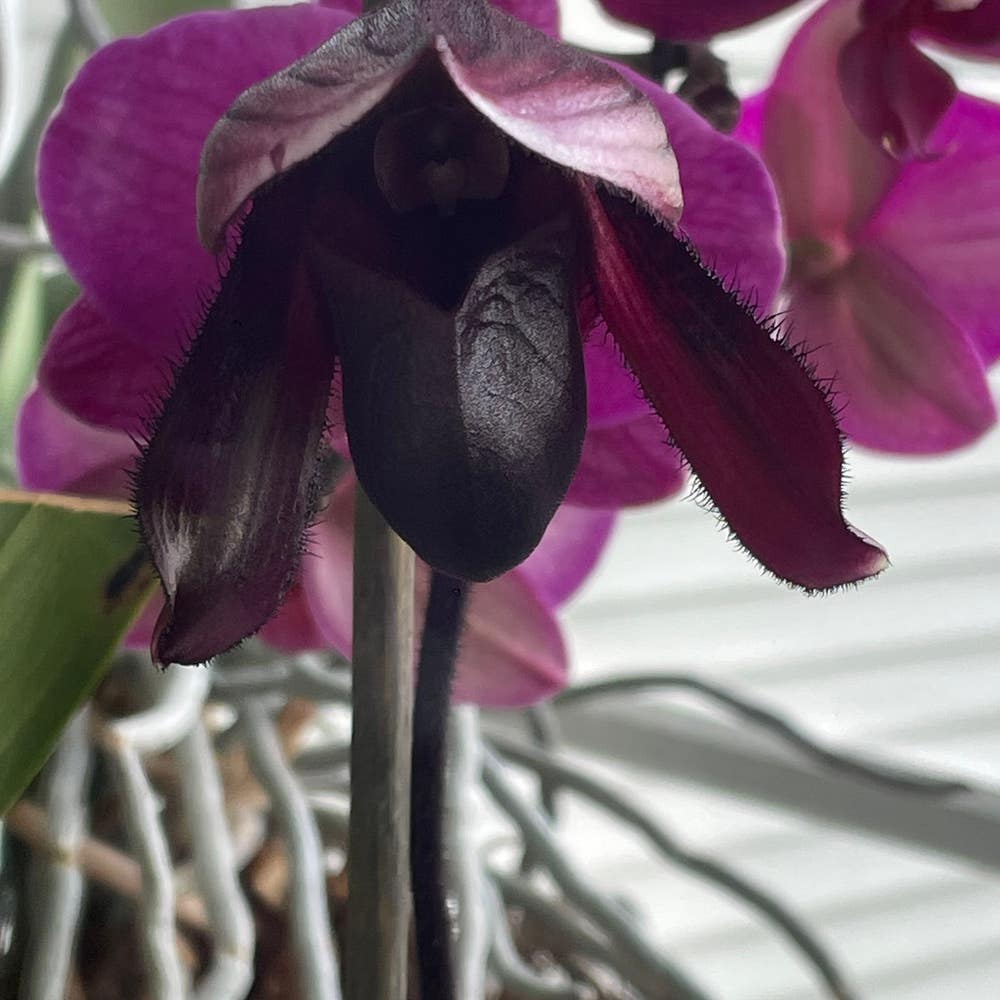
Paphiopedilum fairrieanum
By the Greg Editorial Team
Apr 06, 2024•6 min read
This article was created with the help of AI so we can cover more plants for you. May contain errors. See one? Report it here.
- Division requires sharp tools, a clean space, and hydrated plants with ample roots.
- Back bulbs take years to flower; plant with care and patience.
- Monitor environment and pests for successful propagation and healthy growth.
Getting Your Hands Dirty: Division Propagation
🌱 Preparing Your Tools and Space
Before diving into the division of your Paphiopedilum fairrieanum, gear up. You'll need a sharp knife, gloves, and a fresh potting mix. Sterilize that knife as if you're about to perform a transplant; yes, it's that serious. Set up your workspace where a little dirt won't be a disaster. It's about to get messy, but in the best way possible.
🌿 The Art of Division
When it's time to multiply your orchids, look for growth points—these are your green gold. Hydrate the plant a few days in advance to make the roots more pliable. With gloves on and your sterilized sharp knife, gently coax the plant from its pot. Tease apart the roots, ensuring each division has its fair share. Snip any roots that look like they've seen better days. Remember, you're not just propagating; you're giving your plant a new lease on life.
Plant each division at the same depth it was growing before, in a pot with good drainage to prevent soggy roots. Keep the soil moist, not wet, and place them in bright, indirect light. Hold off on the fertilizer until they've established themselves. Spot new growth? Pat yourself on the back—that's your sign of success. Keep pests and diseases at bay with insecticidal soap or neem oil, and you're well on your way to becoming a division diva.
The Back Bulb Technique
🌱 Understanding Back Bulbs
Back bulbs are the unsung heroes of orchid propagation. They're the leafless, older pseudobulbs that have already flowered or never bloomed at all. These bulbs are vital because they can be coaxed into creating a new plant. However, patience is key; it may take several years for a back bulb to mature into a flowering orchid.
🌱 Planting Your Future Orchids
Preparing back bulbs involves a delicate touch. First, remove them during repotting, ensuring the parent plant retains at least two healthy bulbs for itself. Then, clean the bulbs and trim any dead roots or leaves. Sterilize your tools before and after to prevent disease spread.
Planting is straightforward but crucial. Place the back bulb in a pot with well-draining medium, covering the base but leaving the top exposed. Water sparingly to prevent rot, and maintain high humidity and indirect light to encourage rooting. Once you see new growth, you can start a more regular watering routine, but always let the medium dry slightly between waterings. Remember, it's a slow dance toward a blooming future, so nurture with patience.
The Seed Sowing Saga
🌱 Collecting and Preparing Seeds
Harvesting seeds from your Paphiopedilum fairrieanum is a timing game. You want the pods plump but not bursting at the seams. Cleanliness is crucial; any speck of dirt can spell doom. Some whisper about a pre-soak ritual to wake the seeds up, but it's not one-size-fits-all—check if it's right for your Paph.
🌱 Sowing and Germinating Orchid Seeds
Surface sowing is the name of the game; these seeds need light like moths to a flame. Patience then becomes your new best friend—orchid seeds are a slow burn, not a quick trend. Keep it sterile, unless you're into fungal surprises. Germination is a waiting game, but the payoff is a new orchid fame.
Nurturing Your New Orchids
🌱 Ideal Conditions for Propagation Success
Creating the perfect environment for your Paphiopedilum fairrieanum is like setting the stage for a star performer. The right conditions can make or break your orchid's future.
🌡️ Temperature
Keep it cozy. 70-80°F during the day with a slight dip at night mimics their natural tropical vibe. Too cold, and your orchid might sulk.
💦 Humidity
Aim for that sweet spot of 40-70% humidity. Too dry, and your orchid's leaves will throw a fit; too damp, and you're in rot territory. A humidifier or a simple humidity tray can be your best friends here.
☀️ Light
Bright, indirect sunlight is the name of the game. Direct sunlight is your orchid's nemesis—unless you're into the crispy-leaf aesthetic.
🌱 Post-Propagation Care
After the thrill of propagation, it's time to buckle down for the long haul. Your orchid babies need you more than ever.
💧 Watering
Watering is less about sticking to a schedule and more about observing your orchid's needs. The potting mix should dry out slightly between waterings. If it's still damp, hold off on the H2O.
🌿 Feeding
Feed your orchid with a fertilizer made for its kind, but don't go overboard. Think of it as a vitamin, not a meal.
🏡 Acclimatization
Ease your orchids into their new home. A sudden change can shock them more than a plot twist in a telenovela. Gradual introduction to light and temperature changes is key.
Remember, orchids are not just plants; they're a commitment. Keep an eye out for their subtle cues, and they'll reward you with growth and beauty.
Overcoming Propagation Pitfalls
🚨 Spotting Trouble Early
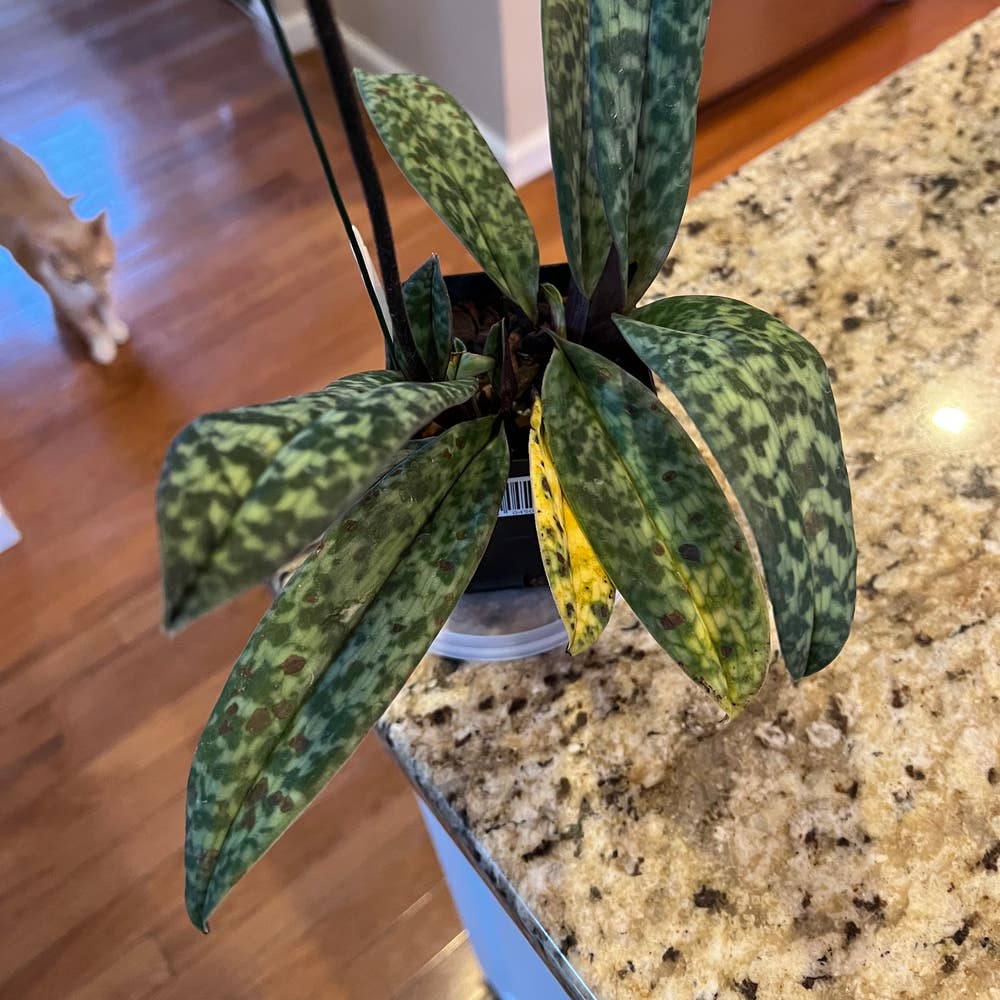
In the delicate dance of propagation, early detection of issues is your lifeline. Yellowing leaves or stunted growth are distress signals from your Paphiopedilum fairrieanum. They're not just being dramatic; they're showing signs of potential problems that could escalate if ignored.
🛠️ Quick Fixes and Preventative Measures
Common Issues
Damping off is a notorious dream-crusher in seed propagation. It's the plant equivalent of a cold sweat; a sign you've been too generous with water. Keep the soil moist, not soggy, and maintain a warm environment to prevent this fungal faux pas.
Fungal infections are the party crashers nobody wants. They thrive in conditions as humid as a steam room. To avoid these uninvited guests, ensure your space has good airflow and is less humid than a rainforest.
🐜 Pest Control
Pests like mealybugs and aphids see your orchids as an all-you-can-eat buffet. Be ready to show them the door with insecticidal soap or neem oil. Vigilance is key; these critters are sneaky and can cause havoc if left unchecked.
Environmental Factors
Temperature fluctuations can shock your plants like an ice bath followed by a sauna. Consistency is your friend here; avoid sudden changes to keep your orchids from freaking out.
💧 Watering Woes
Underwatering can leave your plants thirstier than a marathon runner without a water station. Dry soil and wilting are your cues to up the hydration game.
💡 Lighting
Getting the lighting right is like finding the perfect pair of jeans; it takes trial and error. Too much light and your plants will crisp up; too little and they'll stretch out like they're doing yoga. Aim for that sweet spot where they're basking but not baking.
Monitoring and Adjustments
Keep a close eye on new shoots and leaves. Slow growth might mean it's time to reassess the light situation or consider a nutrient boost. And remember, when pests or diseases make an appearance, act swiftly—your plant's survival is at stake.
By staying alert and responsive, you can navigate the choppy waters of propagation with the finesse of a seasoned sailor. Every brown leaf or wilted stem is a lesson, not a defeat. Embrace these challenges; they're the stepping stones to becoming a propagation guru.
⚠️ Safety First
This content is for general information and may contain errors, omissions, or outdated details. It is not medical, veterinary advice, or an endorsement of therapeutic claims.
Always consult a qualified healthcare professional before using any plant as food, medicine, or supplement.
Never eat any plant (or feed one to pets) without confirming its identity with at least two trusted sources.
If you suspect poisoning, call Poison Control (800) 222-1222, the Pet Poison Helpline (800) 213-6680, or your local emergency service immediately.
Spotted an error? Please report it here.
Ensure your orchid thrives 🌱 with Greg's personalized care reminders and environmental tracking, making propagation from this guide a blooming success!