When and How to Repot Your Philodendron 🪴
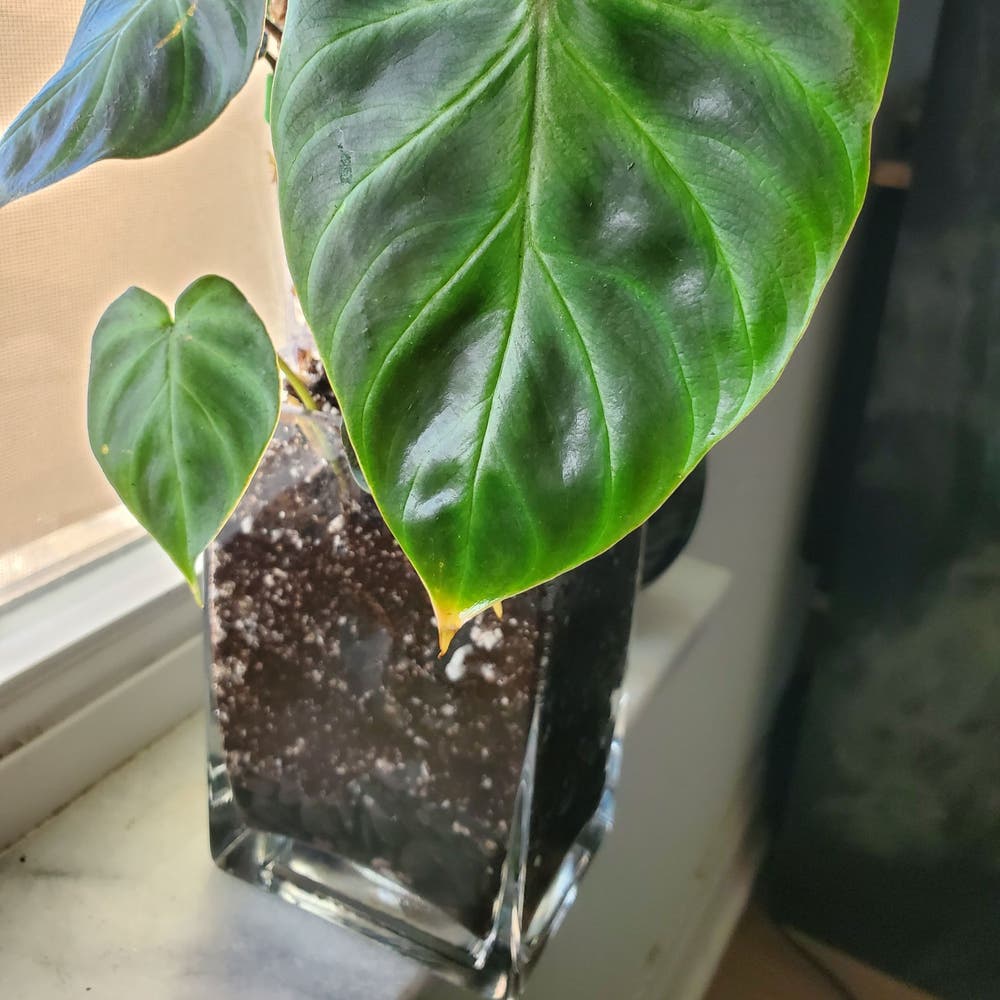
Philodendron verrucosum
By the Greg Editorial Team
Oct 04, 2024•5 min read
This article was created with the help of AI so we can cover more plants for you. May contain errors. See one? Report it here.
- 🌱 Signs to repot include roots out of drainage holes and yellowing leaves.
- 🏺 Choose a pot 1-2 inches larger for optimal growth and stability.
- 💧 Use well-draining soil and monitor moisture to prevent root rot.
Signs That Your Plant Needs Repotting
🌱 Signs of Root Bound
Recognizing when your magnificent Philodendron needs repotting is crucial for its health. One of the first signs is roots growing out of the drainage holes; this indicates that the plant has outgrown its current pot.
Another clear indicator is when roots start circling the pot. This behavior shows that the plant is running out of space, which can lead to stunted growth despite your best care efforts.
If you notice yellowing leaves or wilting, it may suggest a nutrient deficiency. These symptoms often arise when the roots can’t absorb enough nutrients due to confinement.
🚩 Other Indicators
Keep an eye on how quickly the soil dries out after watering. If it seems to evaporate too fast, your plant might be signaling that it needs more space.
Visible algae or mold on the soil surface is another red flag. This can indicate poor drainage or overwatering, both of which can stress your plant.
Lastly, if your Philodendron starts toppling over due to the weight of its foliage, it’s time to consider repotting. A stable base is essential for a thriving plant.
Recognizing these signs early can make all the difference in maintaining a healthy, vibrant Philodendron. Next, let’s explore the ideal timing for repotting your plant to ensure it thrives.
How to Assess Root Health Before Repotting
Checking Root Condition 🌱
Before repotting your magnificent philodendron, it's crucial to assess the health of its roots. Gently remove the plant from its pot, taking care not to damage the foliage.
Inspect the roots closely. Healthy roots should be white and firm, while brown, mushy roots indicate rot. If you find any signs of decay, it’s a clear signal that action is needed.
Root Pruning ✂️
If you discover damaged or overly long roots, it's time for some pruning. Trim back these roots carefully to promote healthier growth.
Always use sterilized scissors to prevent any potential infection. This small step can make a significant difference in your plant's recovery and overall health.
With your roots assessed and pruned, you're well on your way to a successful repotting. Next, let’s dive into the step-by-step guide for the actual repotting process.
Step-by-Step Guide to Repotting
🛠️ Tools and Materials Needed for Repotting
Before diving into the repotting process, gather your tools. You’ll need a new pot that’s 1-2 inches larger in diameter than the current one.
Additionally, have well-draining potting soil on hand, along with pruning shears, a trowel or hand shovel, and a watering can. These essentials will make your repotting experience smooth and efficient.
🌱 Repotting Process
1. Prepare the New Pot
Start by filling the new pot with fresh potting soil. This sets the stage for your plant’s new home.
2. Remove the Plant
Gently take the plant out of its current pot. Be careful not to damage the roots during this process.
3. Inspect and Prune Roots
Once removed, inspect the roots closely. Trim any damaged or overly long roots with sterilized pruning shears to promote healthy growth.
4. Position the Plant
Place the plant in the center of the new pot. Add soil around the edges, ensuring it’s stable and well-supported.
5. Water Thoroughly
Water the plant thoroughly to settle the soil and eliminate any air pockets. This step is crucial for ensuring the roots make good contact with the soil.
6. Create a Recovery Environment
Finally, place your newly potted plant in a warm, humid location. This will help it recover from the transition and thrive in its new environment.
Repotting your magnificent philodendron can feel like a big task, but with the right approach, it’s a rewarding experience. Now that you’ve mastered the repotting process, let’s explore the best pot materials to enhance your plant’s growth!
Pot Material Options
Choosing the right pot material for your Philodendron can significantly impact its health and growth. Each material comes with its own set of advantages and disadvantages.
🥇 Pros and Cons of Each Material
Ceramic
Ceramic pots are visually appealing and provide excellent insulation for roots. However, they can be quite heavy and may retain moisture, which could lead to root rot if not monitored closely.
Plastic
Plastic pots are lightweight and budget-friendly, making them a popular choice. They offer good drainage options but are less breathable and can heat up quickly in direct sunlight.
Terracotta
Terracotta pots excel in drainage and aeration, allowing roots to breathe. On the downside, they can dry out rapidly, necessitating more frequent watering to keep your Philodendron happy.
🌬️ Best Pot Materials for Drainage and Aeration
For optimal conditions, consider using terracotta or plastic pots with drainage holes. These materials strike a balance between moisture retention and airflow, ensuring your plant thrives.
As you prepare to repot your Philodendron, keep these material options in mind to create the best environment for growth. Next, let’s dive into the recommended potting soil that will further enhance your plant's health.
Recommended Potting Soil
Importance of Drainage Holes in Pots 🌊
Drainage holes are crucial for preventing root rot and ensuring your philodendron thrives. They allow excess water to escape, maintaining the right moisture balance for healthy growth.
How to Create a Well-Draining Potting Mix 🧪
For a well-draining potting mix, aim for a blend of 50% potting soil, 30% perlite, and 20% orchid bark. This combination promotes aeration while retaining moisture, preventing your plant from becoming waterlogged.
Using this mix not only supports root health but also encourages robust growth. It’s a simple yet effective way to give your magnificent philodendron the best chance to flourish.
With the right soil and drainage, your plant will be set for success. Next, let’s explore the various pot materials that can enhance your repotting experience.
⚠️ Safety First
This content is for general information and may contain errors, omissions, or outdated details. It is not medical, veterinary advice, or an endorsement of therapeutic claims.
Always consult a qualified healthcare professional before using any plant as food, medicine, or supplement.
Never eat any plant (or feed one to pets) without confirming its identity with at least two trusted sources.
If you suspect poisoning, call Poison Control (800) 222-1222, the Pet Poison Helpline (800) 213-6680, or your local emergency service immediately.
Spotted an error? Please report it here.
Repot your Philodendron like a pro 🌱 with Greg's tailored reminders and expert tips, ensuring it thrives in its new, spacious home for vibrant growth!