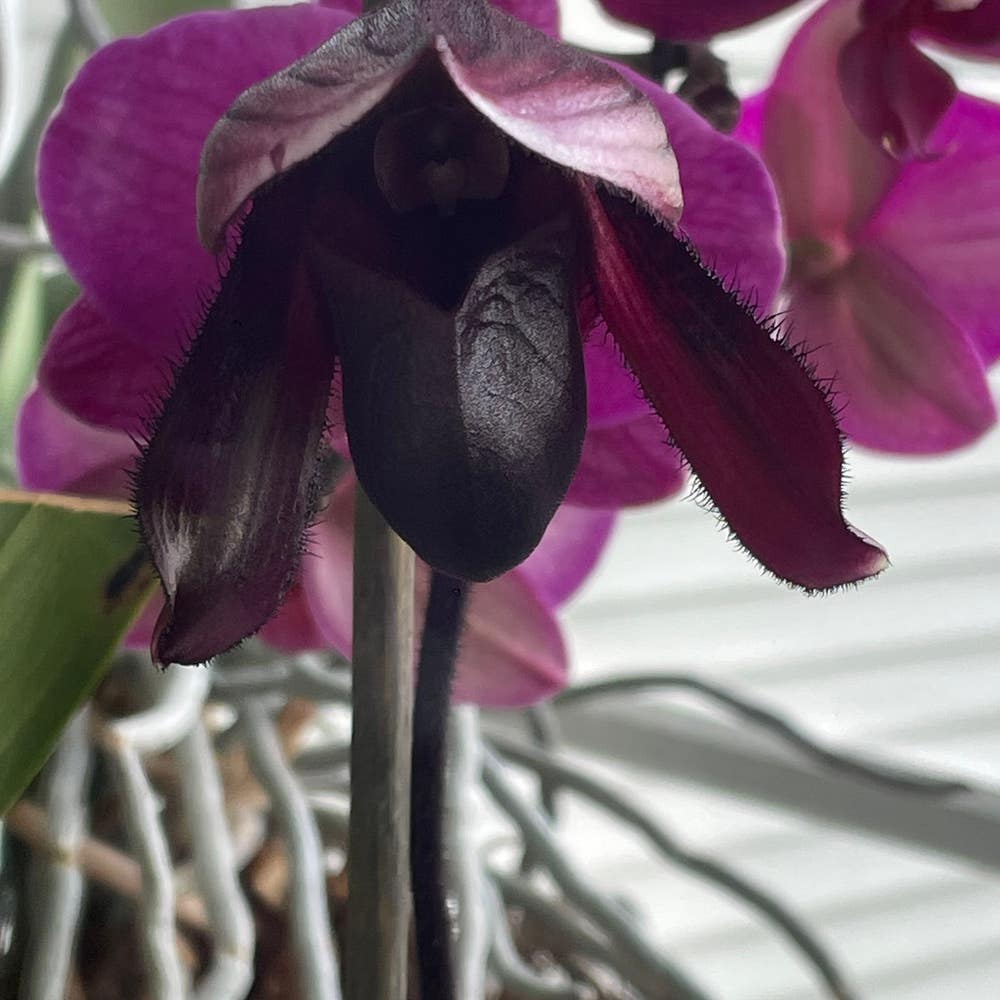
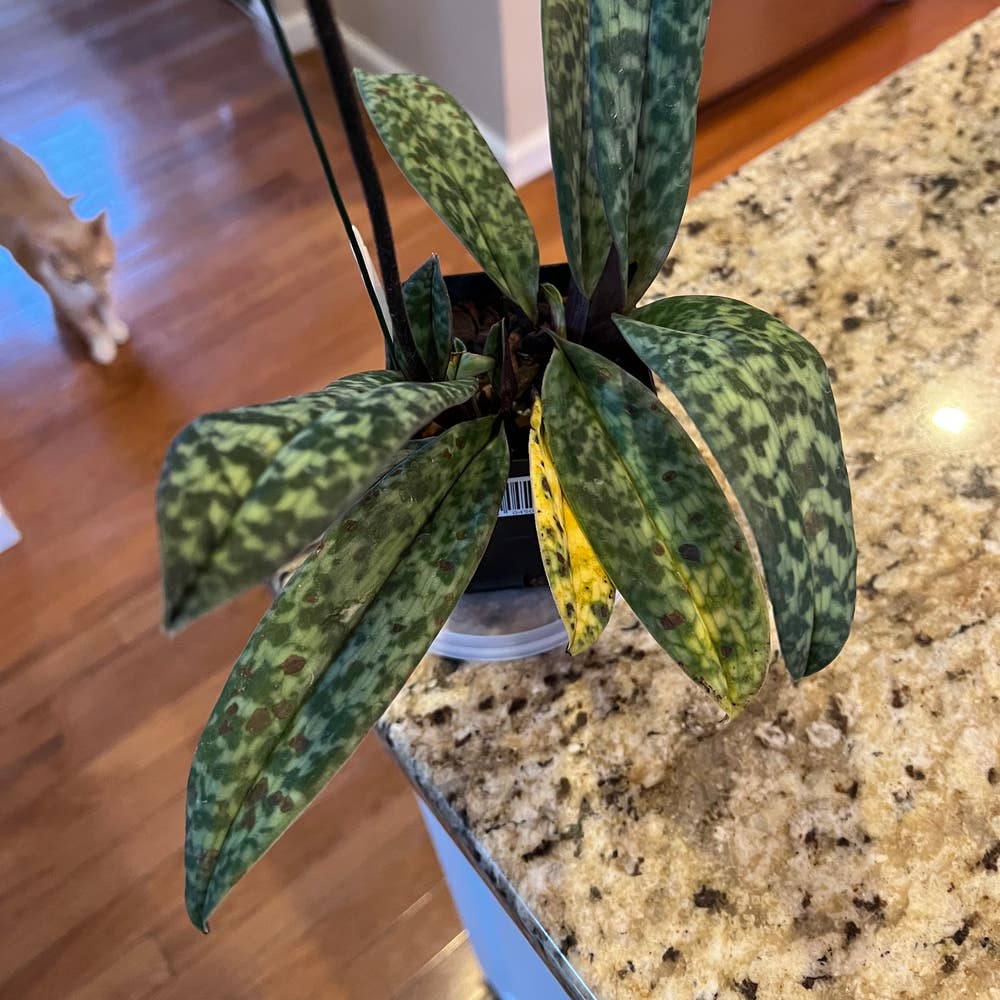
🌸 Best Practices for Planting Callous Paphiopedilum
Paphiopedilum callosum
By the Greg Editorial Team
Sep 29, 2024•5 min read
This article was created with the help of AI so we can cover more plants for you. May contain errors. See one? Report it here.
Cultivate stunning Callous Paphiopedilum orchids 🌱 with expert planting and transplanting tips for vibrant blooms!
- 🌱 Spring is ideal for planting Callous Paphiopedilum, aligning with their growth cycle.
- 🌞 Avoid extreme temperatures to ensure a smooth start for your orchids.
- 🌿 Use a well-draining soil mix of bark, perlite, and sphagnum moss for success.
Planting New Callous Paphiopedilum
🌱 Optimal Timing for Planting
Spring is the ideal time to plant your Callous Paphiopedilum. This season aligns perfectly with the start of their growth cycle, ensuring your orchids have the best chance to thrive.
Consider your local climate conditions as well. Avoid planting during extreme temperatures to give your orchids a smooth start.
🪴 Selecting the Right Soil Mix and Containers
For a successful planting, use a soil mix that combines bark, perlite, and sphagnum moss. This blend provides the necessary drainage and aeration that orchids crave.
When selecting containers, always opt for pots with drainage holes. Choose a size that allows for growth but isn’t excessively large, as this can lead to water retention issues.
📏 Proper Depth and Spacing for Planting
Ensure that the crown of the plant is level with the soil surface when planting. This positioning is crucial for healthy growth.
Maintain a minimum spacing of 6-12 inches between plants. Always consider the mature size of your specific variety to avoid overcrowding.
🌞 Maintaining Ideal Growing Conditions
Bright, indirect light is essential for your Callous Paphiopedilum. Too much direct sunlight can scorch the leaves, while too little can stunt growth.
Temperature control is also vital. Aim to maintain consistent warmth to create an ideal environment for your orchids.
Humidity management plays a key role as well. Utilize humidity trays or misting to keep the air moist, mimicking their natural habitat.
🌳 Hardening Off Process Before Outdoor Planting
Before moving your orchids outdoors, gradually acclimatize them over 1-2 weeks. This process helps them adjust to new conditions without shock.
Keep an eye out for signs of stress, such as wilting or leaf burn. Addressing these issues early can prevent long-term damage.
Transitioning to the next section, understanding how to transplant established Callous Paphiopedilum will further enhance your gardening skills.
Transplanting Established Callous Paphiopedilum
🌱 Optimal Timing for Transplanting
Transplanting your Callous Paphiopedilum is best done in early spring. This timing aligns with the plant's active growth phase, ensuring a smoother transition.
Avoid transplanting during flowering or extreme weather conditions. This helps minimize stress on the plant and promotes healthier growth.
🛠️ Step-by-Step Instructions for Transplanting
Removing the Plant from Its Current Location
- Water the plant a day before to ease removal. This helps to soften the soil and reduce root damage.
- Gently loosen the soil around the roots. Take your time to avoid breaking any delicate roots.
- Carefully lift the plant, ensuring you don’t damage the roots. A gentle touch goes a long way in preserving the plant's health.
Preparing the New Planting Site
- Choose a location with appropriate light and humidity. This is crucial for the plant's successful establishment.
- Prepare the soil mix as per planting guidelines. A well-draining mix will support healthy root growth.
- Dig a hole that accommodates the root ball comfortably. The hole should be deep enough to allow for natural root expansion.
Ensuring Proper Placement and Spacing
- Position the plant at the same depth as in the original pot. This helps maintain stability and encourages growth.
- Space according to variety size and growth habits. Adequate spacing prevents overcrowding and promotes airflow.
💧 Tips for Watering, Mulching, and Providing Support
Water your newly transplanted orchids lightly to settle the soil. After that, maintain consistent moisture without overwatering.
Mulching with orchid bark helps retain moisture and suppress weeds. This simple step can make a significant difference in your plant's health.
If your variety is taller, consider using stakes for support. This will help keep the plant upright and stable as it grows.
Transplanting can be a rewarding experience, setting the stage for vibrant blooms. Next, let’s explore the benefits and drawbacks of planting versus transplanting.
Benefits and Drawbacks of Planting vs. Transplanting
💰 Cost Considerations
When it comes to costs, planting new Callous Paphiopedilum can be a bit of an investment. You'll need to purchase seeds or seedlings, which can add up.
On the flip side, transplanting established plants is often more budget-friendly. You can utilize what you already have, saving money while still expanding your collection.
⏳ Time to Maturity
New plants take their sweet time to establish and bloom. You might find yourself waiting longer for that first beautiful flower.
Transplanting, however, offers a quicker return. Established plants can bloom sooner, giving you that instant gratification many gardeners crave.
🌱 Adaptability to Local Growing Conditions
New plants often need time to acclimatize to their new environment. This can be a delicate process, requiring patience and care.
In contrast, transplanted orchids usually adapt more quickly. Their established roots and habits make them more resilient to local conditions, allowing them to thrive sooner.
Understanding these factors can help you make informed decisions about whether to plant new or transplant existing Callous Paphiopedilum. Next, let’s dive into troubleshooting common issues you might encounter along the way.
Troubleshooting Common Issues
🧐 Identifying and Addressing Transplant Shock
Transplant shock can be a common hurdle for your Callous Paphiopedilum. Look out for symptoms like wilting, yellowing leaves, and stunted growth.
To combat these issues, ensure you're watering properly and keeping the plant out of direct sunlight. This will help it recover and adapt to its new environment.
🔧 Solutions for Establishment Problems
Sometimes, newly planted orchids face establishment problems. Signs of this include root rot and leaf drop, which can be alarming.
If you notice these issues, adjust your watering practices and improve soil drainage. This will create a healthier environment for your plant to thrive.
🌱 General Care Tips for Newly Planted or Transplanted Orchids
Keeping an eye on humidity and temperature is crucial for your orchids' success. Regular monitoring will help you catch any potential issues early.
Avoid fertilizing immediately after planting or transplanting, as this can stress the plant further. Additionally, make it a habit to check for pests and diseases regularly to ensure your orchids remain healthy and vibrant.
With these tips in mind, you can confidently care for your Callous Paphiopedilum, setting the stage for a flourishing growth journey. Next, let’s explore the benefits and drawbacks of planting versus transplanting.
⚠️ Safety First
This content is for general information and may contain errors, omissions, or outdated details. It is not medical, veterinary advice, or an endorsement of therapeutic claims.
Always consult a qualified healthcare professional before using any plant as food, medicine, or supplement.
Never eat any plant (or feed one to pets) without confirming its identity with at least two trusted sources.
If you suspect poisoning, call Poison Control (800) 222-1222, the Pet Poison Helpline (800) 213-6680, or your local emergency service immediately.
Spotted an error? Please report it here.
Plant your Callous Paphiopedilum with confidence 🌱—Greg's tailored care tips and reminders will help you create the perfect environment for stunning blooms!