🌸 8 Secrets to Successfully Grow Gloxinia
Sinningia speciosa
By the Greg Editorial Team
Nov 23, 2024•8 min read
This article was created with the help of AI so we can cover more plants for you. May contain errors. See one? Report it here.
Unlock vibrant gloxinia blooms 🌸 in your garden by mastering essential care techniques for thriving plants! 🌱
- 🌞 Gloxinia thrives in bright, indirect sunlight; avoid harsh afternoon sun for best growth.
- 🌡️ Maintain temperatures between 20°C and 25°C for optimal gloxinia health and blooms.
- 💧 Water when the top inch of soil is dry to prevent overwatering and root rot.
Choosing the Right Location
Indoor vs Outdoor Growing 🌱
When it comes to growing gloxinia, the location is crucial. For indoor care, place your plants near bright, indirect sunlight to ensure they thrive.
Temperature is another key factor. Aim to maintain a cozy range of 20°C to 25°C (68°F to 77°F) for optimal growth.
Outdoor Growing 🌞
If you prefer outdoor gardening, select partially shaded areas. This protects your gloxinia from the harsh afternoon sun, which can be detrimental.
Additionally, consider the climate. Gloxinia flourishes in warm, humid environments, making these conditions ideal for outdoor growth.
Choosing the right location sets the foundation for healthy gloxinia plants. Next, let’s dive into the essential soil preparation needed for their success.
Soil Preparation
🌱 Soil Requirements
To grow healthy gloxinia, start with a well-draining soil composition. A recommended mix is 50% potting soil, 30% perlite, and 20% peat moss, which ensures moisture retention without the risk of waterlogging.
This balance is crucial for gloxinia's root health, allowing them to thrive without drowning. The right soil mix not only supports growth but also helps prevent common issues like root rot.
⚗️ Soil pH
Next, pay attention to the soil pH, which should ideally range from 6.0 to 6.5. This slightly acidic environment promotes nutrient availability, essential for vibrant blooms.
To ensure your soil is within this optimal range, use a soil test kit for accurate readings. Regular testing can help you make necessary adjustments, keeping your gloxinia flourishing.
With the right soil preparation in place, you're well on your way to nurturing beautiful gloxinia plants. Next, let’s explore the best planting techniques to set your flowers up for success.
Planting Techniques
Planting from Bulbs 🌱
When planting gloxinia from bulbs, start by selecting healthy bulbs. Look for firm, plump bulbs without any blemishes, as these are more likely to thrive.
Next, consider the planting depth. Aim to plant the bulbs 1-2 inches deep in the soil. For outdoor planting, ensure you space them 6-12 inches apart to allow for proper growth and airflow.
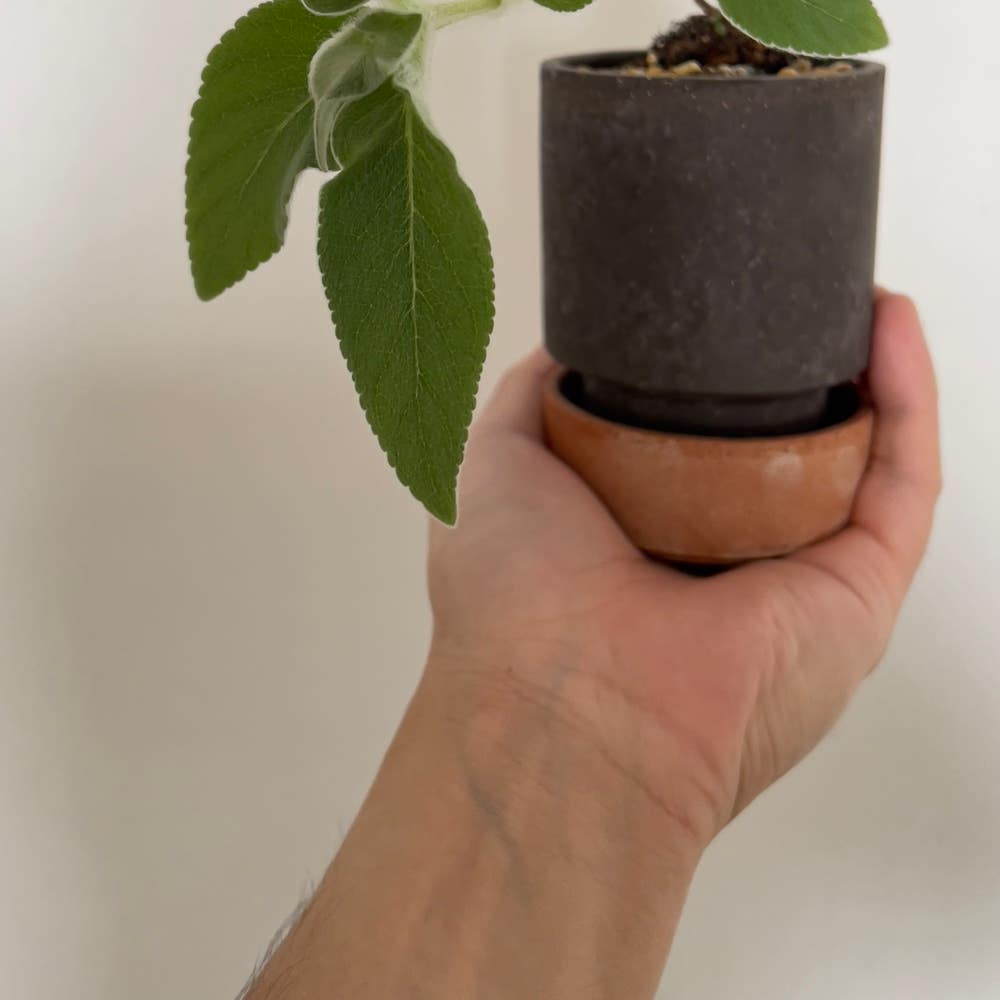
Container Planting 🪴
If you prefer container planting, choosing the right pot is crucial. Make sure the pot has drainage holes to prevent water from accumulating at the bottom.
For pot size, a minimum diameter of 6 inches is recommended for single plants. After planting, give the soil a light initial watering to help settle it around the bulbs.
With these planting techniques, you're setting the stage for your gloxinia to flourish. Next, let's explore the watering needs and frequency to keep your plants healthy and vibrant.
Watering Needs and Frequency
💧 Watering Guidelines
Gloxinia thrives on a consistent watering routine. Water your plants when the top inch of soil feels dry; this ensures they receive the moisture they need without becoming waterlogged.
To keep your Gloxinia healthy, water at the base of the plant. This technique helps prevent wetting the leaves, which can lead to fungal issues.
🚰 Signs of Overwatering and Underwatering
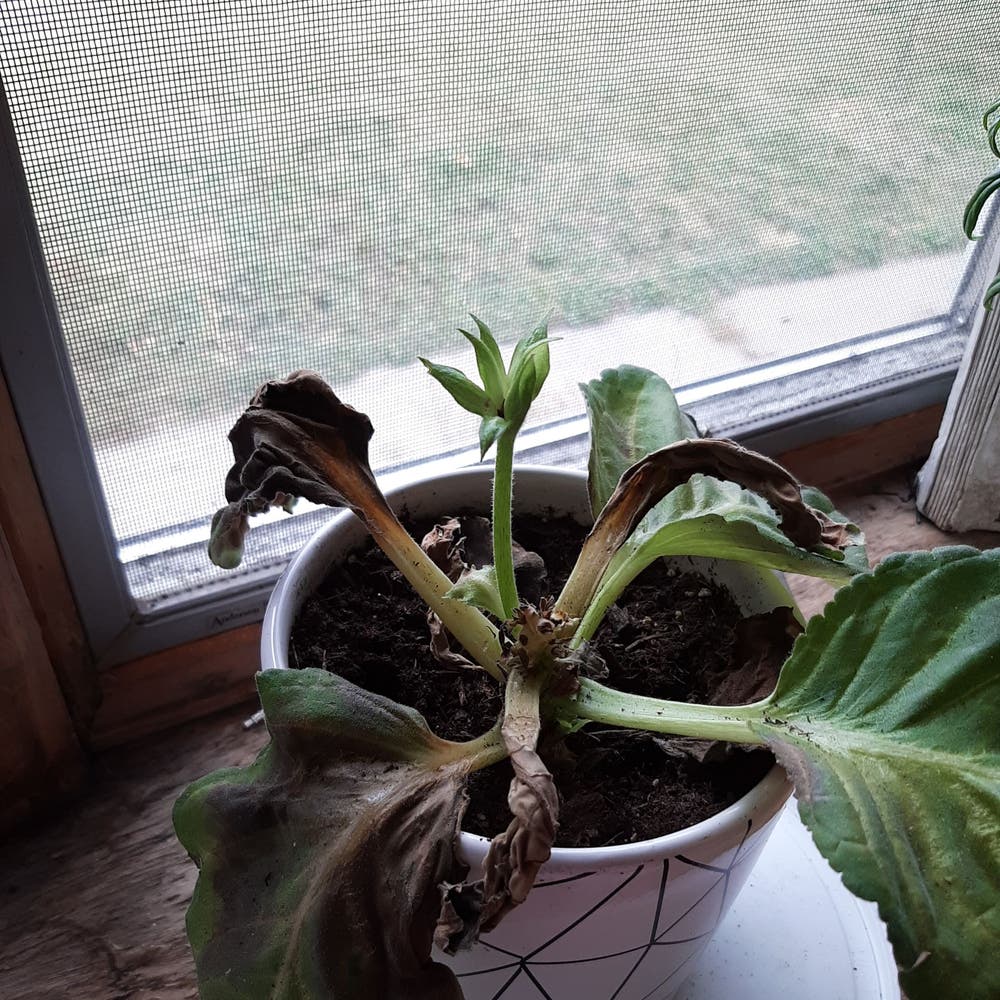
It's crucial to recognize the signs of overwatering and underwatering. Overwatering often manifests as yellowing leaves and mushy bulbs, indicating that the roots are drowning.
On the flip side, underwatering leads to wilting leaves and dry soil. If you notice these symptoms, adjust your watering habits accordingly to restore your plant's vitality.
Understanding these watering needs will set you on the right path to nurturing your Gloxinia. Next, let’s explore the essential fertilizing schedule and types to keep your plants thriving.
Fertilizing Schedule and Types
🌱 Fertilizing Tips
To keep your gloxinia thriving, use a balanced, water-soluble fertilizer like 20-20-20. This nutrient-rich option supports healthy growth and vibrant blooms.
Fertilize every 4-6 weeks during the growing season. This regular feeding helps your plants absorb essential nutrients, promoting lush foliage and stunning flowers.
✂️ Adjusting Fertilization
As gloxinia enters dormancy, it's crucial to adjust your fertilization routine. Cut back to fertilizing once every 8-10 weeks to prevent nutrient buildup when the plant is less active.
This simple adjustment ensures your gloxinia remains healthy without overwhelming it during its resting phase. With the right care, your plants will be ready to burst back to life when the growing season returns.
Now that you have a solid understanding of fertilizing, let’s explore effective pruning techniques to keep your gloxinia in top shape.
Pruning Techniques
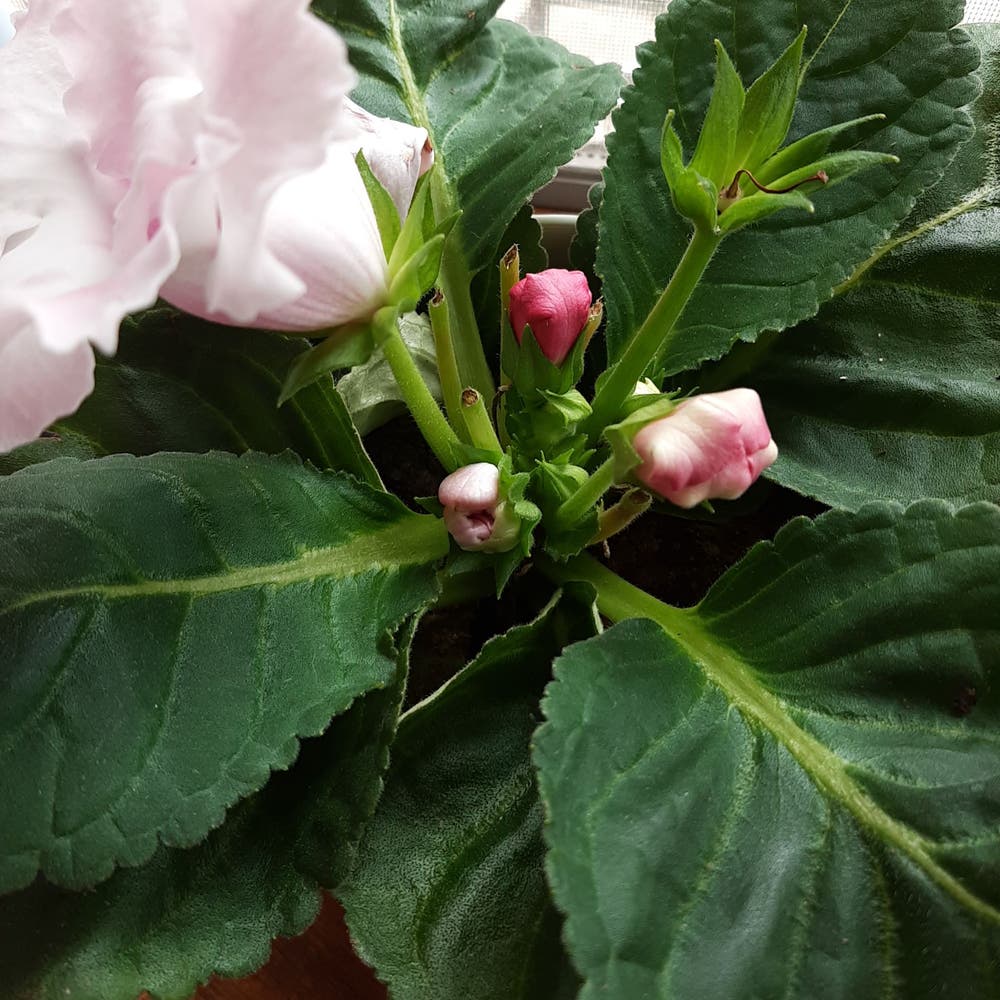
When to Prune 🌸
Pruning your gloxinia is essential for maintaining its health and encouraging vibrant blooms. The best time to prune is right after flowering and just before the plant enters dormancy.
Pruning Methods ✂️
Removing Dead or Yellowing Leaves: Use clean, sharp scissors to snip away any dead or yellowing foliage. This not only improves the plant's appearance but also prevents potential diseases.
Pinching Back Spent Flowers: After blooms fade, pinch them back to promote new growth and encourage more flowers. This simple act can rejuvenate your gloxinia, making it more lush and vibrant.
By following these pruning techniques, you can ensure your gloxinia remains healthy and continues to flourish. Now that you’ve mastered pruning, let’s explore the ongoing care routine to keep your plant thriving.
Ongoing Care Routine
Maintenance Practices 🛠️
Regular inspection of your gloxinia plants is crucial. Keep an eye out for pests and diseases that can hinder their growth.
Adjust your watering and fertilizing based on the growth stage of your plants. This ensures they receive the right nutrients and moisture at the right time.
Dormancy Care 💤
During dormancy, it's important to reduce watering. Allow the soil to dry out slightly to prevent bulb rot.
If you're overwintering bulbs, store them in a cool, dark place. This helps maintain their health until the next growing season.
With proper ongoing care, your gloxinia will thrive and reward you with stunning blooms. Next, let’s explore how to identify and solve common problems that may arise during their growth.
Identifying and Solving Common Problems
🌱 Common Problems
Gloxinia plants can face a few common issues that every grower should be aware of.
Leaf Yellowing
If you notice your gloxinia's leaves turning yellow, it could be due to overwatering or a nutrient deficiency.
- Overwatering: This often leads to soggy soil, which can suffocate the roots. Ensure you let the top inch of soil dry out before watering again.
- Nutrient Deficiency: A lack of essential nutrients can also cause yellowing. Regular fertilization during the growing season can help prevent this issue.
Wilting
Wilting leaves are another sign that something is off with your gloxinia.
- Underwatering: If the soil feels dry and the leaves are drooping, it’s time to give your plant a drink.
- Root Rot: Conversely, if the roots are sitting in waterlogged soil, they may start to rot. Check the roots and adjust your watering routine accordingly.
🐛 Managing Pests and Diseases
Keeping an eye out for pests and diseases is crucial for maintaining healthy gloxinia plants.
Common Pests
Two pests that often target gloxinia are aphids and spider mites.
- Aphids: These tiny insects can cluster on the undersides of leaves, sucking sap and causing distortion. Control them by spraying with insecticidal soap or neem oil.
- Spider Mites: Look for fine webbing on your plants. If you spot them, increase humidity around the plant and treat with miticides or insecticidal soap.
Common Diseases
Gloxinia can also suffer from diseases like root rot and powdery mildew.
- Root Rot: This occurs when the roots are consistently overwatered. To prevent it, ensure your pot has good drainage and allow the soil to dry out between waterings.
- Powdery Mildew: This fungal disease appears as white spots on leaves. Improve air circulation and avoid overhead watering to manage it effectively.
By staying vigilant and addressing these common problems promptly, you can ensure your gloxinia thrives. With the right care, your plants will reward you with stunning blooms and vibrant foliage.
Next, let’s explore how to propagate your gloxinia for even more beautiful plants!
How to Propagate
🌱 Propagation Techniques
Propagating gloxinia can be a rewarding experience, allowing you to expand your collection or share with friends. There are two primary methods: leaf cuttings and bulb division.
Leaf Cuttings
To start with leaf cuttings, select healthy leaves from your gloxinia plant. Look for vibrant, firm leaves without any signs of damage or disease.
Once you've chosen your leaves, prepare them for rooting. Cut the leaf into sections, ensuring each piece has a vein running through it, as this will aid in rooting.
Bulb Division
Bulb division is another effective propagation method. This technique is best done when the plant is actively growing.
Carefully dig up the bulbs and separate them, ensuring each division has roots attached. This method allows for the creation of new plants that are genetically identical to the parent.
⏰ Timing for Propagation
Timing is crucial for successful propagation. The best time to propagate gloxinia is early spring, just before the growing season begins.
This timing ensures that your new plants will have the best chance to thrive as they enter their active growth phase. By starting early, you set the stage for a flourishing garden filled with beautiful gloxinia blooms.
With these propagation techniques in hand, you're well on your way to expanding your gloxinia collection. Next, let's explore the ongoing care routine necessary to keep your plants healthy and vibrant.
⚠️ Safety First
This content is for general information and may contain errors, omissions, or outdated details. It is not medical, veterinary advice, or an endorsement of therapeutic claims.
Always consult a qualified healthcare professional before using any plant as food, medicine, or supplement.
Never eat any plant (or feed one to pets) without confirming its identity with at least two trusted sources.
If you suspect poisoning, call Poison Control (800) 222-1222, the Pet Poison Helpline (800) 213-6680, or your local emergency service immediately.
Spotted an error? Please report it here.
Unlock stunning gloxinia blooms 🌸 by mastering these 8 secrets and let Greg guide you with tailored care reminders for thriving plants!