Choosing the Best Pot for Your Gloxinia 🌸
Sinningia speciosa
By the Greg Editorial Team
Nov 23, 2024•6 min read
This article was created with the help of AI so we can cover more plants for you. May contain errors. See one? Report it here.
Unlock your Gloxinia's full potential with the right potting techniques for vibrant blooms! 🌼
- 🌱 Use 3-4 inch pots for seedlings; upgrade as they grow for optimal health.
- 🏺 Choose pot materials wisely: clay for breathability, plastic for moisture retention.
- 🚫 Signs of needing a larger pot: root emergence, stunted growth, quick-drying soil.
Pot Sizes for Different Growth Stages
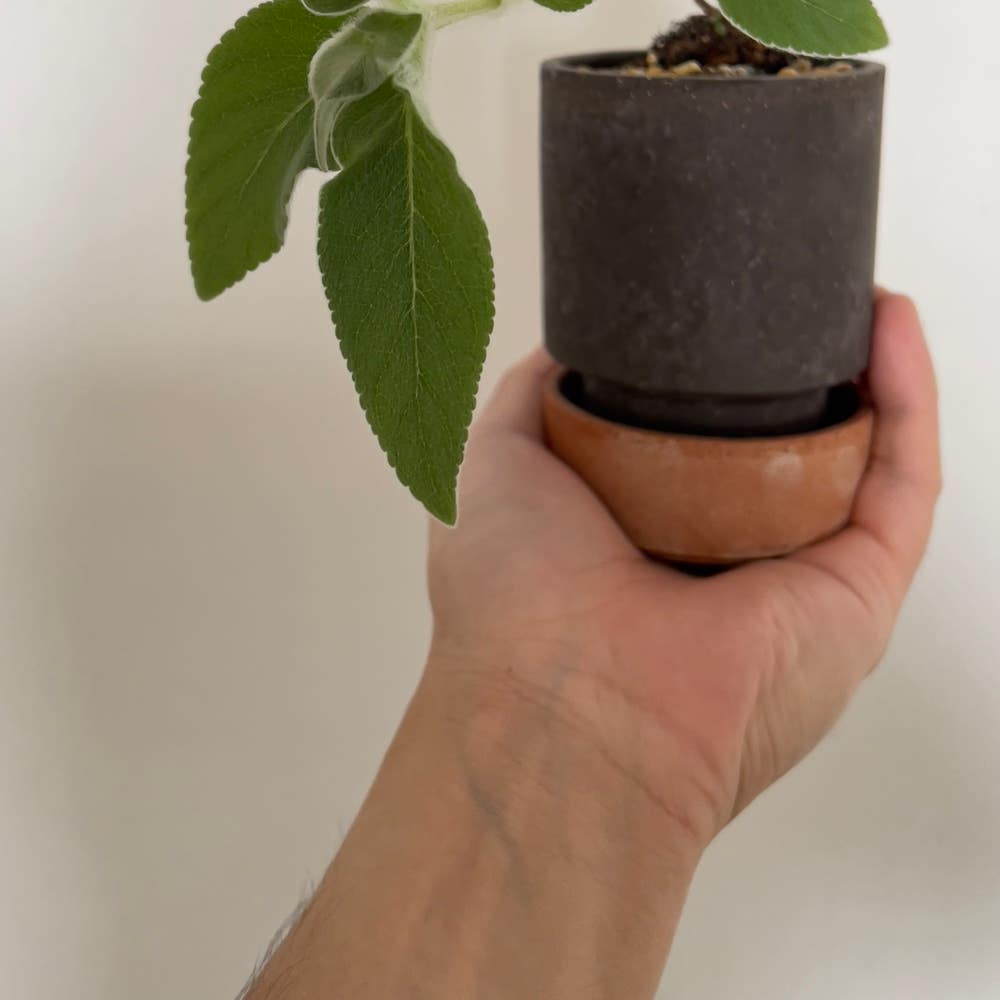
Recommended Pot Sizes for Seedlings 🌱
For your Gloxinia seedlings, the ideal container size is between 3 to 4 inches in diameter. Smaller pots are crucial as they encourage root establishment and help prevent overwatering, which can be detrimental to young plants.
Timing is also key when potting your seedlings. It's best to transfer them to their new pots once they have developed 2 to 3 sets of true leaves, signaling that they are ready for more space.
Pot Size for Mature Plants 🌼
As your Gloxinia matures, you'll want to upgrade to a pot size of 6 to 8 inches in diameter. This larger size accommodates tuber growth and prevents overcrowding, allowing your plant to thrive.
A good rule of thumb is to choose a pot that is 1 to 2 inches larger in diameter than the current pot. This ensures your Gloxinia has enough room to grow without feeling cramped.
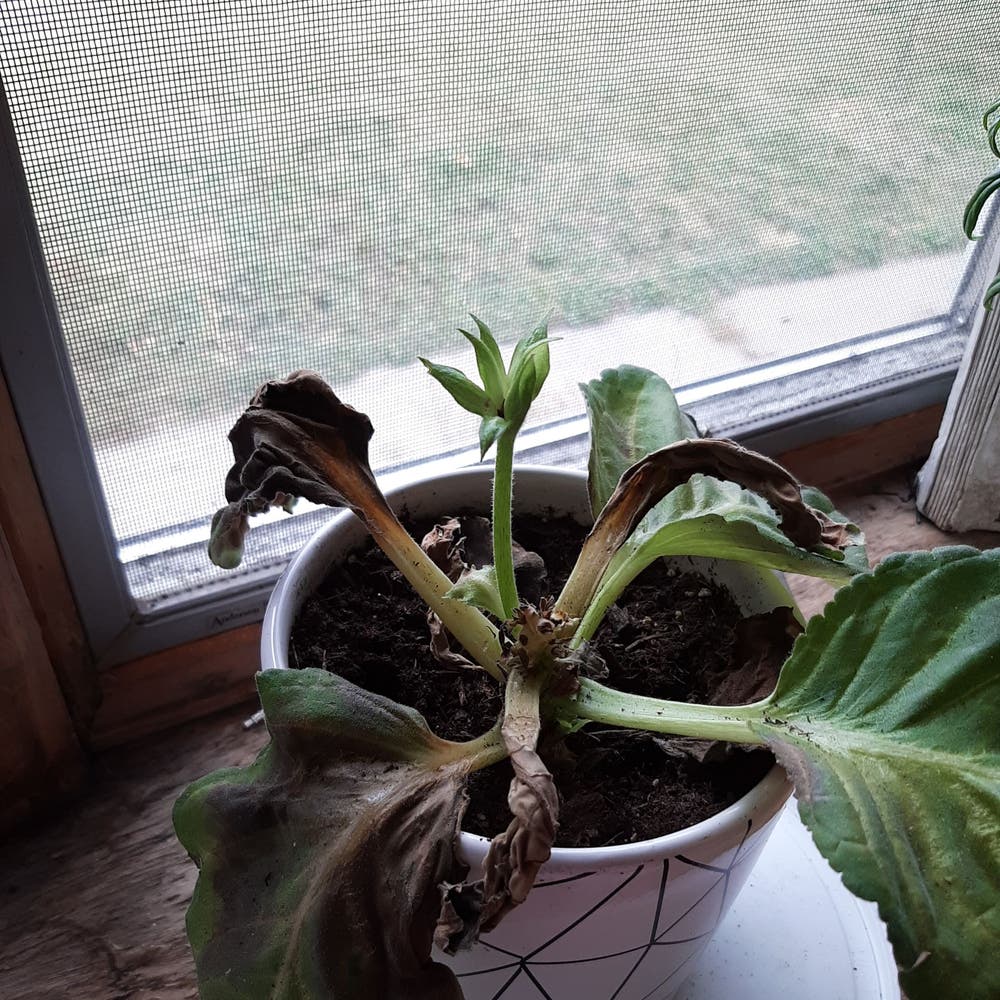
Signs That Indicate a Need for a Larger Pot 🚪
Keep an eye out for several signs that your Gloxinia may need a larger pot. One clear indicator is root emergence, where you can see roots poking through the drainage holes.
Other signs include stunted growth, such as a lack of new leaves or flowers, and soil that dries out too quickly, leading to a frequent need for watering. Recognizing these signs early can help you maintain a healthy, vibrant plant.
With a solid understanding of pot sizes for different growth stages, you're well on your way to nurturing your Gloxinia. Next, let's explore the various pot materials that can impact your plant's health and growth.
Pot Materials
🌱 Comparison of Clay vs. Plastic Pots
When it comes to choosing the right pot for your Gloxinia, the material plays a crucial role.
Clay Pots
Clay pots are known for their breathability, allowing air to circulate around the roots. However, they are heavier and can dry out faster, which may require more frequent watering.
Plastic Pots
On the other hand, plastic pots are lightweight and retain moisture longer, making them easier to handle. The downside is that they are less breathable, which can lead to root rot if drainage isn't managed properly.
⚖️ Pros and Cons of Different Pot Materials
Choosing the right pot material involves weighing various options.
Ceramic Pots
Ceramic pots offer aesthetic appeal, adding a touch of elegance to your plant display. Yet, they can be heavy and often come with a higher price tag.
Biodegradable Pots
Biodegradable pots are an eco-friendly choice, perfect for those looking to reduce their environmental impact. However, they may not withstand humid conditions for long.
Metal Pots
Metal pots can be visually striking, but they heat up quickly, which can negatively affect root health. Consider this when selecting a pot for your Gloxinia.
💧 How Material Affects Moisture Retention and Drainage
The choice between clay and plastic significantly impacts moisture retention and drainage.
Moisture Retention
Clay pots absorb moisture, which can be beneficial for plants that prefer drier conditions. In contrast, plastic pots retain moisture, making them suitable for plants that require consistent watering.
Watering Frequency
Your watering habits should guide your choice of pot material. If you tend to forget to water, a plastic pot might be your best bet, while clay could suit those who prefer a more hands-on approach to plant care.
Understanding these pot materials will help you create the ideal environment for your Gloxinia. Next, let’s explore the importance of drainage in ensuring your plant thrives.
Importance of Drainage
🌊 Role of Drainage Holes in Preventing Root Rot
Root rot is a common issue for Gloxinia plants, primarily caused by excess moisture and poor drainage. To combat this, having multiple drainage holes in your pot is crucial, as it allows excess water to escape, keeping the roots healthy.
🛠️ How to Ensure Proper Drainage in Pots
To maintain optimal drainage, follow these steps:
- Choose pots with adequate drainage holes: Ensure your pot has enough holes to allow water to flow freely.
- Use a well-draining potting mix: Opt for a peat-based mix that includes perlite for better aeration.
- Consider adding a layer of gravel or stones: Placing this at the bottom of the pot can further enhance drainage.
🚨 Signs of Poor Drainage in Pots
Recognizing the signs of poor drainage is essential for your Gloxinia's health. Watch for these indicators:
- Yellowing leaves: This often signals overwatering or root issues.
- Wilting despite adequate watering: If your plant wilts even after watering, it may indicate root rot or compacted soil.
- Foul odor from the soil: A bad smell can be a telltale sign of decaying roots.
By ensuring proper drainage, you can significantly reduce the risk of root rot and promote a thriving Gloxinia. Next, let's explore the process of repotting your Gloxinia to ensure it continues to flourish.
Repotting Gloxinia
🕒 When to Repot
Repotting your Gloxinia is essential for its health and growth. Aim to repot every 1-2 years or whenever you notice signs of pot-bound roots, such as roots circling the pot.
The best time to repot is early spring, just before the growing season kicks off. This timing allows your plant to settle into its new home while it’s gearing up for growth.
🛠️ Step-by-Step Guide to Repotting
Repotting doesn’t have to be daunting. Follow these simple steps for a smooth transition:
- Prepare the new pot: Make sure it has drainage holes and is clean to prevent any contamination.
- Remove the plant: Gently loosen the soil around the edges and lift the Gloxinia from its old pot.
- Inspect the roots: Look for any dead or rotting roots and trim them with sterilized scissors.
- Place in new pot: Position the plant at the same soil level as it was in the old pot.
- Fill with fresh potting mix: Firmly pack the soil around the roots to eliminate air pockets.
- Water thoroughly: Give it a good drink, ensuring the soil is moist but not soggy.
🪴 Choosing the Right Pot During Repotting
Selecting the right pot is crucial for your Gloxinia's future growth. Consider the growth stage of your plant; choose a pot size that allows for expansion.
Match the pot material to your watering habits. If you tend to water frequently, opt for materials that retain moisture well. Lastly, ensure the new pot has sufficient drainage features to prevent root rot, keeping your Gloxinia thriving.
With these steps, your Gloxinia will be well on its way to flourishing in its new pot. Next, let’s explore the importance of drainage to keep your plant healthy and happy.
⚠️ Safety First
This content is for general information and may contain errors, omissions, or outdated details. It is not medical, veterinary advice, or an endorsement of therapeutic claims.
Always consult a qualified healthcare professional before using any plant as food, medicine, or supplement.
Never eat any plant (or feed one to pets) without confirming its identity with at least two trusted sources.
If you suspect poisoning, call Poison Control (800) 222-1222, the Pet Poison Helpline (800) 213-6680, or your local emergency service immediately.
Spotted an error? Please report it here.
Ensure your Gloxinia flourishes in the perfect pot 🌿 with Greg's tailored care tips and reminders that keep your plant thriving at every stage!