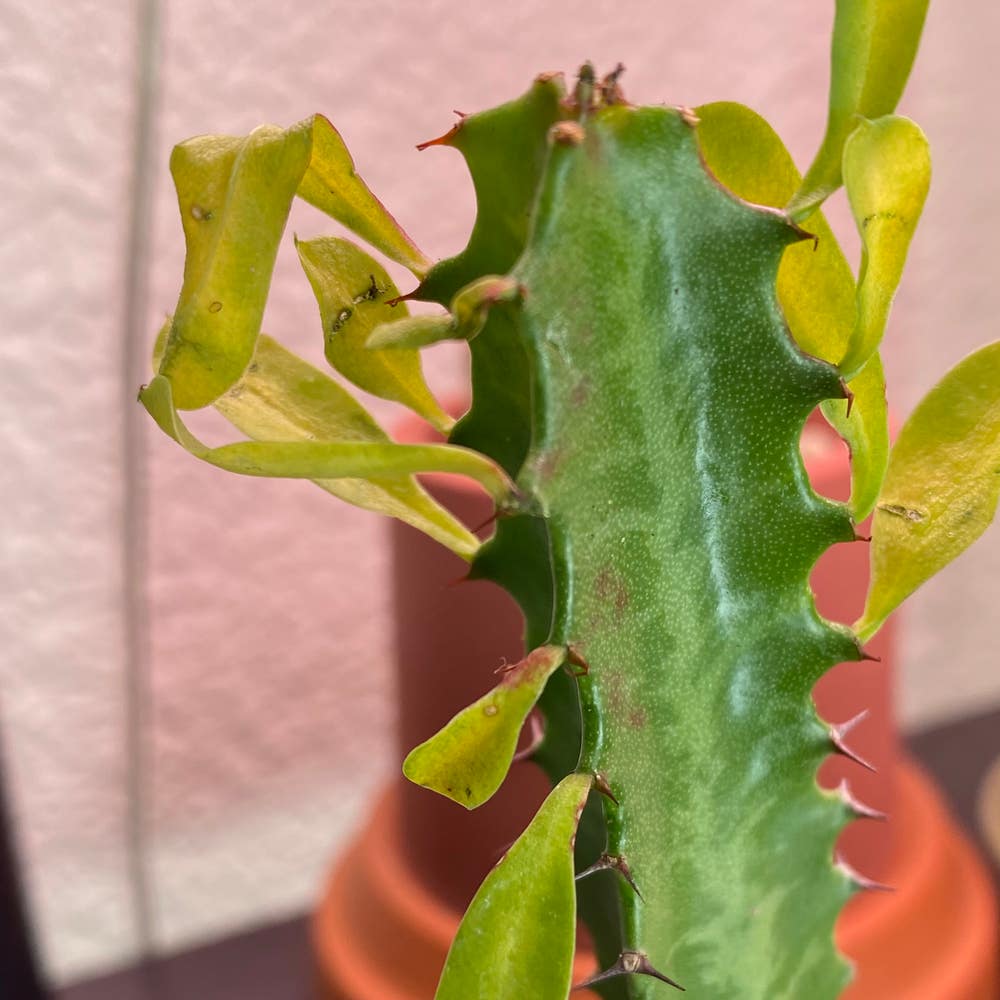
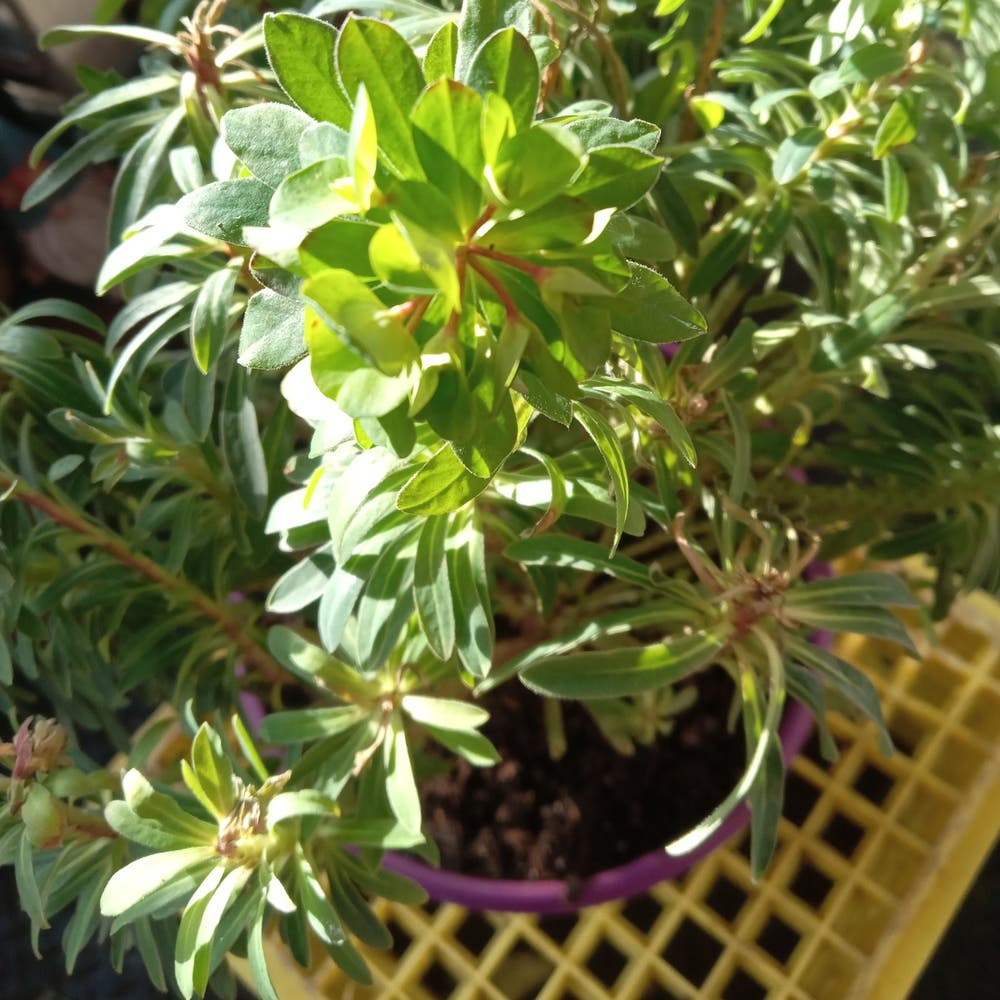
Managing Black Spots on Your Spurge Leaves
Euphorbia characias
By the Greg Editorial Team
Jan 07, 2025•6 min read
This article was created with the help of AI so we can cover more plants for you. May contain errors. See one? Report it here.
Revive your Spurge and banish black spots for good 🌿 with these essential diagnosis and treatment tips!
- 🌱 Inspect Spurge leaves regularly to identify black spots and underlying issues.
- ☀️ Ensure 6-8 hours of sunlight daily for healthy Spurge growth and fewer problems.
- 🦠 Monitor humidity and pests to prevent fungal infections and black spots on leaves.
Diagnosing Black Spots
👀 Visual Inspection Techniques
To effectively diagnose black spots on your Spurge leaves, start with a thorough visual inspection. Check both the upper and lower surfaces of the leaves for any signs of discoloration or spots.
Next, identify the pattern of these spots. Are they localized to specific areas, or are they widespread across the plant? This information can help determine the severity of the issue.
🌍 Assessing Environmental Factors
Environmental factors play a crucial role in the health of your Spurge. First, evaluate the light conditions; ensure your plant receives 6-8 hours of sunlight daily for optimal growth.
Humidity levels are another key aspect to consider. High humidity can lead to fungal issues, so monitor your plant's environment closely. Additionally, keep an eye on temperature fluctuations, as extreme temperatures can stress your Spurge and contribute to leaf problems.
🐛 Identifying Pest Infestations
Pests can be a significant factor in the development of black spots on Spurge. Common culprits include aphids, spider mites, and mealybugs, which can wreak havoc on your plant's health.
Look for signs of pest presence, such as sticky residue, webbing, or visible insects on the leaves. For a closer inspection, use a magnifying glass to identify any pests that may be hiding in plain sight.
By following these diagnostic steps, you can better understand the causes of black spots on your Spurge leaves. This knowledge will empower you to take the necessary actions to restore your plant's health and vitality.
Treating Black Spots on Spurge
🦠 Step-by-step treatment for fungal infections
When you spot black spots on your Spurge leaves, it's crucial to act quickly. Start by isolating the affected plants to prevent the spread of any potential fungal infection.
Next, remove and dispose of any severely affected leaves. This helps reduce the fungal load on the plant. After that, apply a suitable fungicide according to the label instructions. Be sure to follow the recommended dosage for the best results.
Finally, monitor your plant for any signs of reoccurrence. Adjust your care routine as needed to keep your Spurge healthy and thriving.
🌿 Recommended fungicides and natural remedies
There are several effective fungicides available for treating black spots on Spurge. Look for products specifically formulated for fungal infections, as they can provide targeted relief.
If you prefer natural remedies, neem oil and baking soda solutions are excellent alternatives. Both options can help combat fungal issues without harsh chemicals.
For maximum effectiveness, apply treatments during cooler parts of the day. This minimizes the risk of leaf burn and ensures better absorption.
✂️ How to prune affected leaves
Pruning is an essential step in managing black spots on your Spurge. Use clean, sharp tools to make precise cuts and avoid further infection.
The best time to prune is during the early morning or late afternoon. This timing allows the plant to recover more effectively from the stress of pruning.
When disposing of infected plant material, seal it in a plastic bag before throwing it away. This prevents any spores from spreading to healthy plants in your garden.
By following these steps, you can effectively treat black spots on your Spurge and promote a healthier, more vibrant plant. Next, let’s explore how to prevent these issues from arising in the first place.
Preventing Black Spots
🌱 Best practices for Spurge care
To keep your Spurge healthy and vibrant, start with the right growing conditions. Ensure your plant has well-draining soil and receives adequate sunlight, ideally 6-8 hours daily.
Regular maintenance is crucial. Monitor your plant's health frequently and address any issues promptly to prevent black spots from taking hold.
💧 Importance of proper watering techniques
Watering frequency plays a significant role in Spurge care. Generally, water your Spurge when the top inch of soil feels dry, which usually translates to once a week.
Be vigilant for signs of overwatering. Symptoms include yellowing leaves, wilting, or a mushy stem, indicating that your plant might be drowning.
To avoid these issues, ensure your pots have adequate drainage holes. This allows excess water to escape, preventing root rot and other moisture-related problems.
🌍 Soil health and its impact on leaf health
Soil composition is vital for optimal Spurge growth. Use a mix that includes peat, perlite, and compost to provide the right balance of drainage and nutrients.
Nutrient management is equally important. Regularly fertilize your Spurge with a balanced fertilizer to prevent deficiencies that can lead to black spots.
Lastly, testing soil health can help you maintain a thriving plant. Use a soil test kit to assess pH levels and nutrient content, ensuring your Spurge gets everything it needs to flourish.
By following these best practices, you can significantly reduce the risk of black spots on your Spurge leaves and promote overall plant health. Next, let’s explore seasonal considerations that can further impact your Spurge's well-being.
Seasonal Considerations
🌡️ Seasonal changes affecting Spurge health
Temperature plays a crucial role in the health of your Spurge. Extreme heat can lead to stress, causing leaves to wilt or develop black spots, while cold temperatures can hinder growth and make the plant more susceptible to diseases.
Rainfall and humidity also significantly impact Spurge. Excessive moisture can create a breeding ground for fungal infections, while low humidity may lead to dehydration, both of which can manifest as black spots on the leaves.
☀️ Adjusting care routines based on weather conditions
During summer, it's essential to adjust your care routine. Increase watering frequency to keep the soil consistently moist, and consider providing shade during the hottest parts of the day to protect your Spurge from scorching.
In winter, reduce watering as the plant's growth slows down. Protect your Spurge from frost by moving it to a sheltered location or covering it during particularly cold nights.
❄️ Preparing Spurge for winter to prevent black spots
Winterizing your Spurge is vital for its survival. Start by trimming back any dead or damaged foliage, which can harbor pests and diseases, and ensure the plant is in a well-draining pot to prevent root rot.
If your Spurge is outdoors, consider transitioning it indoors as temperatures drop. This helps maintain a stable environment, reducing the risk of cold damage and keeping those pesky black spots at bay.
⚠️ Safety First
This content is for general information and may contain errors, omissions, or outdated details. It is not medical, veterinary advice, or an endorsement of therapeutic claims.
Always consult a qualified healthcare professional before using any plant as food, medicine, or supplement.
Never eat any plant (or feed one to pets) without confirming its identity with at least two trusted sources.
If you suspect poisoning, call Poison Control (800) 222-1222, the Pet Poison Helpline (800) 213-6680, or your local emergency service immediately.
Spotted an error? Please report it here.
Keep your Spurge spotless 🌿 by using Greg for personalized care tips and watering reminders that ensure your plant stays healthy and pest-free!