Propagating Paphiopedilum sukhakulii: The Ultimate Guide
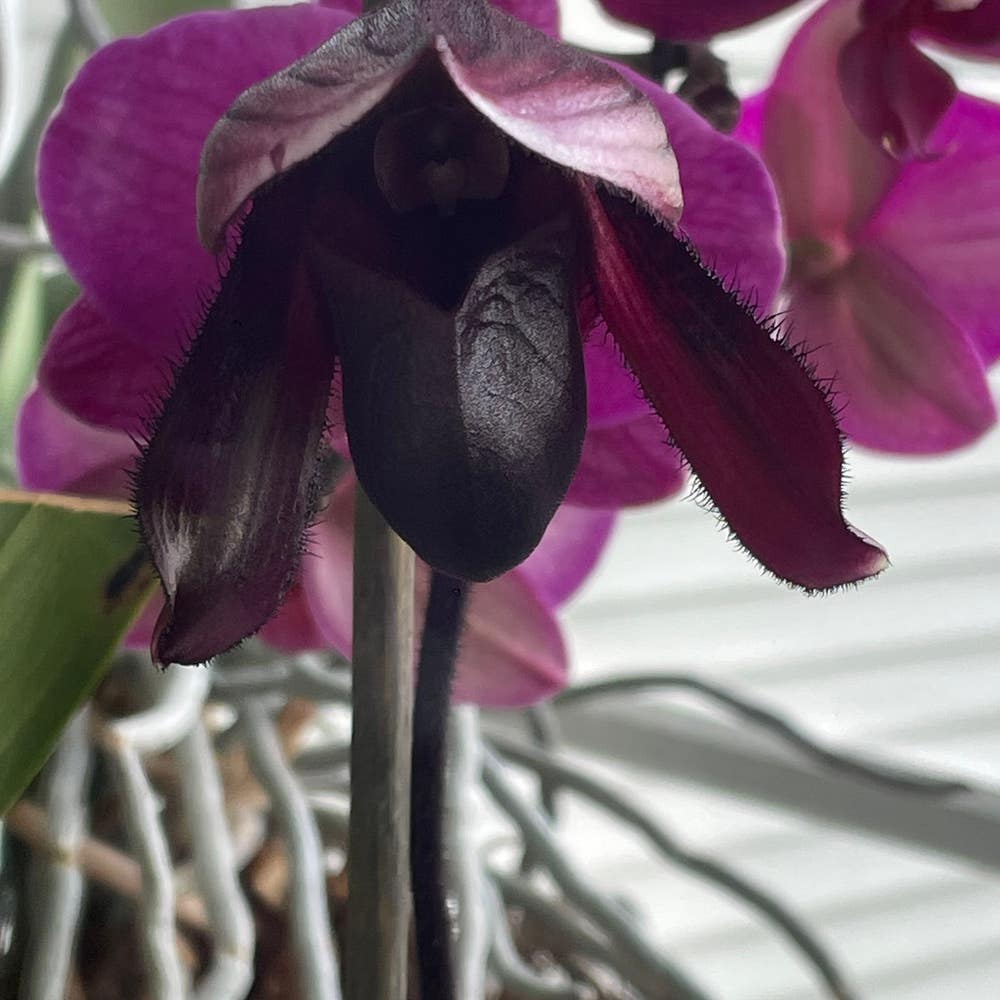
Paphiopedilum sukhakulii
By the Greg Editorial Team
Apr 16, 2024•4 min read
This article was created with the help of AI so we can cover more plants for you. May contain errors. See one? Report it here.
Propagate rare Paphiopedilum sukhakulii orchids 🌸 like a pro with this definitive, easy-to-follow guide!
- Spring is best for dividing orchids, ensuring each piece has roots and a growth point.
- Seed sowing requires sterile medium, steady temperature, and high humidity.
- Tissue culture offers a high-tech option, with focus on sterility and environment control.
Getting Started with Division
🌱 When and How to Divide
Identifying the optimal time for division is crucial. Spring, when your Paphiopedilum sukhakulii is kicking into its growth cycle, is ideal. However, if you notice your orchid is too crowded, it's okay to divide at other times with extra care.
🛠 Preparing to Divide
- Ensure you have sterile tools—a sharp knife or scissors are essential.
- Carefully remove the orchid from its pot and gently clean the roots.
- Inspect the plant and identify natural divisions, looking for multiple growth points.
- With precision, separate the sections, ensuring each has adequate roots and at least one growth point.
🌿 Post-Division Care
After division, your orchids need a supportive environment to thrive.
🌱 Ensuring Successful Growth
- Plant each division in fresh potting mix, mimicking the depth it was previously growing at.
- Maintain consistent moisture but avoid waterlogging to prevent root rot.
- Position the divisions in bright, indirect light and look out for new growth, a sign they're settling in.
🐛 Troubleshooting Division Issues
Dividing orchids can sometimes lead to unexpected challenges.
🚨 Common Problems and Solutions
- If a division seems sluggish, verify the potting mix isn't too dense or damp.
- Watch for signs of stress, like yellowing leaves, and adjust care as needed.
- In case of pest issues or disease, treat promptly with insecticidal soap or neem oil.
Remember, patience is key. Your Paphiopedilum sukhakulii divisions may take time to show vigorous growth, but with attentive care, they will eventually flourish.
Sowing the Seeds of Success
🌱 Collecting and Sowing Seeds
Harvesting Paphiopedilum sukhakulii seeds requires a keen eye and perfect timing. As the seed pods swell, it's your cue to act fast—before they burst. Sterility is key; any contamination can ruin your efforts. To wake the seeds from dormancy, some growers recommend a brief soak—check if this trick suits your Paph.
🌱 The Sowing Process
- Collect ripe seeds from the pod with care.
- Prepare a sterile growing medium—peat or sphagnum moss works well.
- Sow the seeds on the surface; they need light to germinate.
- Moisten the medium with a fine mist to settle the seeds without burying them.
🌱 Creating the Perfect Germination Environment
Your seeds now need a cozy spot to sprout. Aim for a steady temperature between 15-25°C and maintain high humidity. A mini greenhouse effect can be achieved by covering the seed container with clear plastic or glass. However, ensure there's some airflow to prevent mold growth.
🌱 Germination Conditions
- Warmth: A heat mat can provide consistent bottom heat.
- Humidity: Keep the air moist, but not soggy.
- Light: Bright, indirect light will encourage growth without scorching delicate seedlings.
🌱 Seedling Care and Growth Monitoring
Once your seeds have sprouted, the real work begins. Seedlings demand attention—think of yourself as a plant parent on duty. Keep the medium consistently moist, and as seedlings mature, gradually introduce them to stronger light.
🌱 Monitoring Seedling Growth
- Moisten: Keep the soil damp with a spray bottle to avoid disturbing the fragile roots.
- Light: Increase light exposure slowly to harden off the seedlings.
- Observe: Watch for signs of growth or distress, adjusting care as needed.
Remember, patience is a virtue in the orchid world. Your Paphiopedilum sukhakulii seedlings will grow at their own pace, but with the right care, they'll eventually flourish.
Tissue Culture: A High-Tech Propagation Option
🌱 Initiating Tissue Culture
Tissue culture is plant cloning at its finest. It's not for the faint of heart, requiring a lab coat attitude and a dash of mad scientist enthusiasm. Here's how to kickstart your Paphiopedilum sukhakulii tissue culture journey:
- Sterilize your workspace and tools to create a contamination-free zone.
- Take a small tissue sample from a healthy parent plant. This could be a leaf, stem, or even a root section.
- Place the sample into a sterile culture medium, rich with nutrients and hormones, to coax out new plantlets.
- Maintain a strictly controlled environment—temperature, humidity, and light are your new best friends.
🌿 Caring for Your Cultures
Once you've initiated tissue culture, the real work begins. Your cultures are like newborns—vulnerable but full of potential. To see them flourish:
- Monitor for contamination regularly; any signs of mold or bacteria, and it's game over.
- Adjust the nutrient and hormone levels as needed to encourage growth without overwhelming your delicate cultures.
- Keep the environment stable. Fluctuations in conditions can stress the cultures, leading to growth issues.
🎢 Overcoming Tissue Culture Challenges
Tissue culture can be a rollercoaster of triumphs and setbacks. Here's how to stay on track:
- If growth is stunted, review your hormone concentrations. Too much or too little can hinder development.
- Contamination is the arch-nemesis of tissue culture. Always use Plant Preservative Mixture (PPM) to fend off unwanted guests.
- Patience is key. Some cultures take longer to adapt and grow. Don't rush the process; let nature take its course at its own pace.
⚠️ Safety First
This content is for general information and may contain errors, omissions, or outdated details. It is not medical, veterinary advice, or an endorsement of therapeutic claims.
Always consult a qualified healthcare professional before using any plant as food, medicine, or supplement.
Never eat any plant (or feed one to pets) without confirming its identity with at least two trusted sources.
If you suspect poisoning, call Poison Control (800) 222-1222, the Pet Poison Helpline (800) 213-6680, or your local emergency service immediately.
Spotted an error? Please report it here.
Successfully propagate your Paphiopedilum sukhakulii by following this ultimate guide and count on Greg's tailored care reminders 🌱 to nurture each division and tissue culture to perfection.