🌸 How to Know When to Repot a Paphiopedilum sukhakulii?
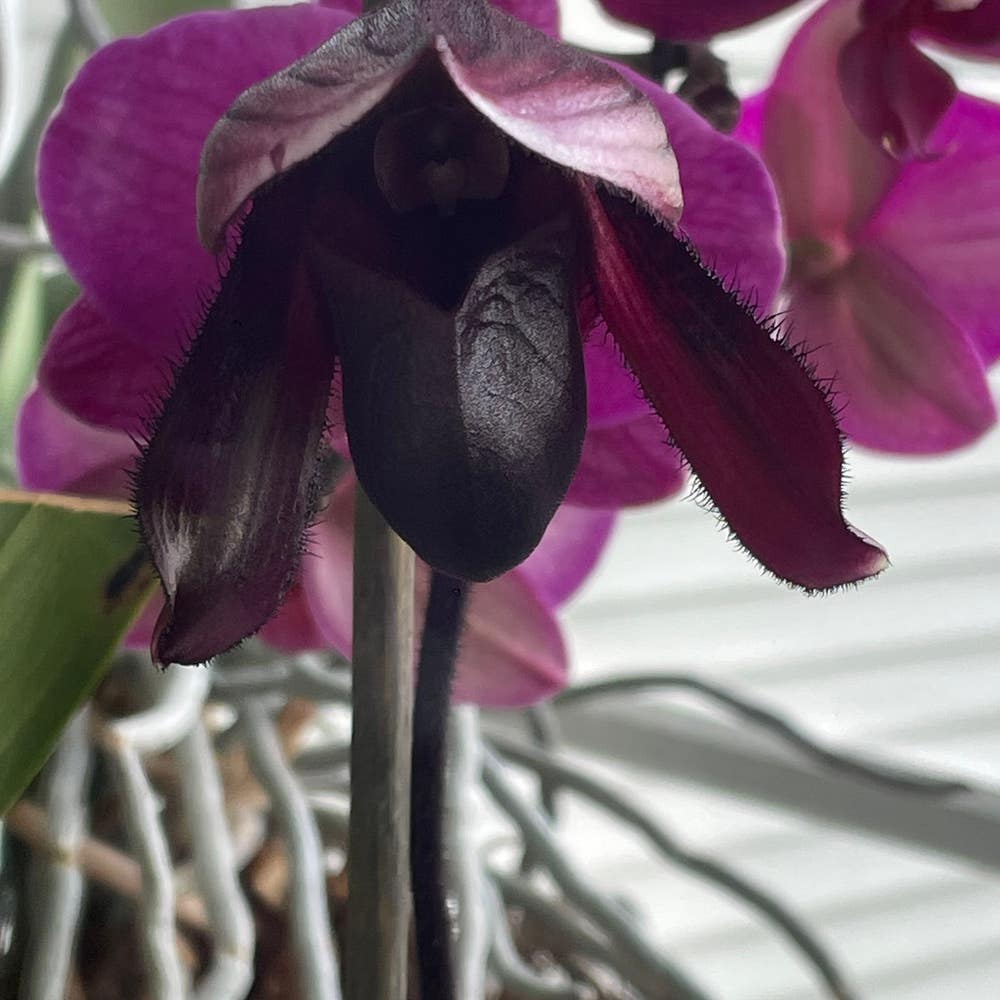
Paphiopedilum sukhakulii
By the Greg Editorial Team
Apr 16, 2024•4 min read
This article was created with the help of AI so we can cover more plants for you. May contain errors. See one? Report it here.
Discover the secret to a thriving Paphiopedilum sukhakulii by nailing the perfect repot time 🌱.
- Roots peeking out? Time to repot for orchid health and growth.
- 🌱 Spring into action: Best season for repotting Paphiopedilum sukhakulii.
- Terracotta or plastic? Choose breathable pots and monitor post-repot care.
Spotting the Telltale Signs to Repot
🌱 Rooting for Space
Roots peeking out of drainage holes or circling the pot interior are your orchid's version of a white flag. It's a clear sign your Paphiopedilum sukhakulii has outgrown its current residence.
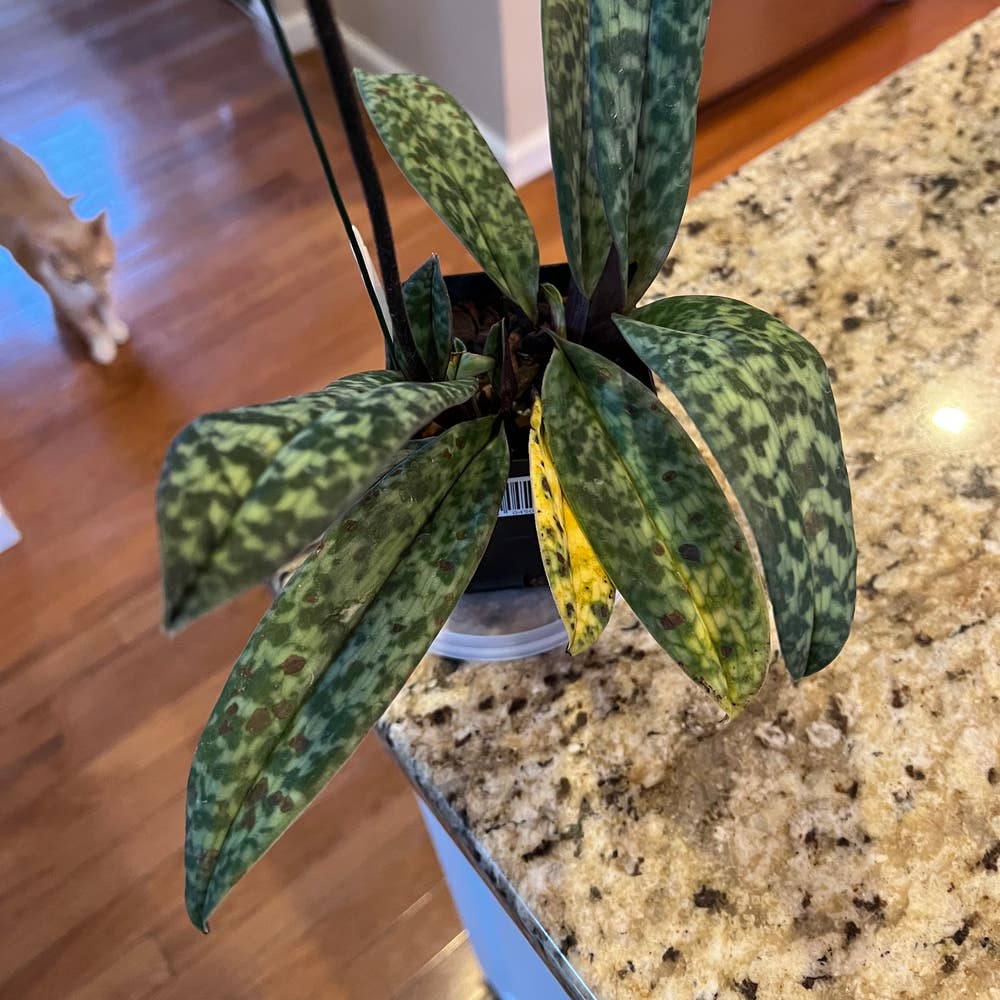
🍂 Leaves Telling Tales
When leaves start to droop or turn yellow, it's not just an aesthetic issue—it's a cry for help. These symptoms often suggest that the roots are too cramped to function properly.
📅 Timing is Everything
Spring is the prime time for repotting. Post-bloom, your orchid is gearing up for growth, making it the perfect moment to transition to a new pot with minimal stress.
The Repotting Rundown
🌱 Prepping for the Big Move
Before you dive into the repotting process, ensure you have all the necessary tools. You'll need:
- Sterilized pruning shears
- A clean pot, one size up from the current
- Fresh potting media, preferably a high-quality sphagnum moss or a fine bark mix
- A bowl of tepid water for root soaking
- Protective gloves
- A chopstick or similar tool for tamping down the soil
- A rhizome clip or stake for plant support
- Labels and a pencil for noting repotting dates
Give your Paphiopedilum sukhakulii an orchid spa day by gently cleaning its leaves and soaking the roots to make them pliable for the transition.
🌸 Orchid Out, Orchid In: The Repotting Steps
- Gently remove your orchid from its current pot, being careful not to damage the roots.
- Inspect the root system and trim any dead or rotting parts with your sterilized shears.
- Choose a new pot that's snug but gives your orchid a bit more room to grow. Remember, orchids like to be cozy.
💧 Finishing Touches
Fill the new pot with your chosen potting medium, ensuring it's moist but not waterlogged. Use the chopstick to eliminate air pockets around the roots. Secure the orchid with a rhizome clip if needed. Finally, water your orchid sparingly to help it settle in, and place it in a location with indirect light to recover from the move.
Picking the Perfect Pot
💨 Breathability is key: Why aeration matters
Terracotta pots are the MVPs of breathability, letting roots breathe easy and reducing the risk of root rot. They're like the cool, breathable cotton of the plant world. But remember, they can dry out faster, so keep that watering can handy.
⚖️ Weighing in on weight: The pros and cons of clay vs. plastic
Clay pots are sturdy and porous, great for those of us who are a bit overzealous with the watering. They're heavier, though, so think twice if you like to shuffle your plants around. Plastic pots are the lightweight option, but they can be a sauna for roots if you're not careful with watering.
🚫 What to avoid: Materials that can harm your Paphiopedilum sukhakulii
Steer clear of non-breathable materials like glass or metal; they're basically root saunas. And while ceramic pots can be a visual treat, they're often pricier and can be a heavyweight in your garden lineup. Always check for drainage holes to avoid turning your pot into a mini swimming pool.
Post-Repotting Care: Helping Your Orchid Thrive
💧 Watering Wisdom: How to Adjust Your Routine
After repotting, water sparingly. Your Paphiopedilum sukhakulii's roots are vulnerable and can easily rot if overwatered. Wait until the top inch of the new medium is dry before watering again. This may mean adjusting your usual routine, but your orchid will thank you for it.
🌞 Light and Location: Ensuring the Ideal Environment
Bright, indirect light is the sweet spot for your orchid post-repotting. Avoid direct sunlight, which can scorch the leaves, especially when the plant is still settling in. Keep the environment consistent—no drastic changes in temperature or drafts.
🚨 Stress Signals: Monitoring Your Orchid's Adjustment
Keep a vigilant eye out for droopy leaves or a lackluster appearance. These are signs your orchid is experiencing stress. If you notice such symptoms, don't panic. Ensure you're not overwatering and that the light conditions are optimal. With time and care, your orchid should bounce back.
⚠️ Safety First
This content is for general information and may contain errors, omissions, or outdated details. It is not medical, veterinary advice, or an endorsement of therapeutic claims.
Always consult a qualified healthcare professional before using any plant as food, medicine, or supplement.
Never eat any plant (or feed one to pets) without confirming its identity with at least two trusted sources.
If you suspect poisoning, call Poison Control (800) 222-1222, the Pet Poison Helpline (800) 213-6680, or your local emergency service immediately.
Spotted an error? Please report it here.
By tracking your orchid's post-repotting progress with Greg, you can fine-tune 🛠 your care routine to ensure a seamless transition and vibrant growth.