Propagating Anthurium pallidiflorum: The Ultimate Guide
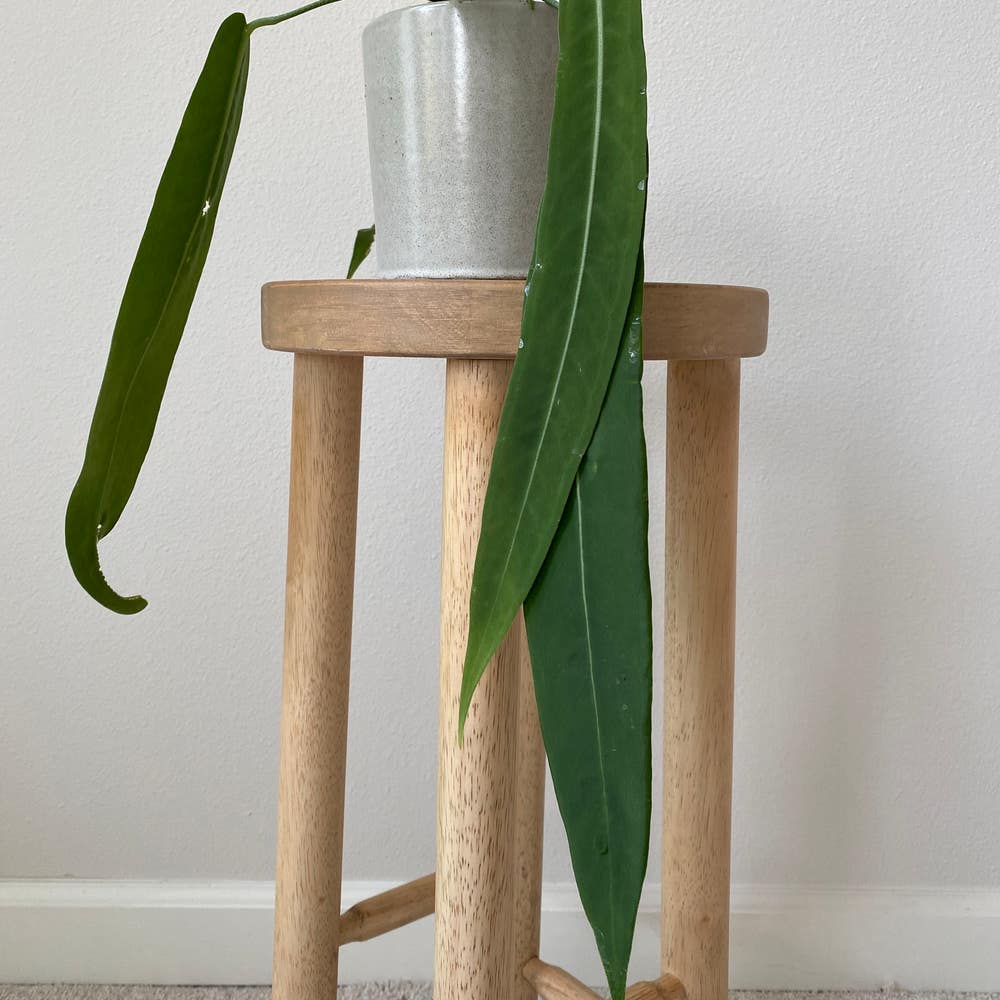
Anthurium pallidiflorum
By the Greg Editorial Team
Jun 18, 2024•4 min read
This article was created with the help of AI so we can cover more plants for you. May contain errors. See one? Report it here.
- 🌱 Timing and moisture are key when dividing to ensure healthy growth.
- ✂️ Stem cuttings need a node and benefit from rooting hormone.
- 🌤️💧 Maintain humidity and indirect light for successful propagation.
Choosing Your Propagation Adventure
🌱 Division: Multiplying Your Anthurium
Timing is everything when it comes to dividing your Anthurium pallidiflorum. Watch for signs of crowding, like roots poking out of the pot's drainage holes.
🕺 The Division Dance
- Water your plant a day before to ease root separation.
- Gently remove the plant from its pot and tease apart the root ball.
- Use a sterilized knife to divide the plant into sections, ensuring each has roots and leaves.
- Pot each division in well-draining soil and water lightly.
Post-Division Care
Keep the soil moist but not soggy to avoid root rot. Place your new plants in bright, indirect light and resist the urge to fertilize until they're established.
🔪 Stem Cuttings: Cloning Your Beauty
Select a stem with several leaves and at least one node. A healthy parent plant gives your cutting a fighting chance.
The Cutting Edge
- Cut just below a node with a clean, sharp blade.
- Remove the bottom leaves to expose the node.
- Dip the cut end in rooting hormone for a boost.
Rooting for Success: Soil vs. Water
Soil propagation might be slower, but it often leads to stronger root systems. Water propagation allows you to watch roots develop, which is nothing short of magical. Choose your adventure based on personal preference and patience.

Creating the Perfect Propagation Environment
🌿 Home Sweet Humid Home
To coax roots from your Anthurium pallidiflorum cuttings, humidity is your secret weapon. Mimic the plant's native tropical conditions by maintaining a humidity level between 65% and 80%. A plastic cover over the pot can create a mini-greenhouse effect, trapping moisture and warmth. Just remember to air it out occasionally to prevent mold—think of it as giving your plants a brief reality check.
💡 Let There Be Light (But Not Too Much)
Bright, indirect light is the sweet spot for propagation. Direct sunlight is a no-go; it's like putting your cuttings in a fryer. Instead, aim for the kind of light that's warm and inviting, not glaring and harsh. If you're using artificial lights, a grow light can offer a consistent glow without the burn. Keep the temperature steady, around 75° to 80°F, to avoid shocking your delicate new plants.

Nurturing Your New Anthuriums
⏳ The Waiting Game
Patience isn't just a virtue; it's a requirement when nurturing your new Anthurium pallidiflorum. During the rooting phase, expect a waiting period that can span from several weeks to months. Resist the urge to disturb the soil or roots; your vigilance will pay off with signs of new growth.
🌱 Transition Time
Once your Anthurium shows new roots or foliage, it's time for a change of scenery. Transplanting should be done with care to avoid stressing the young plants. Choose a pot that's a tad larger than the current one and fill it with a fresh, nutrient-rich potting mix. Remember, don't trim healthy roots; they're your plant's lifeline. After the move, give your Anthurium time to acclimate to its new home before expecting more growth.

Overcoming Propagation Pitfalls
🚩 Common Propagation Problems
Yellowing leaves or a sudden halt in growth are red flags in the propagation world. They're like the plant's way of waving a white flag. Act quickly to prevent a minor hiccup from becoming a full-blown crisis.
Good airflow is your secret weapon against fungal attacks. Think of it as an invisible shield, keeping those pesky spores at bay. Stagnant air is a big no-no; keep it moving to avoid a fungal fiasco.
Bacterial infections are the ninjas of plant diseases—silent but deadly. Slimy stems and spotted leaves are their calling cards. If you spot these, it's time for some plant triage. Remove the infected parts immediately, and keep your tools and environment spotless to prevent further issues.
🐜 Keeping the Pests at Bay
Pests like mealybugs, aphids, and thrips are the uninvited guests at your propagation party. Regular inspections are key—catch these critters early before they throw a rave in your plant's roots.
Neem oil or insecticidal soap can be your bouncers, showing these pests the door. Apply with precision, and keep an eye out; pests are notorious for overstaying their welcome.
Remember, a healthy plant is less inviting to pests. Proper watering, drainage, and a dose of sunlight and air circulation are like a plant's personal fitness routine—keeping it strong and less appealing to bugs.
Regular soil maintenance, fertilization, and pruning are like sending your plant to the gym; a fit plant is less tempting to pests. Keep your propagation game strong, and you'll keep the pests weak.
⚠️ Safety First
This content is for general information and may contain errors, omissions, or outdated details. It is not medical, veterinary advice, or an endorsement of therapeutic claims.
Always consult a qualified healthcare professional before using any plant as food, medicine, or supplement.
Never eat any plant (or feed one to pets) without confirming its identity with at least two trusted sources.
If you suspect poisoning, call Poison Control (800) 222-1222, the Pet Poison Helpline (800) 213-6680, or your local emergency service immediately.
Spotted an error? Please report it here.
Cultivate new Anthurium pallidiflorum effortlessly 🌿 with Greg's personalized care reminders, helping your plant divisions flourish without the guesswork!