Ultimate Guide for How to Plant Anthurium 🌺
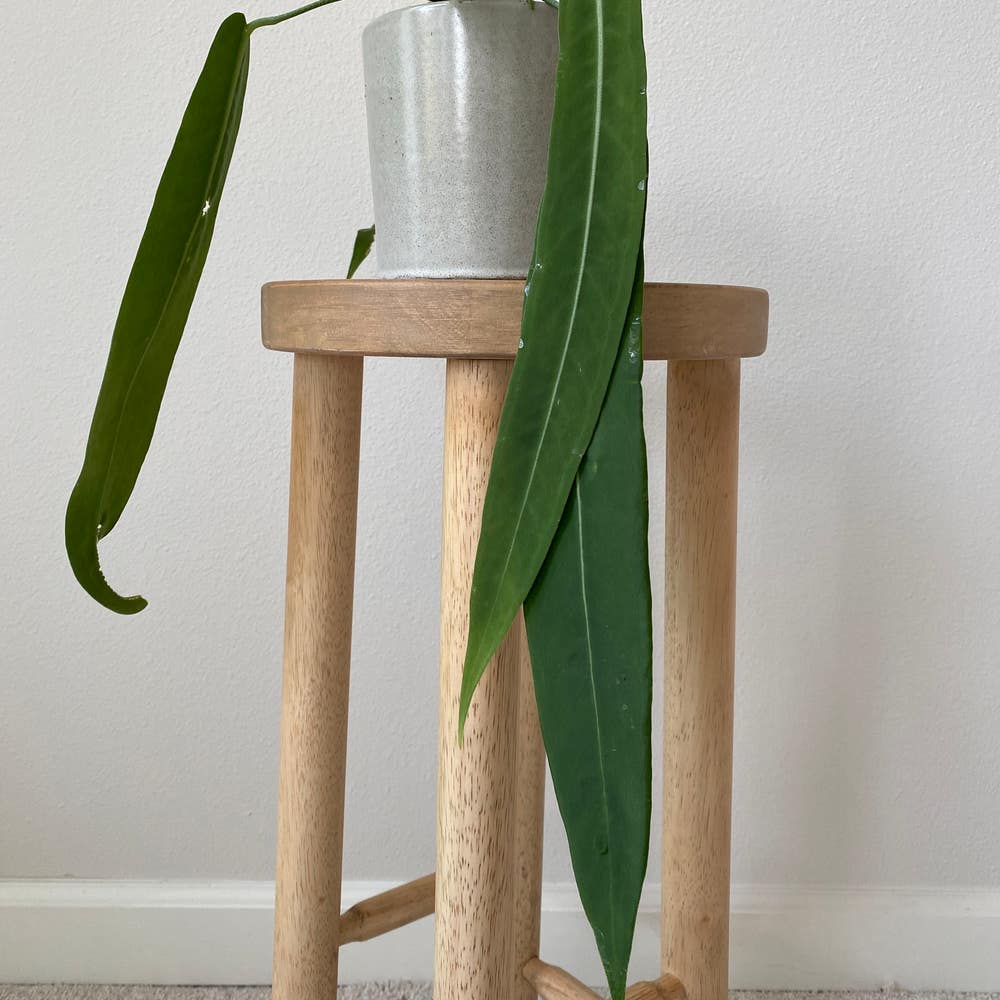
Anthurium pallidiflorum
By the Greg Editorial Team
Oct 18, 2024•7 min read
This article was created with the help of AI so we can cover more plants for you. May contain errors. See one? Report it here.
- 🌱 Choose between new or established Anthurium based on your gardening goals.
- 🌞 Plant in spring or early summer for optimal growth conditions.
- 🌿 Use a peat-perlite-bark mix for excellent drainage when planting Anthurium.
Planting New vs. Transplanting Established Anthurium
🌱 Benefits and Drawbacks of Each Method
When deciding between planting new Anthurium or transplanting established ones, it’s essential to weigh the pros and cons.
Planting New Anthurium
Benefits:
- You’ll enjoy a greater selection of varieties, allowing for more personalized choices.
- The initial cost is often lower, making it budget-friendly for new gardeners.
Drawbacks:
- New plants take longer to mature, requiring patience as they grow.
- They demand more initial care and attention, which can be challenging for beginners.
Transplanting Established Anthurium
Benefits:
- Transplanting offers immediate visual impact, filling your space with lush greenery right away.
- Established plants often have a robust root system, making them more adaptable to local conditions.
Drawbacks:
- There’s a risk of transplant shock, which can stress the plant and hinder growth.
- The process can potentially damage the plant if not done carefully, leading to setbacks.
Understanding these factors will help you make an informed decision tailored to your gardening goals. Whether you choose to plant new or transplant established Anthurium, each method has its unique rewards and challenges.
Planting New Anthurium
🌼 Optimal Timing for Planting Based on Growth Cycle
The best time to plant new Anthurium is during spring or early summer. This timing aligns with warmer temperatures, which are crucial for healthy growth.
🪴 Selecting the Appropriate Soil Mix and Containers
For optimal drainage and aeration, use a soil mix of peat, perlite, and bark. Choose containers with drainage holes, ideally sized at 6-8 inches for young plants.
📏 Proper Depth and Spacing for Planting
Ensure the root ball is level with the soil surface when planting. Space your Anthurium 12-18 inches apart to promote air circulation and growth.
🌤️ High-Level Tips for Maintaining Ideal Growing Conditions
Maintain humidity levels around 60-80% for optimal growth. Provide indirect sunlight and monitor temperatures, aiming for a range of 65°F to 80°F (18°C to 27°C).
🌱 Hardening Off Process Before Outdoor Planting
Gradually acclimate indoor plants to outdoor conditions over 7-10 days. Start with a few hours of exposure, increasing the time each day.
Transplanting Established Anthurium
🌿 Optimal Timing for Transplanting Based on Growth Cycle
Transplant established Anthurium in early spring or late summer when they are actively growing. Avoid transplanting during dormancy or extreme weather conditions.
🛠️ Step-by-Step Instructions for Transplanting
Removing the Plant from Its Current Location
- Water the plant a day before to reduce stress.
- Gently loosen the soil around the root ball.
- Carefully lift the plant, supporting the root ball.
Preparing the New Planting Site
- Choose a location with similar light and humidity conditions.
- Amend the soil with organic matter if necessary.
- Dig a hole twice the size of the root ball.
Ensuring Proper Placement and Spacing
- Position the plant in the center of the hole.
- Fill in with soil, ensuring the root ball is level with the surrounding soil.
- Space plants 12-18 inches apart for optimal growth.
💧 Tips on Watering, Mulching, and Providing Support
Water thoroughly after transplanting to settle the soil. Apply a layer of mulch to retain moisture and regulate temperature, and use stakes if the plant is tall or top-heavy.
Understanding these methods will empower you to cultivate beautiful Anthurium plants, whether starting fresh or relocating established ones. Each approach offers unique benefits that can enhance your gardening experience.
Planting New Anthurium
🌱 Optimal Timing for Planting Based on Growth Cycle
The best time to plant new Anthurium is during spring or early summer. This is when temperatures are consistently warm, promoting healthy growth.
Consider your local climate conditions as well. Timing can vary based on regional weather patterns, so be sure to plant when conditions are favorable.
🪴 Selecting the Appropriate Soil Mix and Containers
For optimal drainage and aeration, use a soil mix of peat, perlite, and bark. This combination helps create a healthy environment for your new plant.
When choosing containers, select pots with drainage holes. A size of 6-8 inches is ideal for young plants, allowing enough room for root growth.
📏 Proper Depth and Spacing for Planting
Ensure the root ball is level with the soil surface when planting. This helps the plant establish itself more effectively.
Space your Anthurium 12-18 inches apart. This distance allows for optimal air circulation and growth, preventing overcrowding.
🌬️ High-Level Tips for Maintaining Ideal Growing Conditions
Maintain humidity levels around 60-80% for your Anthurium. This is crucial for its overall health and vibrancy.
Provide indirect sunlight, avoiding harsh direct rays. Additionally, monitor the temperature, aiming for an ideal range of 65°F to 80°F (18°C to 27°C).
🌞 Hardening Off Process Before Outdoor Planting
Before moving your indoor plants outdoors, gradually acclimate them over 7-10 days. This process helps reduce stress and shock.
Start by exposing them to outdoor conditions for just a few hours. Gradually increase this time to help your plants adjust smoothly.
Transitioning to the next section, understanding how to transplant established Anthurium is equally important for maintaining a thriving garden.
Transplanting Established Anthurium
🌱 Optimal Timing for Transplanting Based on Growth Cycle
Transplanting your established Anthurium is best done in early spring or late summer. This timing aligns with the plant's active growth phase, ensuring a smoother transition.
Avoid transplanting during dormancy or extreme weather conditions, as these can stress the plant and hinder its recovery.
🛠️ Step-by-Step Instructions for Transplanting
Removing the Plant from Its Current Location
- Water the plant a day before to reduce stress.
- Gently loosen the soil around the root ball.
- Carefully lift the plant, supporting the root ball to prevent damage.
Preparing the New Planting Site
- Choose a location with similar light and humidity conditions to the original spot.
- Amend the soil with organic matter if necessary for better nutrient retention.
- Dig a hole that is twice the size of the root ball to give it ample space.
Ensuring Proper Placement and Spacing
- Position the plant in the center of the hole for balanced growth.
- Fill in with soil, ensuring the root ball is level with the surrounding soil.
- Space plants 12-18 inches apart to promote optimal air circulation and growth.
💧 Tips on Watering, Mulching, and Providing Support
After transplanting, water thoroughly to help settle the soil around the roots.
Applying a layer of mulch can help retain moisture and regulate temperature, creating a stable environment for your Anthurium.
If your plant is tall or top-heavy, consider using stakes or supports to prevent it from toppling over as it establishes itself in its new home.
With these steps, your Anthurium will be well on its way to thriving in its new location. Next, let’s explore how to troubleshoot common issues that may arise during the establishment phase.
Troubleshooting Common Issues
Identifying and Addressing Transplant Shock 🌱
Transplant shock can be a real concern for your Anthurium. Symptoms include wilting, yellowing leaves, and stunted growth.
To combat this, ensure consistent watering to keep the soil moist but not soggy. Avoid fertilizing immediately after transplanting, as this can stress the plant further.
Solutions for Establishment Problems 🔧
Keep an eye out for signs of stress in your Anthurium. If you notice browning or curling leaves, it may be time to adjust your care routine.
Providing additional humidity can help revive your plant. Consider using a humidity tray or misting the leaves to create a more favorable environment.
Common Pests and Diseases Affecting Anthurium 🐛
Anthuriums can attract pests like aphids, spider mites, and mealybugs. Regularly inspect your plants to catch these invaders early.
To prevent diseases, maintain proper air circulation and avoid overwatering. If pests appear, insecticidal soap can be effective, while removing affected leaves can help manage diseases.
By staying vigilant and proactive, you can ensure your Anthurium thrives despite these common challenges. Now, let’s explore how to keep your plant healthy and vibrant!
⚠️ Safety First
This content is for general information and may contain errors, omissions, or outdated details. It is not medical, veterinary advice, or an endorsement of therapeutic claims.
Always consult a qualified healthcare professional before using any plant as food, medicine, or supplement.
Never eat any plant (or feed one to pets) without confirming its identity with at least two trusted sources.
If you suspect poisoning, call Poison Control (800) 222-1222, the Pet Poison Helpline (800) 213-6680, or your local emergency service immediately.
Spotted an error? Please report it here.
Plant your Anthurium with confidence 🌿 by using Greg's tailored care tips and reminders to help your new plants flourish from day one!