When and Where Should I Trim My Anthurium pallidiflorum?
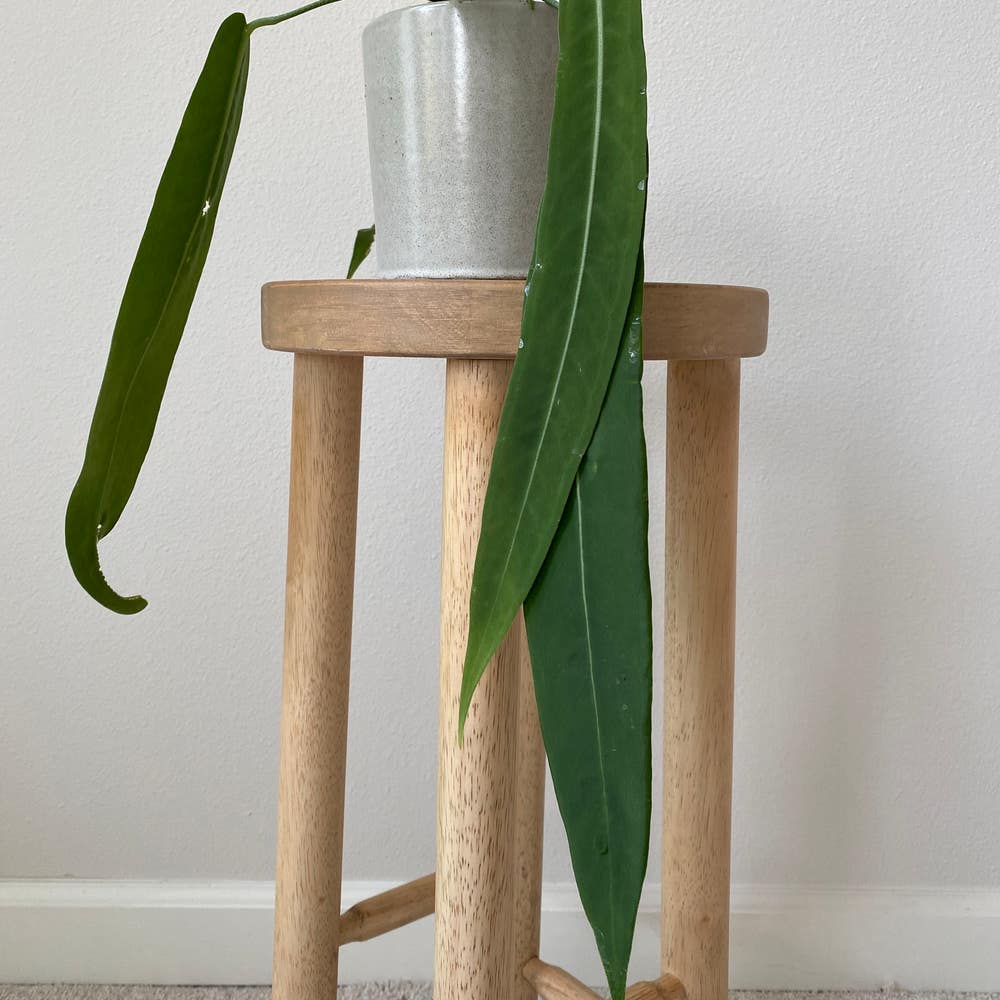
Anthurium pallidiflorum
By the Greg Editorial Team
Jun 18, 2024•4 min read
This article was created with the help of AI so we can cover more plants for you. May contain errors. See one? Report it here.
- Spring/early summer best for pruning Anthurium pallidiflorum.
- Prune for health and growth, not just looks.
- Use trimmings for propagation; patience and stable conditions key.
Best Times to Get Snipping
🌱 Seasonal Pruning Insights
Spring and early summer are the prime times for pruning your Anthurium pallidiflorum. This timing is not arbitrary; it's when your plant is in full-on growth mode, ready to heal and expand.
Pruning isn't just a cosmetic fix—it's a health check. Strategic snips can ward off disease by removing parts that could become problematic. Plus, a well-timed trim promises a more stunning display of foliage and flowers when the next season rolls around.
Growth Stage Considerations
The life stage of your Anthurium pallidiflorum dictates your pruning strategy. Young plants may need a gentle hand to encourage a strong framework.
For mature plants, it's about maintenance. Look for overgrown branches that throw off the plant's balance and snip them back to a healthy bud. The goal is to maintain the plant's natural vigor while shaping it to your liking.
Post-pruning care is crucial. Keep an eye out for distress signals like brown spots or drooping leaves. If you spot trouble, it might be time for another trim. Remember, your Anthurium pallidiflorum should not just survive; it should thrive.

Pruning Like a Pro
💇 Essential Pruning Tools
Pruning your Anthurium pallidiflorum isn't a task to take lightly, and the right tools are non-negotiable. Pruning shears are your main squeeze for most jobs—keep them as sharp as your favorite chef's knife. For the tinier tasks, scissors step up to the plate, offering precision without the bulk. And let's not forget about sterilizing—a swig of rubbing alcohol or a bleach solution on your tools before and after pruning keeps your plant's health out of the ER.
Step-by-Step Pruning Techniques
Now, let's slice into the meat of it. Above the node is where you want to aim your cuts; it's the plant's sweet spot for encouraging new growth. Think of it as giving your plant a new lease on life. Angle your cuts to shed water like a duck's back, preventing a fungal fiesta. And remember, less is more—taking off more than a quarter of the plant is like going from a full beard to a clean shave in one fell swoop. Keep it to a trim, and your Anthurium pallidiflorum will thank you with lush, vibrant growth.

Strategic Pruning for Lush Growth
🌿 Dealing with Deadheads and Damaged Leaves
Deadheads and damaged leaves are like party crashers; they don't contribute to the vibe and just drain resources. Snip them off to redirect your Anthurium pallidiflorum's energy into new growth and blooms. Use sharp, clean shears to cut just above a leaf node, which can stimulate the plant to produce more flowers.
🌱 Aerial Root Management
Aerial roots are the Anthurium's way of saying, "I'm just hanging out." But during pruning, they can get in the way. Trim aerial roots if they're unruly or if you're going for that neat, tidy look. However, if they're grabbing onto a support, let them be—they're just trying to get a grip on life.

Leveraging Pruning for Propagation
🌱 Propagation Pruning 101
Pruning isn't just a haircut for your Anthurium pallidiflorum—it's a clone factory. Snip the right part, and you've got yourself a starter kit for a new plant. Here's the lowdown on turning trimmings into full-fledged flora.
Healthy Cuttings
Choose wisely: only healthy, vibrant sections make the cut. Look for stems with at least one node; that's your golden ticket to new growth.
The Right Medium
Water or soil? Your call. Water lets you eyeball root development, while soil is a set-it-and-forget-it affair. Just keep it moist, or your cutting will throw in the towel.
🌱 Ensuring Propagation Success
Propagating is like a backstage pass to plant parenthood—exciting, but you've got to know the ropes.
Patience Pays
Roots take their sweet time. Don't rush them, or you'll end up with a sad, rootless twig. Think of it as a slow dance, where the music's barely audible.
Stable Conditions
Keep things consistent. No sauna-like heat or arctic chills. Your cuttings crave stability like a toddler wants a routine.
Transitioning to Soil
If you started in water, remember: the longer they soak, the harder the move to soil. It's like going from a cushy bed to a camping mat—do it gently.
Rooting Hormones: Optional but Helpful
A sprinkle of rooting hormone can be the fairy dust for your cuttings. Not necessary, but it can give them a leg up in the rooting department.
⚠️ Safety First
This content is for general information and may contain errors, omissions, or outdated details. It is not medical, veterinary advice, or an endorsement of therapeutic claims.
Always consult a qualified healthcare professional before using any plant as food, medicine, or supplement.
Never eat any plant (or feed one to pets) without confirming its identity with at least two trusted sources.
If you suspect poisoning, call Poison Control (800) 222-1222, the Pet Poison Helpline (800) 213-6680, or your local emergency service immediately.
Spotted an error? Please report it here.
Trim your Anthurium pallidiflorum to perfection and boost growth 🌱 with Greg's custom reminders for the right time to snip and sip.