🌸 When and How to Repot Primula
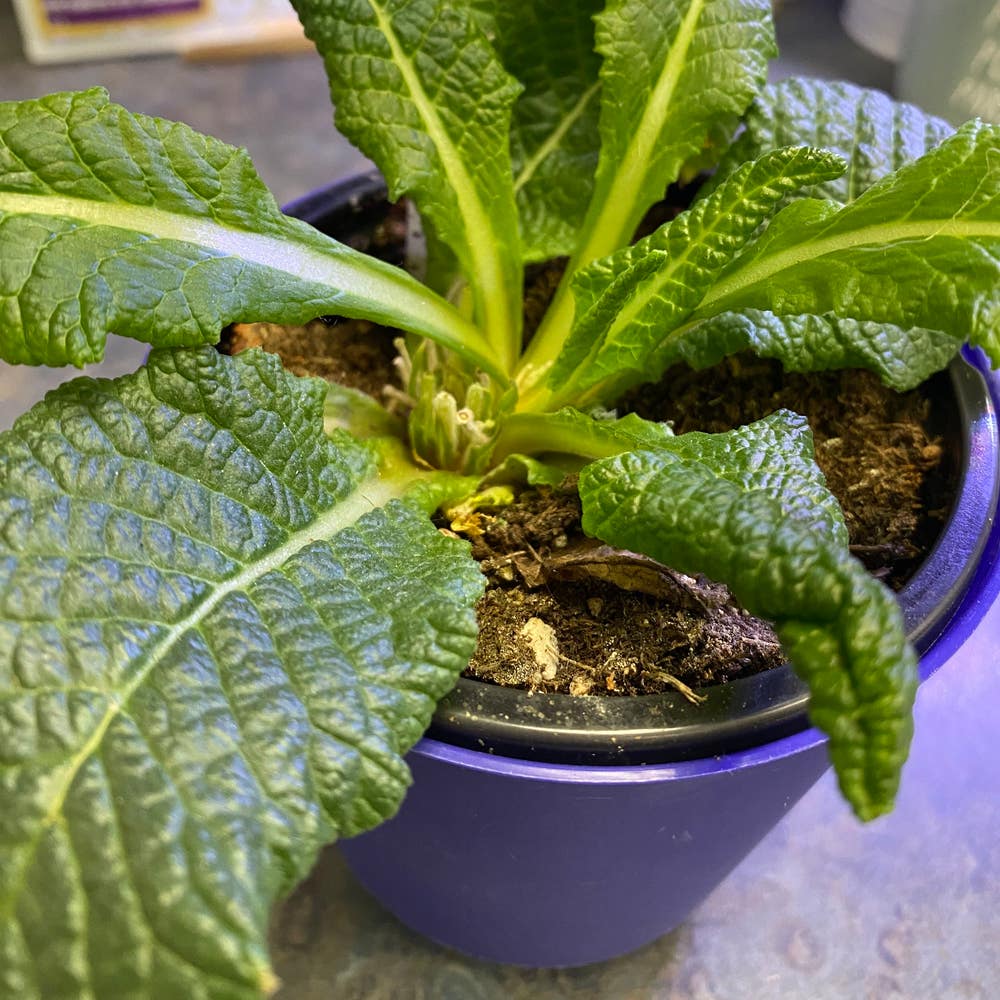
Primula chionantha subsp. sinopurpurea
By the Greg Editorial Team
Nov 22, 2024•7 min read
This article was created with the help of AI so we can cover more plants for you. May contain errors. See one? Report it here.
Revitalize your Primula's growth 🌱 by learning the essential timing and techniques for successful repotting!
- 🌱 Repot Primula when root-bound or showing stunted growth for optimal health.
- 🕒 Best times to repot are early spring or fall, avoiding extreme temperatures.
- 💧 Healthy roots are white and firm; dark roots indicate root rot.
When to Repot
Signs that Primula Needs Repotting 🌱
Recognizing when your Primula needs repotting is crucial for its health. Look for signs like a root-bound condition, where roots escape through drainage holes or wrap around the pot.
Stunted growth is another indicator; if your Primula isn't producing new leaves or flowers despite proper care, it may be time for a new home. Additionally, check for soil degradation—compacted or depleted soil can retain too much moisture, leading to root issues.
Timing for Repotting ⏰
Timing is everything when it comes to repotting. The best seasons for this task are early spring or fall, as the plant is typically not in active bloom during these periods.
Avoid repotting during extreme temperatures, such as the sweltering heat of summer or the freezing cold of winter, to minimize stress on your plant.
Root Health Indicators 🥔
Healthy roots are a good sign that your Primula is thriving. Look for white, firm roots without any signs of rot.
Conversely, dark, mushy roots that emit a foul odor indicate root rot. To check root health, gently remove the plant from its pot and inspect the root system carefully.
By keeping an eye on these signs, you can ensure your Primula remains vibrant and healthy, ready for the next steps in its care.
How to Repot
Repotting your Primula can seem daunting, but with the right approach, it’s a straightforward process. Follow these steps to ensure your plant thrives in its new home.
📝 Step-by-Step Process
Prepare the new pot: Choose a pot with drainage holes that is slightly larger than the current one. This allows for healthy root growth and prevents waterlogging.
Remove the Primula from its current pot: Gently loosen the soil and roots. Take care not to damage the delicate root system during this process.
Inspect and trim roots: Look for any dead or damaged roots and trim them away. Healthy roots are crucial for your plant's recovery and growth.
Add potting soil: Fill the new pot with Primula potting soil, leaving enough space for the plant. This ensures that the roots have room to spread out.
Position the plant: Place the Primula in the center of the pot. Fill in around the roots with soil, making sure it’s firm but not compacted.
Water thoroughly: After repotting, give your Primula a good drink. The soil should be moist but not soggy to help settle the roots.
🛠️ Tools Needed
To make the repotting process smooth, gather these tools:
- Clean, sharp pruning shears: Essential for trimming any unhealthy roots.
- Trowel or small shovel: Useful for handling soil and filling the pot.
- Watering can or spray bottle: Ideal for watering your plant after repotting.
- Gloves: Protect your hands while handling the plant and soil.
With these steps and tools in hand, you’re well on your way to successfully repotting your Primula. This care will set the stage for vibrant growth and blooming in the seasons to come.
Next, let’s explore how to choose the right pot for your Primula to ensure it continues to thrive.
Choosing the Right Pot
Best Materials 🌱
When selecting a pot for your Primula, consider the material.
- Ceramic pots offer good insulation but can be heavy, making them less mobile.
- Plastic pots are lightweight and retain moisture well, ideal for those who prefer low-maintenance options.
- Terracotta pots excel in drainage but may dry out quickly, requiring more frequent watering.
Pros and Cons ⚖️
Each pot material has its advantages and drawbacks.
- Ceramic: Durable and visually appealing, but they can retain too much moisture if drainage isn’t adequate.
- Plastic: Affordable and easy to handle, yet they might not provide sufficient aeration for the roots.
- Terracotta: Promotes excellent drainage, but be prepared for more watering as they dry out faster.
Recommended Sizes 📏
Choosing the right size pot is crucial for your Primula's health.
- Small varieties thrive in 4-6 inch pots.
- Medium varieties do well in 6-8 inch pots.
- Large varieties need 10-12 inch pots to accommodate their growth.
Selecting the right pot is essential for your Primula's well-being. A suitable pot not only supports healthy growth but also enhances the overall aesthetic of your plant display.
Next, let's explore how to care for your Primula after repotting to ensure it thrives in its new home.
Post-Repotting Care
💧 Watering
After repotting your Primula, the first step is to water it thoroughly. This helps settle the soil around the roots, ensuring good contact and moisture retention.
For ongoing care, maintain consistent moisture in the soil. Be cautious not to overwater, as this can lead to waterlogging and root rot.
☀️ Light Requirements
Position your newly repotted Primula in a spot with bright, indirect sunlight. This light condition helps the plant adjust without causing stress.
If your Primula was previously in lower light, gradually introduce it to brighter conditions. This slow acclimatization helps prevent shock and promotes healthy growth.
🌱 Fertilization
It's best to delay fertilization for 4-6 weeks after repotting. This waiting period allows the roots to settle into their new environment without the added stress of nutrients.
When you do fertilize, opt for a balanced, diluted fertilizer. This approach supports robust growth while avoiding the risk of over-fertilization.
With proper post-repotting care, your Primula will thrive in its new pot. Next, let’s explore common mistakes to avoid during this process.
Common Mistakes
🪴 Overpotting vs. Underpotting
Choosing the right pot size is crucial for your Primula's health. Overpotting, or selecting a pot that's too large, can lead to excess soil moisture, which often results in root rot.
Conversely, underpotting occurs when the pot is too small, restricting root growth and nutrient uptake. This can stunt your plant's development and overall vitality.
🌱 Soil Mix Errors
The type of soil you use can make or break your Primula's success. Using non-draining soil can trap moisture, leading to root issues.
Additionally, it's essential to pay attention to pH levels. Aim for a slightly acidic to neutral pH (6.0-7.0) to create the best environment for growth.
✋ Handling Roots
When repotting, be gentle with your Primula's fibrous root system. Rough handling can cause damage that may hinder your plant's recovery.
Always inspect and trim any damaged roots. This simple step promotes healthier growth and ensures your Primula thrives in its new home.
By avoiding these common mistakes, you can set your Primula up for success. Next, let's explore how to troubleshoot any issues that may arise after repotting.
Troubleshooting Issues
Signs of Stress 🌱
Primula plants can show signs of distress, which often manifest as wilting leaves. This can indicate either overwatering or underwatering, so it's crucial to assess your watering routine.
Another common symptom is yellowing leaves, which typically signals nutrient deficiency or root stress. Keeping an eye on these indicators can help you catch issues early.
Solutions for Root Rot 🦠
Identifying root rot is essential for the health of your Primula. Look for dark, mushy roots; if you find them, it's time to remove the affected areas to prevent further damage.
To prevent root rot, ensure your pot has proper drainage and avoid overwatering. A well-draining soil mix is key to keeping your plant happy.
Addressing Transplant Shock 🌿
After repotting, your Primula may experience transplant shock, evident through drooping leaves, slowed growth, or even leaf drop. These symptoms can be alarming, but they are often temporary.
To help your plant recover, maintain stable conditions and avoid fertilizing immediately after repotting. Proper watering is essential during this adjustment period, so keep the soil consistently moist but not soggy.
By recognizing these signs and implementing the right solutions, you can ensure your Primula thrives in its new environment. Next, let’s explore common mistakes to avoid during the repotting process.
⚠️ Safety First
This content is for general information and may contain errors, omissions, or outdated details. It is not medical, veterinary advice, or an endorsement of therapeutic claims.
Always consult a qualified healthcare professional before using any plant as food, medicine, or supplement.
Never eat any plant (or feed one to pets) without confirming its identity with at least two trusted sources.
If you suspect poisoning, call Poison Control (800) 222-1222, the Pet Poison Helpline (800) 213-6680, or your local emergency service immediately.
Spotted an error? Please report it here.
Repot your Primula like a pro 🌱 with Greg's tailored tips and reminders, ensuring it flourishes in its new pot and stays healthy all year round!