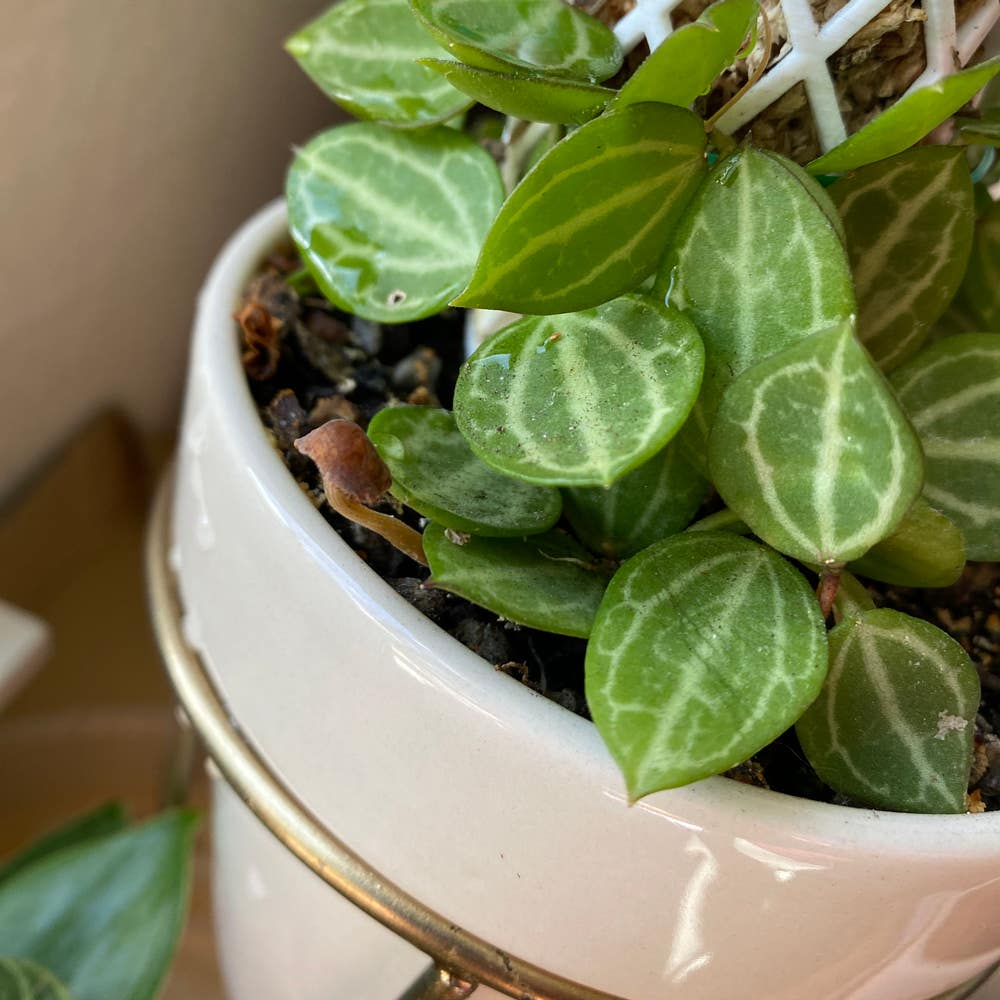
🍉 How to Plant Watermelon Dischidia
Dischidia ovata
By the Greg Editorial Team
Oct 17, 2024•5 min read
This article was created with the help of AI so we can cover more plants for you. May contain errors. See one? Report it here.
Unlock your garden's potential by mastering the choice between planting and transplanting Watermelon Dischidia! 🌱
- 🌱 Plant Watermelon Dischidia in spring for optimal growth and maturity.
- 💧 Use well-draining soil and maintain humidity between 50-70% for best results.
- 🌞 Bright, indirect sunlight is essential; avoid harsh direct light to prevent leaf scorch.
Planting vs. Transplanting Watermelon Dischidia
🌱 Key Considerations
When deciding between planting new Watermelon Dischidia or transplanting established ones, several factors come into play.
Cost is a significant consideration; planting new seedlings typically has a lower initial cost, while transplanting may require additional expenses for soil amendments.
Time to maturity is another important aspect. New plants generally take longer to reach maturity, whereas established plants often grow more quickly due to their developed root systems.
Adaptability also varies between the two options. New plants may need extra time to adjust to their environment, while established plants usually adapt more readily, making them a more reliable choice for immediate growth.
Understanding these key factors can help you make an informed decision that suits your gardening goals. Whether you choose to plant new or transplant established Watermelon Dischidia, each method has its unique advantages and challenges.
Planting New Watermelon Dischidia
🌱 Optimal Timing for Planting
Spring or early summer is the best time to plant Watermelon Dischidia. During these seasons, temperatures are consistently warm, which helps the plant establish itself quickly.
Avoid planting during extreme heat or cold, as these conditions can stress the young plants and hinder their growth.
🪴 Selecting the Right Soil Mix and Containers
For optimal growth, use a well-draining soil mix rich in organic matter. A combination of peat, perlite, and compost works wonders for Watermelon Dischidia.
When choosing containers, select pots with drainage holes. Aim for a size that accommodates root growth, ideally 6-8 inches in diameter for young plants.
📏 Proper Depth and Spacing for Planting
When planting, ensure the root ball is level with the soil surface. This positioning helps the plant thrive.
If you're planting multiple Watermelon Dischidia, space them 12-18 inches apart to allow for adequate airflow and growth.
🌞 Tips for Maintaining Ideal Growing Conditions
Watermelon Dischidia thrives in bright, indirect sunlight. Direct harsh sunlight can scorch the leaves, so keep them protected.
Humidity is crucial; maintain levels between 50-70%. The ideal temperature range for these plants is between 20°C to 30°C (68°F to 86°F).
🌳 Hardening Off Process Before Outdoor Planting
Before moving your Watermelon Dischidia outdoors, gradually acclimatize it to the new environment over 7-10 days. This process helps reduce transplant shock.
Start by exposing the plant to outdoor conditions for 1-2 hours in a shaded area. Gradually increase both the exposure time and sunlight to help it adjust smoothly.
Transitioning to the next section on transplanting established Watermelon Dischidia will provide you with essential insights for nurturing your plants further.
Transplanting Established Watermelon Dischidia
🌱 Optimal Timing for Transplanting
Transplanting Watermelon Dischidia is best done in early spring or late summer. These periods are ideal as the plant is not actively growing, minimizing stress during the transition.
🛠️ Step-by-Step Instructions for Transplanting
Removing the Plant from Its Current Location
- Water the plant a day before transplanting to reduce stress on the roots.
- Carefully dig around the root zone to avoid damaging the roots.
- Gently lift the plant from its current location, whether in the ground or a pot.
Preparing the New Planting Site
- Select a location that offers similar light and humidity conditions to the original site.
- Amend the soil with organic matter to enhance drainage and nutrient availability.
- Dig a hole that is twice the size of the root ball to give the roots ample space to spread.
Ensuring Proper Placement and Spacing
Position the plant in the center of the hole, ensuring the root ball is level with the soil surface. Fill in the hole with soil, gently tamping it down to eliminate any air pockets.
💧 Tips for Watering, Mulching, and Providing Support
After transplanting, thoroughly water the plant to help it settle in. Keep the soil consistently moist but avoid sogginess.
Applying a layer of organic mulch can help retain moisture and regulate soil temperature. If your Watermelon Dischidia is a climbing variety, don’t forget to provide a trellis or support structure to help it thrive.
With these steps, your Watermelon Dischidia will be well on its way to flourishing in its new home. Next, let’s explore how to troubleshoot common issues that may arise during the establishment phase.
Troubleshooting Common Issues
Addressing Transplant Shock 🌱
Transplant shock can be a real hurdle for your Watermelon Dischidia. Look out for symptoms like wilting, yellowing leaves, and stunted growth.
To combat this, ensure consistent watering. Avoid exposing the plant to direct sunlight and maintain a humid environment to help it recover.
Solutions for Establishment Problems 🛠️
If your plant shows signs of slow growth or leaf drop, it may be struggling to establish itself.
Check the soil moisture levels, adjust the light conditions, and ensure proper spacing between plants to promote healthy growth.
Other Common Issues and Their Remedies 🐛
Pests can also pose a threat to your Watermelon Dischidia. Keep an eye out for common pests like aphids, and consider using insecticidal soap if necessary.
Fungal diseases are another concern. Ensure good air circulation around your plants and avoid overwatering to prevent root rot.
By staying vigilant and addressing these issues promptly, you can help your Watermelon Dischidia thrive. Next, let’s explore how to keep your plants healthy and flourishing.
⚠️ Safety First
This content is for general information and may contain errors, omissions, or outdated details. It is not medical, veterinary advice, or an endorsement of therapeutic claims.
Always consult a qualified healthcare professional before using any plant as food, medicine, or supplement.
Never eat any plant (or feed one to pets) without confirming its identity with at least two trusted sources.
If you suspect poisoning, call Poison Control (800) 222-1222, the Pet Poison Helpline (800) 213-6680, or your local emergency service immediately.
Spotted an error? Please report it here.
Plant your Watermelon Dischidia with confidence 🌱 by using Greg's personalized care tips and reminders to help your seedlings flourish in their new home!