🧑🌾 Propagating Green Mound Juniper: The Ultimate Guide
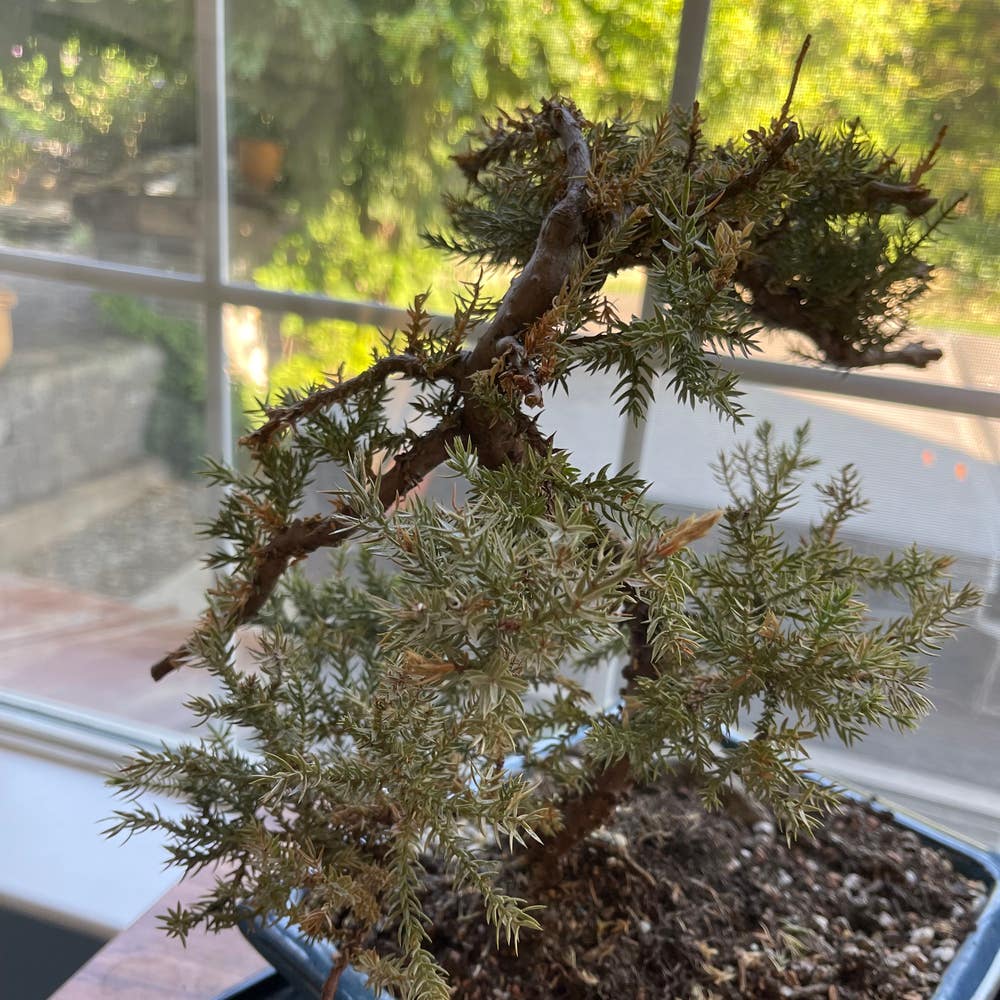
Juniperus procumbens
By the Greg Editorial Team
Oct 17, 2024•4 min read
This article was created with the help of AI so we can cover more plants for you. May contain errors. See one? Report it here.
Unlock the secrets of plant propagation 🌱 for a lush, thriving garden right at home!
- 🌱 Choose semi-hardwood cuttings for best propagation success with Green Mound Juniper.
- 🌞 Provide indirect sunlight and maintain 70-80% humidity for optimal rooting conditions.
- 🌿 Monitor moisture levels to prevent common issues like rotting and poor root development.
Propagation Methods
🌱 Propagating from Cuttings
Step-by-step guide for taking cuttings
Selecting healthy stems: Choose semi-hardwood stems from the current season's growth. This ensures vigor and increases your chances of success.
Cutting length: Aim for cuttings that are 4-6 inches long. This length is ideal for establishing roots.
Preparing cuttings: Remove the lower leaves, leaving a few at the top. This helps the cutting focus its energy on root development.
Making the cut: Use clean, sharp pruning shears to make a diagonal cut. A clean cut minimizes damage and promotes faster healing.
🌞 Ideal conditions for rooting
Light requirements: Provide indirect sunlight for optimal rooting. Direct sunlight can scorch the cuttings.
Temperature: Maintain a temperature between 65°F to 75°F (18°C to 24°C). This range supports healthy growth.
Humidity: High humidity levels (around 70-80%) are crucial. Use a humidity dome or plastic bag to create a mini greenhouse effect.
🌿 Use of rooting hormone
Importance: Rooting hormone enhances root development and increases success rates. It gives your cuttings a head start.
Application: Dip the cut end of the cutting into rooting hormone before planting. This simple step can make a significant difference.
🌳 Layering Method
Explanation of layering technique
Definition: Layering is a method where a stem is encouraged to root while still attached to the parent plant. This technique is great for propagating established plants.
Types of layering: There are two main types: simple layering and serpentine layering. Each has its own advantages depending on the plant's growth habit.
Timing and conditions for successful layering
Best time: Late spring to early summer is ideal when the plant is actively growing. This timing maximizes rooting potential.
Soil requirements: Use well-draining soil to prevent rot. Good drainage is essential for healthy roots.
Environmental conditions: Ensure consistent moisture and partial shade. These conditions help the new roots establish without stress.
🌱 Seed Propagation
Collecting and preparing seeds
Seed collection: Harvest seeds from mature cones in late summer to early fall. Timing is key for seed viability.
Seed preparation: Clean the seeds and stratify them for 30 days at 40°F (4°C) to mimic winter conditions. This process breaks dormancy.
Germination process and conditions
Germination medium: Use a well-draining seed-starting mix. This ensures that seeds have the right environment to sprout.
Germination time: Expect germination in 2-4 weeks under optimal conditions. Patience is essential during this phase.
Ideal conditions: Maintain a temperature of 70°F to 80°F (21°C to 27°C) with consistent moisture. These factors are crucial for successful germination.
⚠️ Common Challenges in Propagation
Issues with Rooting Cuttings
Common problems: Rotting and lack of root development are frequent issues. These can derail your propagation efforts.
Solutions: Ensure proper soil moisture and avoid overwatering. Finding the right balance is key to success.
Problems with Seed Germination
Common issues: Low germination rates and damping-off disease can occur. These challenges can be frustrating for new gardeners.
Solutions: Use sterile soil and maintain proper moisture levels. These precautions can help mitigate risks.
💡 Success Tips for Propagating
Monitoring and Maintenance
Regular checks: Monitor moisture levels and humidity frequently. Staying vigilant can prevent many common issues.
Adjustments: Make necessary changes based on plant response. Flexibility is crucial for successful propagation.
Signs of Successful Propagation
Rooting cuttings: Look for new growth and resistance to gentle tugging. These are good indicators that roots are forming.
Seedlings: Watch for the development of true leaves and sturdy stems. These signs show that your seedlings are thriving.
As you explore these propagation methods, remember that patience and observation are your best allies. Each technique offers unique rewards, setting the stage for a flourishing garden. Next, we'll dive into the common challenges you might face during propagation and how to overcome them.
⚠️ Safety First
This content is for general information and may contain errors, omissions, or outdated details. It is not medical, veterinary advice, or an endorsement of therapeutic claims.
Always consult a qualified healthcare professional before using any plant as food, medicine, or supplement.
Never eat any plant (or feed one to pets) without confirming its identity with at least two trusted sources.
If you suspect poisoning, call Poison Control (800) 222-1222, the Pet Poison Helpline (800) 213-6680, or your local emergency service immediately.
Spotted an error? Please report it here.
Propagating your Green Mound Juniper is easy 🌿 with Greg's personalized tips and reminders to help your cuttings flourish into thriving plants!