🌼 Top 9 Pot Options to Make Your Green Mound Juniper Thrive
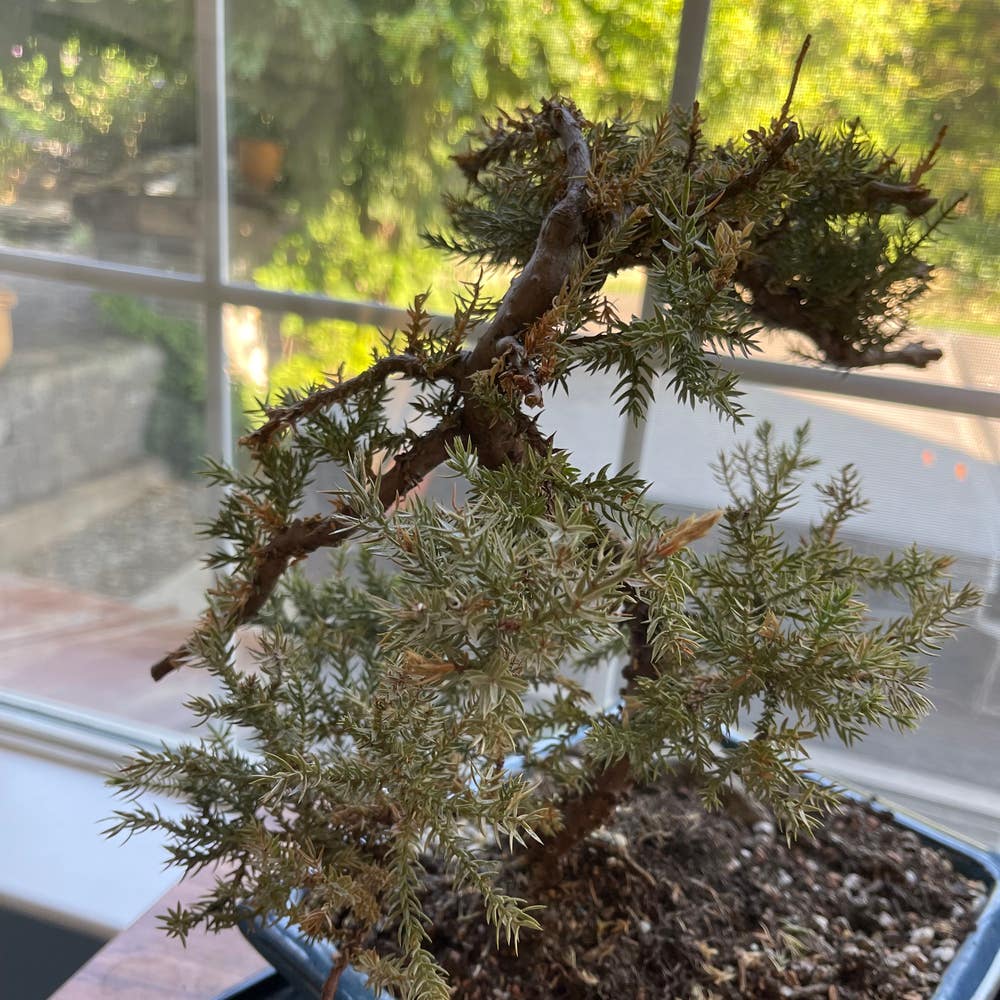
Juniperus procumbens
By the Greg Editorial Team
Oct 17, 2024•6 min read
This article was created with the help of AI so we can cover more plants for you. May contain errors. See one? Report it here.
Unlock your Green Mound Juniper's full potential 🌱 by mastering the art of pot size and material selection!
- 🌱 Pot size impacts growth: Use 1-3 gallons for juveniles, 5-10 for mature junipers.
- 🚰 Drainage is crucial: Ensure pots have 3-5 holes to prevent root rot.
- 🏺 Choose pot material wisely: Clay promotes air, while plastic retains moisture longer.
Pot Size for Different Growth Stages
Recommended Sizes 🌱
Choosing the right pot size is crucial for the health of your Green Mound Juniper.
Juvenile plants: For young plants, an ideal container size is between 1-3 gallons. This allows for adequate root development without overwhelming the plant.
Mature plants: As your juniper grows, transition to a 5-10 gallon pot. This size supports their expanding root systems while maintaining stability.
Overgrown plants: For those that have outgrown their current homes, opt for a 15-gallon pot or larger. This ensures they have enough space to thrive.
Growth Stage Considerations 📈
Monitoring your plant's growth is essential for optimal health.
Regularly assess whether the pot size is still appropriate.
Look for signs that a larger pot is needed, such as root crowding or water retention issues. If you notice roots peeking through drainage holes or water pooling on the surface, it’s time to upgrade.
By staying attentive, you can help your Green Mound Juniper flourish at every stage of its life.
Next, let’s explore the various pot materials that can affect your plant's growth and well-being.
Pot Materials
🌱 Clay Pots
Clay pots are a popular choice for many gardeners. Their breathable material promotes excellent air circulation, which is vital for healthy root growth.
However, they come with some downsides. Clay pots are heavy and can crack easily, especially in extreme weather conditions.
🪴 Plastic Pots
Plastic pots are another common option, especially for those looking for convenience. They are lightweight and affordable, making them easy to move around.
On the flip side, plastic pots are less breathable. This can lead to moisture retention, which might not be ideal for your Green Mound Juniper.
🎨 Other Materials
Ceramic pots offer an attractive aesthetic but tend to be heavy and expensive. They can add a touch of elegance to your plant display.
Metal pots are durable and can withstand the elements. However, they can heat up quickly, potentially stressing your plants in hot weather.
Choosing the right pot material is crucial for your plant's health. Consider your climate and the specific needs of your Green Mound Juniper when making your selection.
With the right pot, your juniper will thrive, setting the stage for the next important aspect: drainage considerations.
Drainage Considerations
Importance of Drainage Holes 🌊
Proper drainage is crucial for the health of your Green Mound Juniper. Without adequate drainage holes, water can accumulate, leading to waterlogging and root rot.
Aim for at least 3-5 drainage holes in your pot. This will help ensure that excess water can escape, keeping your plant's roots healthy and thriving.
Ensuring Proper Drainage 🚰
To promote optimal drainage, start with a well-draining potting mix. This type of mix allows water to flow through easily, preventing soggy soil conditions.
You might also consider adding a layer of gravel or stones at the bottom of the pot. This additional layer can further enhance drainage and provide a stable base for your plant.
Signs of Poor Drainage 🚫
Keep an eye out for signs that your pot may not be draining properly. Yellowing leaves, wilting, and stunted growth are all symptoms that something is amiss.
If you notice these issues, it may be time to reassess your pot's drainage capabilities. Addressing drainage problems early can save your plant from serious damage and ensure it continues to flourish.
Transitioning from drainage considerations, let's explore the best practices for repotting your Green Mound Juniper.
Repotting Guidelines
When to Repot 🌱
Repotting is essential for your Green Mound Juniper's health. Look for signs like roots visible through drainage holes, indicating it's time for a new home.
Choosing the Right Pot 🪴
Select a pot that matches your plant's growth stage. Ensure it has adequate drainage holes to prevent waterlogging.
Step-by-Step Guide to Repotting 🛠️
Follow these steps for a successful repotting experience:
- Prepare the New Pot: Ensure it has drainage holes and fill it with fresh potting mix.
- Remove the Plant: Gently take the plant out of its current pot, being careful not to damage the roots.
- Inspect the Roots: Check for any signs of rot and trim away any damaged roots.
- Position the Plant: Place the plant in the new pot at the same depth it was previously.
- Fill with Potting Mix: Add potting mix around the plant, firming it gently to eliminate air pockets.
- Water Thoroughly: Water the plant well to help settle the soil and provide moisture.
By following these guidelines, you can ensure your Green Mound Juniper continues to thrive in its new environment. Next, let’s explore how the choice of pot impacts your plant's health and growth.
Impact of Pot Choice on Health and Growth
🌧️ Moisture Retention
When choosing a pot for your Green Mound Juniper, moisture retention is crucial. Clay pots allow for quicker evaporation, which can be beneficial in preventing overwatering. In contrast, plastic pots retain moisture longer, making them suitable for drier conditions but potentially leading to waterlogged roots.
🌱 Root Development
The size of the pot significantly affects root development. Larger pots provide ample space for roots to spread, promoting a healthier and more robust root system. This is essential for the overall vitality of your plant, as strong roots support better nutrient uptake.
🌡️ Temperature Regulation
Temperature regulation is another factor influenced by pot choice. Clay pots tend to keep the soil cooler in summer and warmer in winter, creating a more stable environment for your juniper. On the other hand, plastic pots can heat up quickly, which may stress the plant during extreme temperatures.
Understanding these aspects of pot choice can greatly enhance the health and growth of your Green Mound Juniper. By selecting the right pot, you set the stage for a thriving plant that can withstand various environmental challenges.
Next, let’s explore common mistakes to avoid when potting your juniper.
Common Mistakes and Solutions
Wrong Pot Size 🌱
Choosing the wrong pot size can stunt your Green Mound Juniper's growth. Regularly assess your plant's growth and adjust the pot size as needed to ensure it has enough room to thrive.
Ignoring Drainage Needs 🚰
Many gardeners overlook the importance of drainage. Always ensure your pots have adequate drainage holes to prevent waterlogging, which can lead to root rot.
Overlooking Material Suitability 🏺
Not all pot materials are created equal. Choose pot materials based on your climate and the specific needs of your plant to promote optimal health and growth.
By being mindful of these common mistakes, you can create a nurturing environment for your Green Mound Juniper. Next, let’s dive into the impact of pot choice on your plant's health and growth.
⚠️ Safety First
This content is for general information and may contain errors, omissions, or outdated details. It is not medical, veterinary advice, or an endorsement of therapeutic claims.
Always consult a qualified healthcare professional before using any plant as food, medicine, or supplement.
Never eat any plant (or feed one to pets) without confirming its identity with at least two trusted sources.
If you suspect poisoning, call Poison Control (800) 222-1222, the Pet Poison Helpline (800) 213-6680, or your local emergency service immediately.
Spotted an error? Please report it here.
Keep your Green Mound Juniper thriving 🌿 by choosing the right pot and drainage, and let Greg provide you with tailored care tips and reminders to ensure its success!