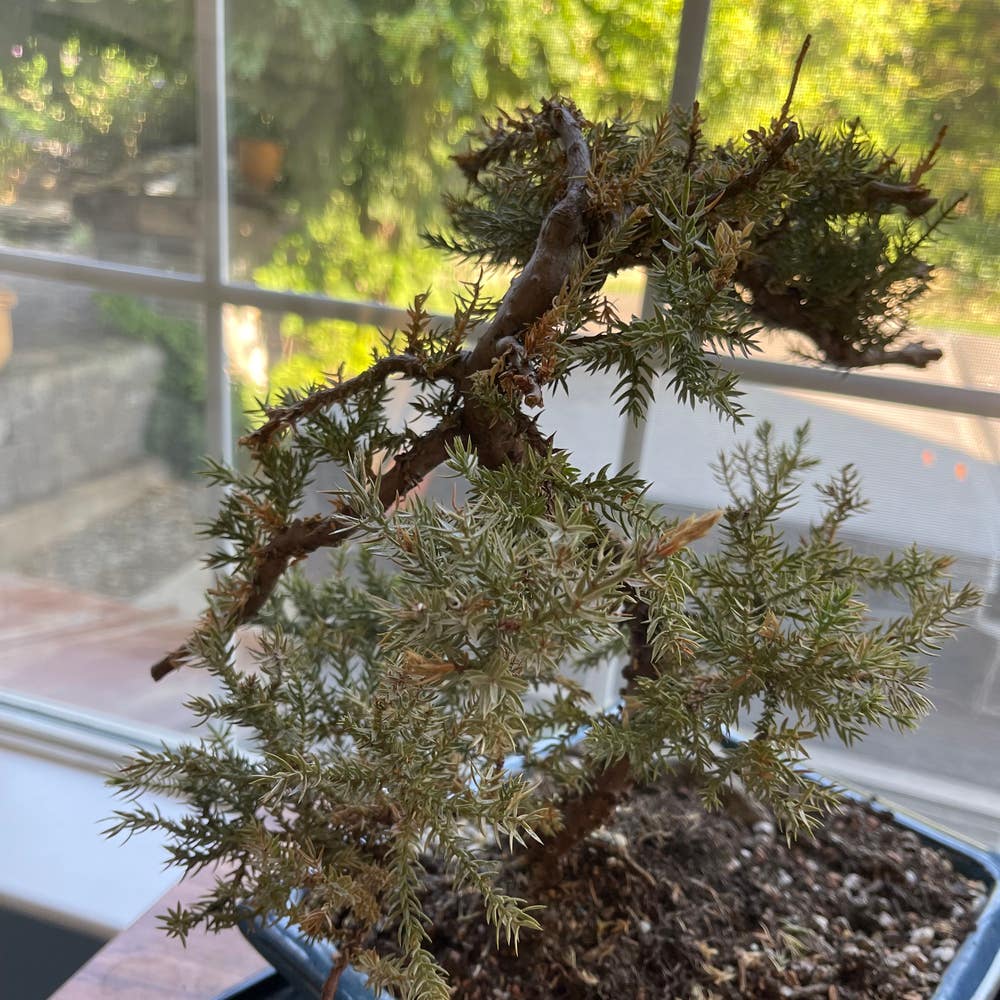
🌳 Green Mound Juniper: How to Plant
Juniperus procumbens
By the Greg Editorial Team
Oct 17, 2024•5 min read
This article was created with the help of AI so we can cover more plants for you. May contain errors. See one? Report it here.
Unlock a thriving garden 🌱 by mastering proper planting techniques for your Green Mound Juniper!
- 🌱 Proper planting techniques ensure healthy growth of Green Mound Juniper.
- 💧 Water thoroughly and mulch to promote establishment and reduce maintenance.
- 🌿 Plant in spring or fall for optimal conditions and better adaptation.
Importance of Proper Planting Techniques
Proper planting techniques are crucial for the growth and establishment of Green Mound Juniper. When you plant correctly, you set the stage for healthier plants that thrive in their environment.
🌱 Impact on Growth and Establishment
Using the right methods not only promotes robust growth but also helps the plant establish itself more effectively. This means fewer issues down the line, allowing your juniper to flourish.
🌿 Long-Term Benefits
Investing time in proper planting pays off in the long run. It reduces maintenance needs and enhances the aesthetic appeal of your landscape, making your garden a more inviting space.
By understanding the importance of these techniques, you can ensure your Green Mound Juniper thrives. Next, let’s explore the benefits of planting new plants versus transplanting established ones.
Benefits of Planting vs. Transplanting
🌱 Planting New Plants
Planting new Green Mound Juniper offers several advantages. It's generally more cost-effective, requiring a lower initial investment compared to transplanting established plants.
The time to maturity is longer, as new plants need time to establish themselves. However, they adapt more easily to local conditions, making them a great choice for long-term growth.
🌳 Transplanting Established Plants
On the flip side, transplanting established plants provides an immediate visual impact. You get instant coverage, which can enhance your landscape right away.
However, this option can be pricier due to labor and care involved. Additionally, there's a higher risk of transplant shock, which can stress the plant and hinder its growth.
⚖️ Weighing Your Options
Ultimately, the choice between planting and transplanting depends on your specific needs and circumstances. Consider your budget, desired timeline, and the health of the plants involved.
By understanding these benefits, you can make an informed decision that best suits your gardening goals. Now, let’s dive into the specifics of planting new Green Mound Juniper for optimal results.
Planting New Green Mound Juniper
🌱 Optimal Timing for Planting
The best times to plant Green Mound Juniper are early spring or fall. These seasons offer moderate temperatures, which help the plants establish without the stress of extreme heat or frost.
🪴 Selecting the Right Soil Mix and Containers
For optimal growth, use well-draining sandy or loamy soil with a pH between 6.0 and 8.0. Choose containers with drainage holes that comfortably fit the root ball, ensuring healthy development.
📏 Proper Depth and Spacing for Planting
When planting, ensure the juniper is at the same depth as it was in its container. Maintain a spacing of 3-6 feet apart to promote airflow and growth.
💧 Tips for Maintaining Ideal Growing Conditions
After planting, water the juniper thoroughly and keep the soil consistently moist. Applying 2-3 inches of organic mulch helps retain moisture and suppress weeds, creating a nurturing environment.
🌤️ Hardening Off Process Before Outdoor Planting
Acclimatizing your juniper is crucial for its success. Gradually expose the plants to outdoor conditions over 7-10 days to help them adjust.
Steps for Hardening Off:
- Start with 1-2 hours of outdoor exposure in a shaded area.
- Gradually increase the exposure time and sunlight each day.
By following these steps, you'll set your Green Mound Juniper up for a thriving future. Next, let’s explore how to transplant established junipers for optimal growth.
Transplanting Established Green Mound Juniper
🌱 Optimal Timing for Transplanting
Transplanting your Green Mound Juniper is best done in early spring or fall. These seasons provide moderate temperatures, making it easier for the plant to adjust.
Avoid transplanting during extreme weather conditions. Harsh heat or frost can stress the plant, complicating its transition.
🛠️ Step-by-Step Instructions for Transplanting
Assess the plant: Before removal, ensure the juniper is healthy and well-watered. This helps minimize stress during the move.
Prepare the new planting site: Clear any debris and amend the soil as needed. A well-prepared site supports better growth.
Remove the plant:
- Dig around the root zone, about 12-18 inches from the base. This distance helps capture more roots.
- Carefully lift the plant, keeping as much soil around the roots as possible. This protects the root system during the move.
Place in the new site: Position the plant at the same depth it was previously planted. This ensures it continues to thrive in its new location.
💧 Post-Transplant Care: Watering, Mulching, and Support
Immediately water the plant after transplanting. Keeping the soil moist but not soggy is crucial for recovery.
Apply a layer of mulch around the base. This helps retain moisture and regulates temperature, creating a stable environment.
If necessary, use stakes to provide support. This can stabilize the plant during its establishment phase, ensuring it grows strong and healthy.
Transplanting can be a rewarding experience, setting the stage for your Green Mound Juniper to flourish. With the right care, your plant will thrive in its new home, leading us to explore common issues and how to troubleshoot them effectively.
Troubleshooting Common Issues
🥴 Understanding Transplant Shock
Transplant shock is the stress plants experience after being moved to a new location. This can manifest as wilting, yellowing leaves, or stunted growth, signaling that your Green Mound Juniper is struggling to adjust.
🚩 Signs of Establishment Problems
Watch for indicators of establishment problems, such as poor growth, leaf drop, or discoloration. Regular monitoring is essential; keeping an eye on your plants can help catch issues early.
🛠️ Solutions for Common Planting/Transplanting Issues
To mitigate transplant shock, ensure your plants receive adequate watering right after transplanting. Avoid fertilizing immediately, as this can further stress the plant.
If you notice establishment problems, adjust your watering schedule and check for pests. Ensuring your juniper gets the right amount of sunlight is also crucial for its recovery.
By being proactive and attentive, you can help your Green Mound Juniper thrive in its new home. Next, let’s explore how to ensure your plants are set up for success with proper care and maintenance.
⚠️ Safety First
This content is for general information and may contain errors, omissions, or outdated details. It is not medical, veterinary advice, or an endorsement of therapeutic claims.
Always consult a qualified healthcare professional before using any plant as food, medicine, or supplement.
Never eat any plant (or feed one to pets) without confirming its identity with at least two trusted sources.
If you suspect poisoning, call Poison Control (800) 222-1222, the Pet Poison Helpline (800) 213-6680, or your local emergency service immediately.
Spotted an error? Please report it here.
Plant your Green Mound Juniper with confidence and watch it thrive 🌱 by using Greg's tailored watering reminders and expert care tips for a flourishing landscape!