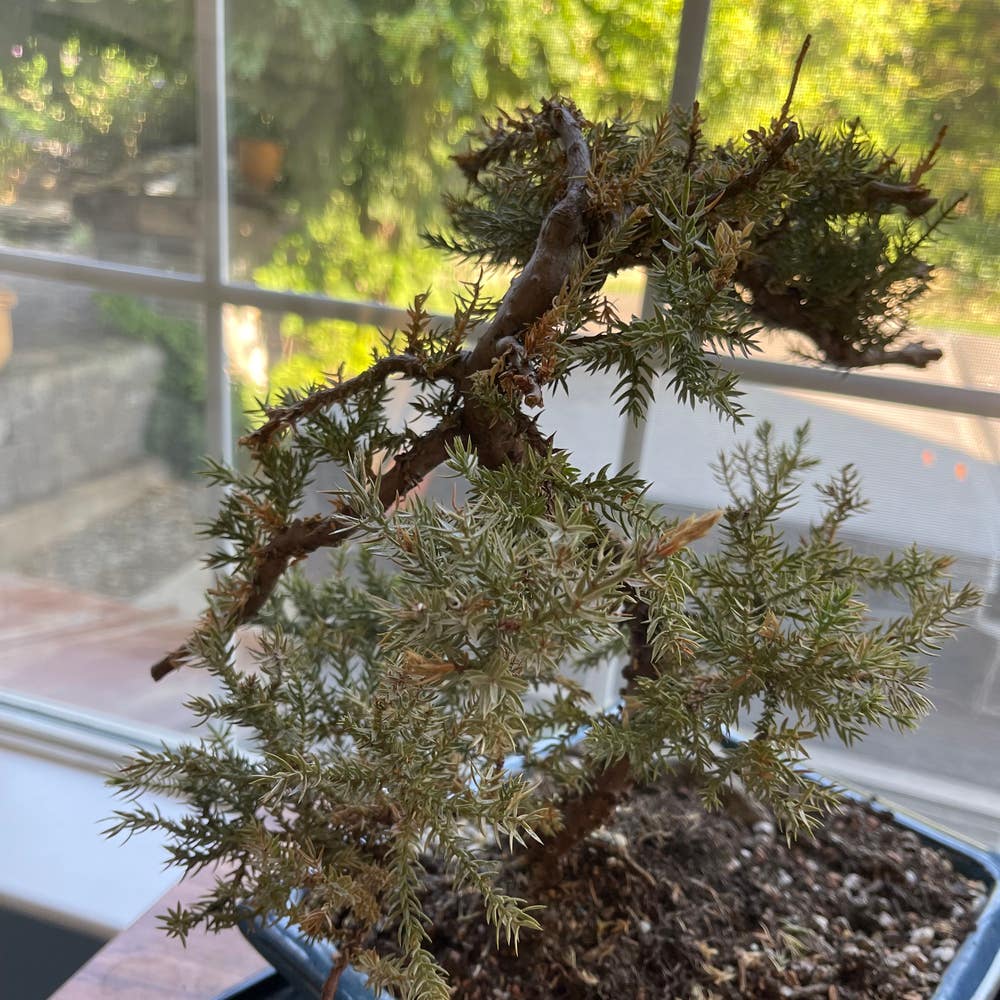
All About Your Green Mound Juniper's Roots
Juniperus procumbens
By the Greg Editorial Team
Oct 17, 2024•5 min read
This article was created with the help of AI so we can cover more plants for you. May contain errors. See one? Report it here.
Master the art of nurturing your Green Mound Juniper 🌱 with essential insights into its unique root system!
- 🌱 Green Mound Juniper's roots spread 3-4 feet, optimizing nutrient and water absorption.
- 💧 Deep watering every 1-2 weeks is essential for maintaining root health.
- 🛠️ Healthy roots prevent diseases; monitor for signs of rot and repot if needed.
Root System Characteristics
🌱 Type of Root System
The Green Mound Juniper boasts a fibrous root system. This means it has numerous thin roots that spread out horizontally, maximizing its ability to absorb nutrients and water efficiently.
📏 Specific Characteristics
These roots typically extend 12-18 inches deep, making them relatively shallow. However, their wide spread provides stability and effective moisture absorption, crucial for the plant's health.
A robust root system also enhances resilience against pests and diseases. Healthy roots are the foundation for a thriving Green Mound Juniper, ensuring it can withstand environmental challenges.
Understanding these root characteristics is essential for proper care and maintenance. With this knowledge, you can better support your plant's growth and vitality.
Next, let’s explore the root depth and spread to gain further insights into the Green Mound Juniper's growth patterns.
Root Depth and Spread
Typical Depth and Spread 🌱
The average root depth of a Green Mound Juniper ranges from 12 to 18 inches. However, its roots can spread impressively, extending up to 3 to 4 feet in diameter.
Growth Patterns 🌿
These roots primarily grow laterally rather than deep, which can make them vulnerable to drought stress. The growth patterns are significantly influenced by the type of soil and the availability of moisture, so it's essential to monitor these conditions for optimal health.
Understanding these characteristics can help you provide better care for your Green Mound Juniper, ensuring it thrives in your garden. Next, let’s explore effective care practices to support its root system.
Care Practices
Watering Techniques 💧
Deep watering is essential for your Green Mound Juniper, especially during dry spells. Aim to water every 1-2 weeks, using soaker hoses or drip irrigation to ensure moisture reaches the root zone effectively.
Fertilizing Methods 🌱
For optimal growth, use slow-release, balanced NPK fertilizers. Fertilize in early spring and mid-summer to give your plant the nutrients it needs to thrive.
Transplanting Best Practices 🌍
Transplanting your juniper should ideally be done in early spring or fall. Follow these steps for a successful transplant:
- Prepare the new planting hole, making it twice the width of the root ball.
- Water the plant thoroughly before removal to minimize stress.
- Carefully lift the plant, preserving as much root mass as possible.
- Place it in the new hole and backfill with soil.
By following these care practices, you’ll ensure your Green Mound Juniper remains healthy and vibrant. Next, let’s explore common root-related issues that may arise and how to tackle them effectively.
Common Root-Related Issues
🕵️ Identifying Root Rot and Prevention Strategies
Root rot can be a sneaky problem for your Green Mound Juniper. Watch for symptoms like wilting, yellowing leaves, and a foul odor emanating from the soil.
To prevent root rot, ensure your plant is in well-draining soil. Overwatering is a common culprit, so let the soil dry out between watering sessions.
🛠️ Solutions for Unhealthy Roots
If you notice dark, mushy roots or a lack of new growth, your plant may be struggling. The first step is to trim away any dead or damaged roots.
Next, consider repotting your juniper in fresh, well-draining soil. This can rejuvenate the root system and promote healthier growth.
By staying vigilant about these common root-related issues, you can help your Green Mound Juniper thrive. Now, let’s explore how to recognize indicators of root health to keep your plant in top shape.
Indicators of Root Health
👀 Visual Cues of Healthy vs. Unhealthy Roots
Healthy roots are a gardener's pride. They should be firm, with a white or light tan color, showcasing a robust, fibrous structure.
In contrast, unhealthy roots present a worrying sight. Look for dark, mushy, or slimy textures, which indicate decay or disease.
📊 Other Indicators
Overall plant vigor is another key indicator of root health. A thriving plant displays healthy growth, vibrant foliage, and resilience against pests.
Soil moisture levels also play a crucial role. Aim for consistent moisture without waterlogging to keep your juniper's roots happy and healthy.
Understanding these indicators helps ensure your Green Mound Juniper thrives, setting the stage for effective care practices.
Rootbound Plants
Definition and Recognition 🌱
Rootbound plants are those that have roots growing in circles around the pot, which restricts their growth. You can spot this condition when roots start emerging from drainage holes or when the plant shows stunted growth and wilting, even with adequate watering.
Addressing Rootbound Issues ⚒️
It's crucial to tackle rootbound issues as soon as you notice the signs.
- Repot into a larger container: This gives the roots more space to spread out and thrive.
- Gently loosen the roots: If necessary, trim them to encourage new growth.
Taking these steps will help your Green Mound Juniper regain its vigor and flourish once more.
By ensuring your plant has enough room to grow, you set the stage for a healthier, more resilient root system. Next, let's explore how to propagate and divide your juniper effectively.
Propagation and Division
Importance of Root Health 🌱
Healthy roots are the backbone of successful propagation and division. They provide the necessary support for new growth and enhance the resilience of propagated plants.
Techniques for Dividing ✂️
The best time to divide your Green Mound Juniper is in early spring or fall. This timing ensures optimal growth conditions for both the parent plant and the new divisions.
Steps for Division
- Dig Around the Plant: Start by carefully digging around the base to expose the roots without damaging them.
- Separate Sections: Gently pull apart the sections, making sure each one retains a healthy root mass.
- Replant Immediately: Place the divided sections into suitable soil conditions right away to minimize stress.
By following these steps, you can effectively propagate your Green Mound Juniper, ensuring that each new plant has a strong foundation for growth. This not only enhances your garden but also allows you to share the beauty of this resilient plant with others.
Next, let’s explore common root-related issues that can arise and how to address them effectively.
⚠️ Safety First
This content is for general information and may contain errors, omissions, or outdated details. It is not medical, veterinary advice, or an endorsement of therapeutic claims.
Always consult a qualified healthcare professional before using any plant as food, medicine, or supplement.
Never eat any plant (or feed one to pets) without confirming its identity with at least two trusted sources.
If you suspect poisoning, call Poison Control (800) 222-1222, the Pet Poison Helpline (800) 213-6680, or your local emergency service immediately.
Spotted an error? Please report it here.
Nurture your Green Mound Juniper's roots for thriving growth 🌱 by using Greg's tailored watering reminders and expert care tips to keep your plant flourishing in your garden!